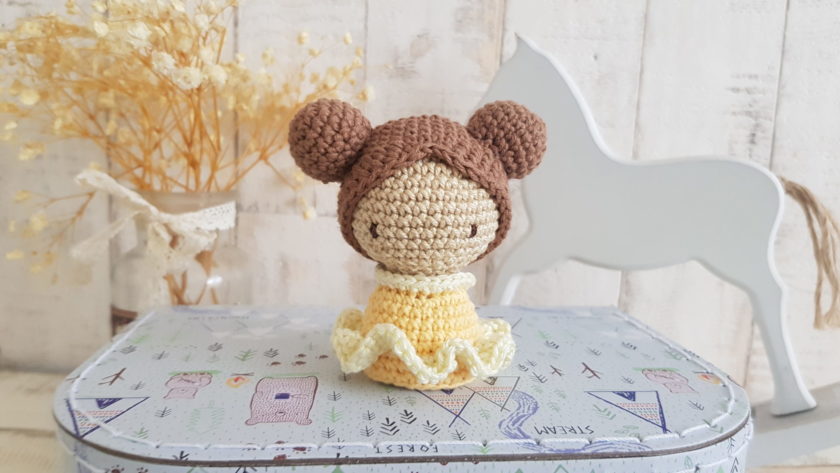
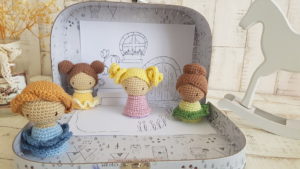
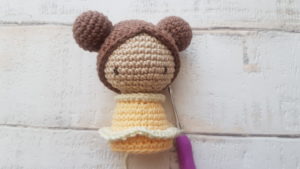
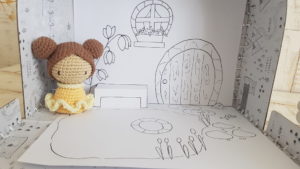
Melissa is part of my mini dolls collection. These dolls are very easy and quick to make. I combined my love for drawing and crochet, to make plays more enjoyable for the little ones. All 4 of the backgrounds can be downloaded here.
Although my mini girls look a lot like some princesses (colour wise) that was not my intension. I was inspired by my daughter and her 3 best friends.
Melissa is a tomboy. She loves to be outside and climb trees. She is good at all sports and also very funny. She travels a lot, goes to festivals and parties with her parents. The girls usually go for a sleepover to her house and they play a lot with dolls and every kind of toys. She is a lone child, but she has 2 cats to play with.
Caution!
Please be very cautious when you make toys for babies or children under the age of 3. If you sew parts on it, make sure they are secure and safe. I recommend, to embroider the eyes, as the plastic safety eyes can be dangerous.
|
All Zita and Bunny designs are original. Sales of the finished items are encouraged, but please give credit to the designer. Copyright © 2021 by Zita Renata Elek (Zita and Bunny).All rights reserved. This pattern is for personal use only. No part of it may be reproduced, resold, translated, published, altered, shared or posted in any way. |
**This blog contains affiliate links for products I use, believe in, or recommend. This means I will earn a small commission if you make a purchase from one of their links, and of course it is at no extra cost for you. It helps me to keep Zita and Bunny going and to keep publishing free patterns for you. You can check my full disclosure here. **
**zitaandbunnycrochet is a participant in the Amazon Services LLC Associates Program, an affiliate advertising program designed to provide a means for sites to earn advertising fees by advertising and linking to amazon.co.uk**
Abbreviations:
sc – single crochet
inc – increase
dec – decrease
ch – chain
BLO – back loop only
FLO – front loop only
st – stitch
sts – stitches
sl st – slip stitch
MR – magic ring
(…) – repeat instruction for the amount of times given
Materials you need for Melissa:
1. Cotton yarn,
I used:
A: Schachenmayr Catania – 404 Sand
B: Safran – 10 Yellow
C: Safran – 22 Light Brown
D: Scheepjes Catona – 101 Candle light
2. crochet hook, 2.75mm
5. Scissors
7. Pins
8. Stuffing
9. Needle for sewing
10. thread for the eyes
11. Safety eyes if you prefer them – 5mm, otherwise embroider them
12. Carton paper – You will need to cut a 32mm diameter circle (I used watercolour paper)
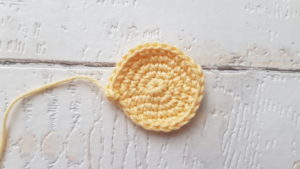
Bottom circle:
Use colour B and 2.75mm hook
1: 6sc in a MR [6]
2: (inc) x6 [12]
3: (sc, inc) x6 [18]
4: (2sc, inc) x6 [24]
5: (5sc, inc) x4 [28]
fasten off yarn, put it aside for later
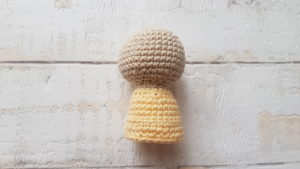
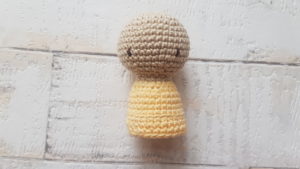
Head and Body:
start with colour A and a 2.75mm hook
1: 6sc in a MR [6]
2: (inc) x6 [12]
3: (sc, inc) x6 [18]
4: (2sc, inc) x6 [24]
5: (3sc, inc) x6 [30]
6: (4sc, inc) x6 [36]
7 – 12: sc in every st around [36]
13: (4sc, dec) x6 [30]
14: (3sc, dec) x6 [24]
15: (2sc, dec) x6 [18]
If you prefer to use safety eyes, insert them in row 11, leaving 8 sts between them. If you choose to embroider them, we will do it later.
stuff the head frim

16: (sc, dec) x6 [12]
17: (sc, inc) x6, in the last stitch change to colour B [18]
18: (2sc, inc) x6 [24]
19: BLO (5sc, inc) x4 [28]
20 – 23: sc in every st around [28]
24: BLO sc in every st around [28]
25: sc in every st around
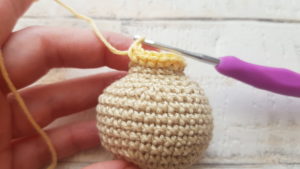
Stuff the body, insert a a 32mm diameter circle cut out from cartoon paper.
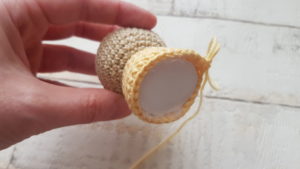
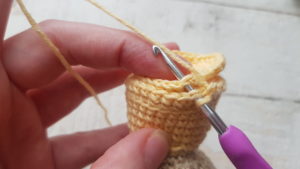
put the crocheted circle on top of it and sc together with the body. Insert the hook in the next st on the body and the last st made on the circle and sc them together. Sc together the next 25sts, sl st together the last 2 sts.
fasten off yarn, weave in the end.
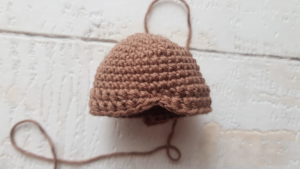
Hair:
Use colour C and a 2.75mm hook
1: 6sc in a MR [6]
2: (inc) x6 [12]
3: (sc, inc) x6 [18]
4: (2sc, inc) x6 [24]
5: (3sc, inc) x6 [30]
6: (4sc, inc) x6 [36]
7-11: sc in every st around [36]
12: hdc in next 15 sts, sc in next st, sl st in next 2sts, sc in next st, hdc in next 17sts [36]
13: repeat row 12
fasten off yarn, leaving a long tail to sew.
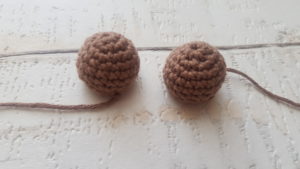
Hair Buns: (make 2)
Use colour C, and a 2.75mm hook
1: 6sc in a MR [6]
2: (inc) x6 [12]
3: (sc, inc) x6 [18]
4 – 6: sc in every st around [18]
7: (sc, dec) x6 [12]
stuff the buns a little.
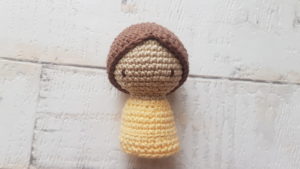
Assembling Melissa:
1: If you choose to embroider the eyes, than do it now in row 11, leaving 8sts between them. You can find the tutorial here.
2: sew the hair cap to the head,
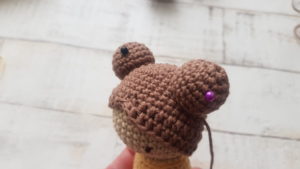
3: sew the 2 buns to the head. I sewed them between row 6-11, but it depends how you put the hair on.
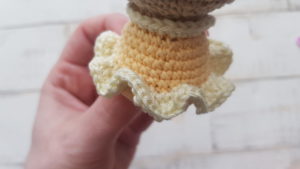
Dress details:
Use colour D and a 2.75mm hook
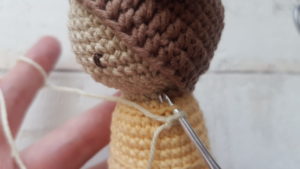
holding the doll with head facing away from you, insert the hook in the first FLO in row 19, with a standing sc.
1: sc in every st around [28]
sl st to 1st st, fasten off yarn, weave in the end.
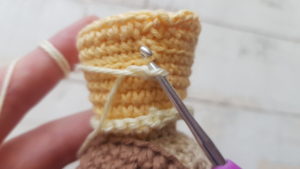
Holding the doll with head facing towards you, insert the hook in the 1st FLO in row 24 with a standing sc.
1: sc in same st, 2sc in the next 27sts [56]
2: (sc, inc) x28 [84]
fasten off yarn, weave in the end
You can download the garden background here.
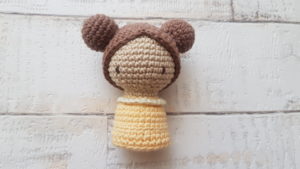
Congratulation, you finished Melissa!