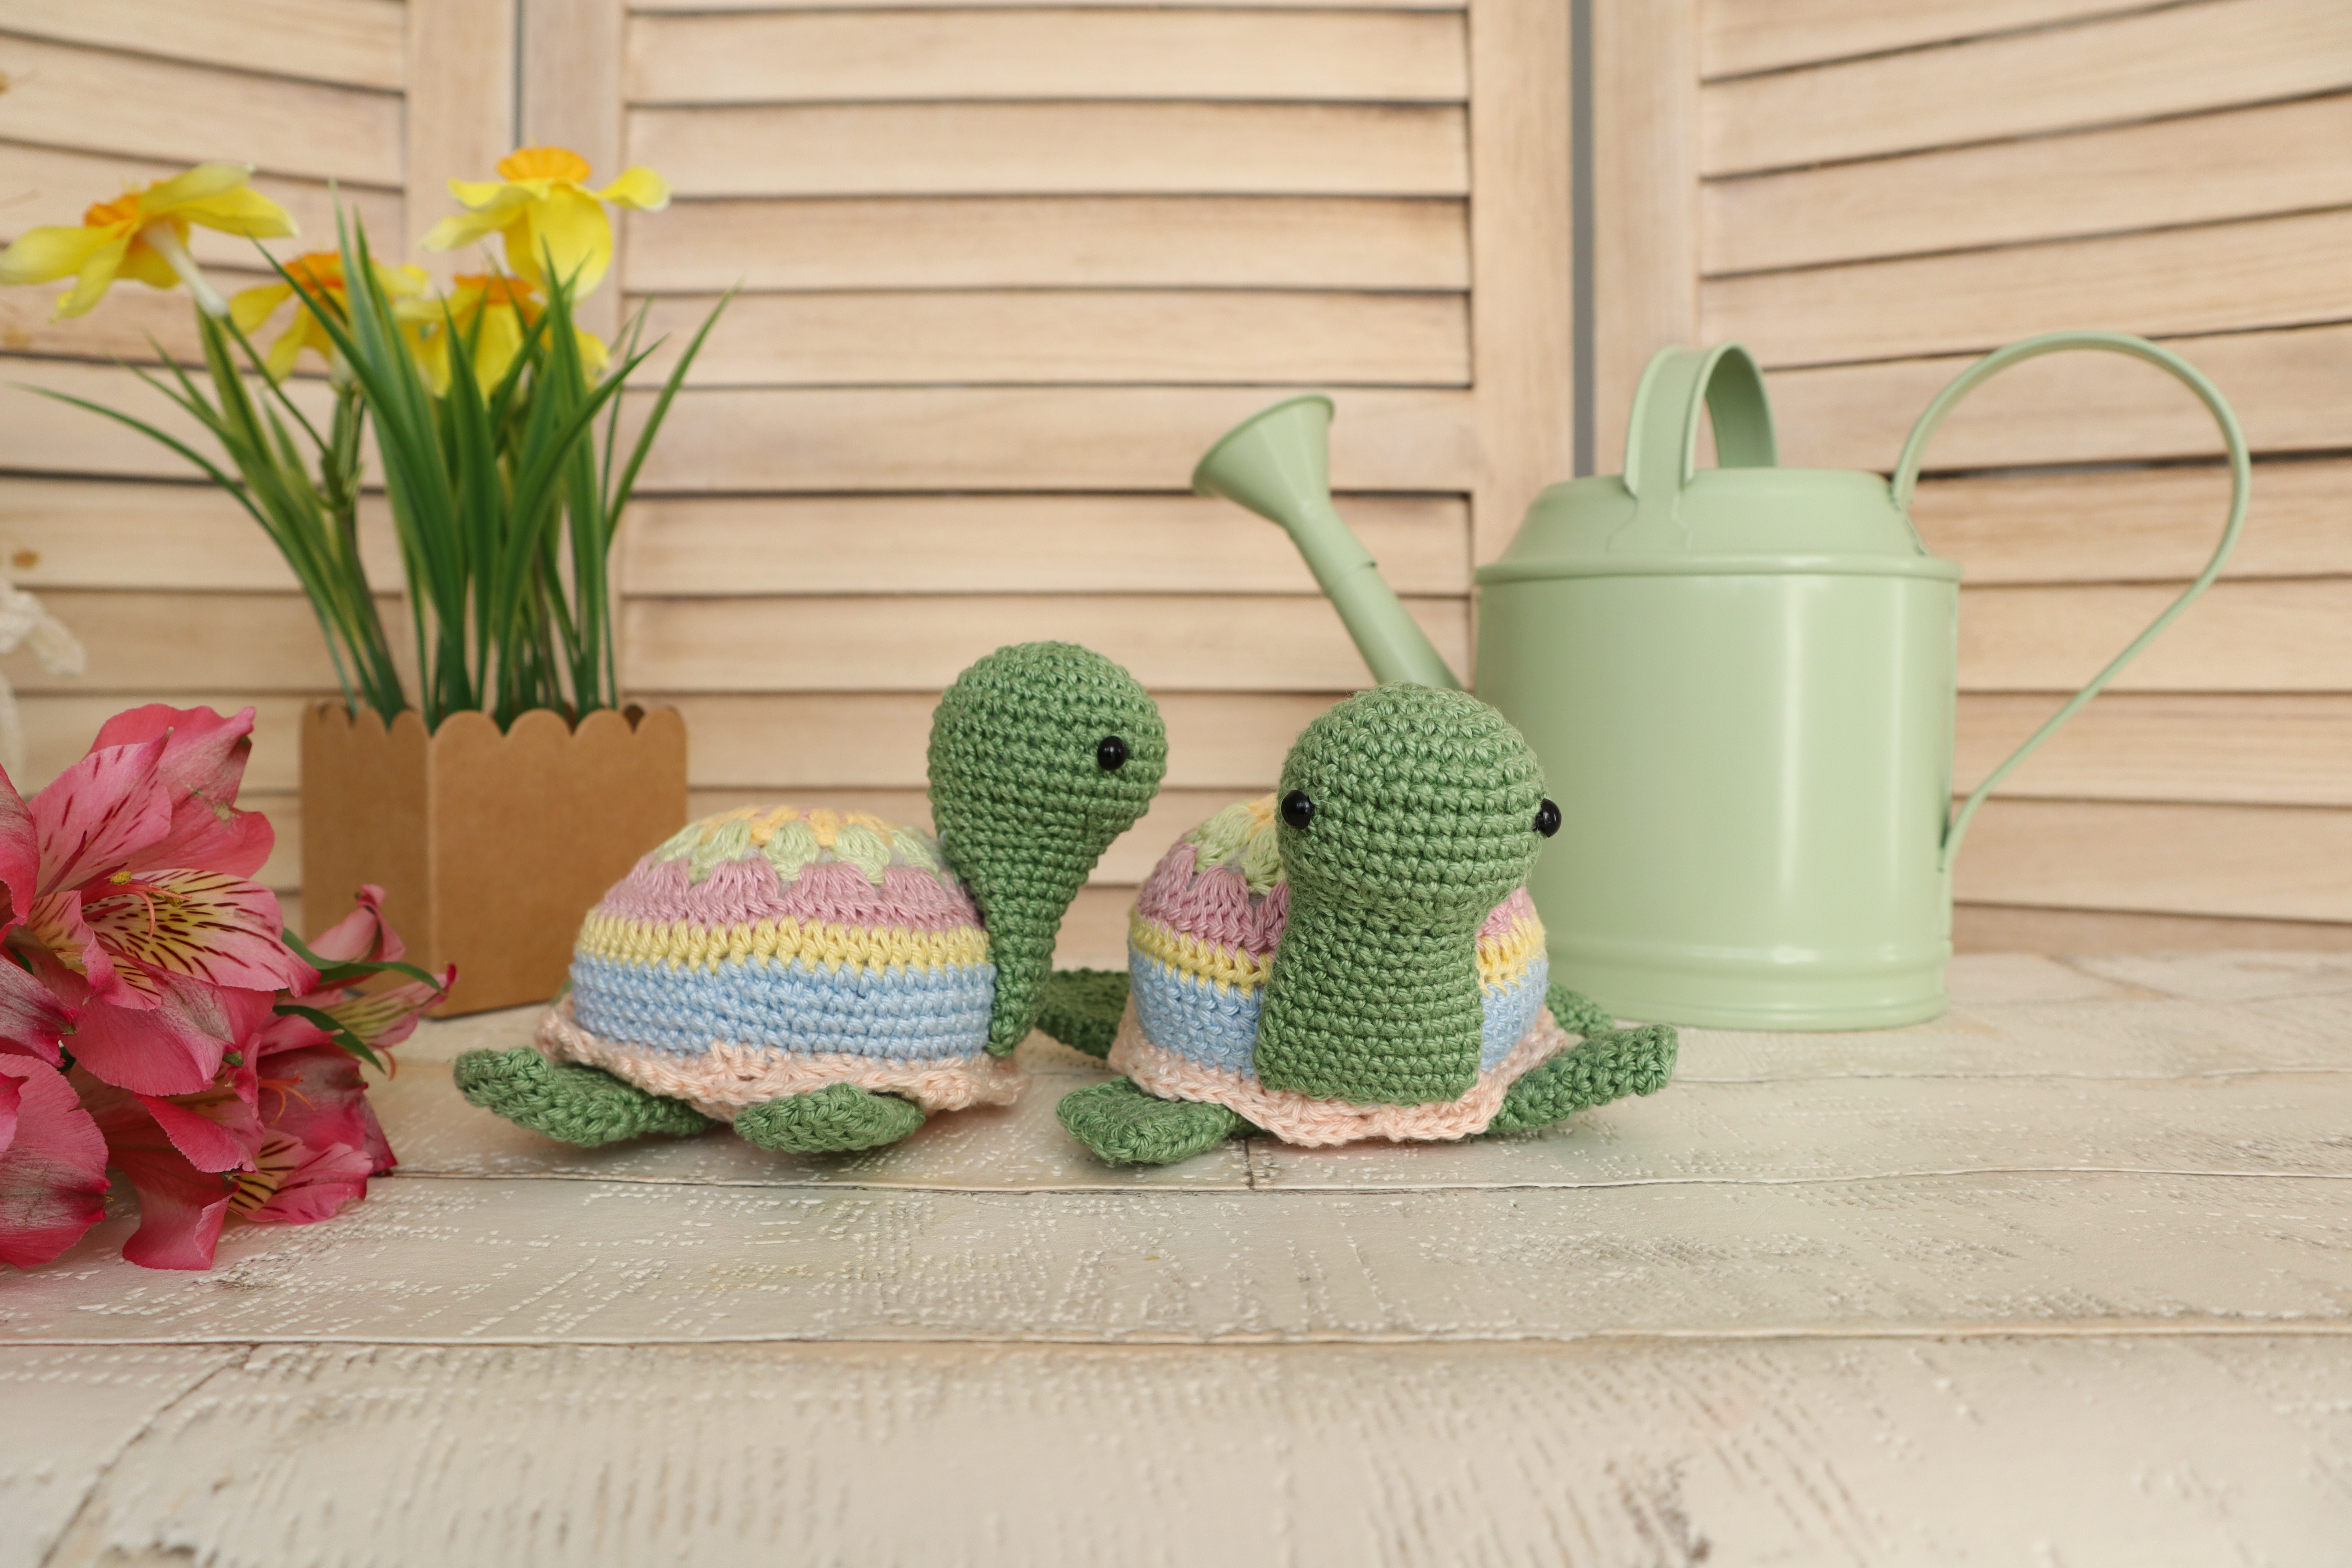
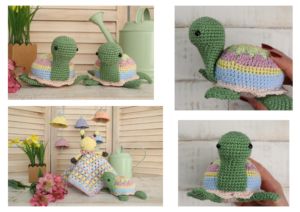
Are you looking for a quick, easy and unique crochet project? Than this crochet turtle is perfect for you. It is different, and more colourful than any other crochet turtles.
Pin it now, make it later!
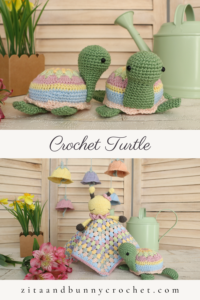
Spring is my favourite season of the year. The sun gets warm, the trees bloom, the colours are beautiful and my son’s birthday is just around the corner. Even though my hay fever kicks in and I suffer horribly, I still love this season and everything that reminds me of it.
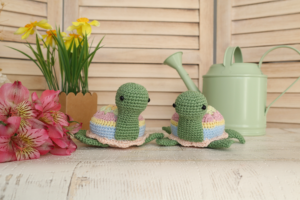
Isn’t this turtle scream Spring with his bright colours? This turtle can be used in so many ways. It can be a décor, a toy, a rattle (for the last two please replace the safety eyes with embroidery eyes), or even a pin cushion. It works up really quickly and uses very little yarn. You can just grab all your scrap yarn and use them up.
Caution!
Please be very cautious when you make toys for babies or children under the age of 3. If you sew parts on it, make sure they are secure and safe.
I recommend, to embroider the eyes, as the plastic safety eyes can be dangerous. My tutorial for embroidery eyes can be found here.
|
All Zita and Bunny designs are original. Sales of the finished items are encouraged, provided they are handmade by yourself in a limited number, but please give credit to the designer. No mass production. Copyright © 2021 by Zita Renata Elek (Zita and Bunny).All rights reserved. This pattern is for personal use only. No part of it may be reproduced, resold, translated, published, altered, shared or posted in any way. |
**This blog contains affiliate links for products I use, believe in, or recommend. This means I will earn a small commission if you make a purchase from one of their links, and of course it is at no extra cost for you. It helps me to keep Zita and Bunny going and to keep publishing free patterns for you. You can check my full disclosure here. **
Watch the video
Level: Beginner
Size of the finished turtle if using the same yarn and hook size: 7cm high, 12cm long
Please keep in mind, that I am using the yarn under technique. With this, the stitches are smaller and tighter, making the finished product smaller in size. If you yarn over, your finished product will be bigger. If you would like to achieve the same size as me and you yarn over, consider using a size smaller hook.
Abbreviations:
sc – single crochet
hdc – half double crochet
dc – double crochet
inc – increase
cluster stitch – see details below
standing sc – see details below
dec – decrease
ch – chain
st – stitch
sl st – slip stitch
MR – magic ring
sts – stitches
(…) – Repeat instructions for the amount of times given
Special stitches:
standing sc: Start with a slip knot already on your hook, insert your hook in the stitch you want to start with, yarn over, pull up a loop, yarn over, pull through both loops on hook.
Cluster stitch: yarn over, insert hook in next st, yarn over, pull up a loop (3 loops on hook), yarn over, pull through 2 loops, (2 loops remain on hook), yarn over, insert hook into same stitch, yarn over, pull up a loop (4 loops on hook), yarn over, pull through 2 loops (3 loops on hook), yarn over, insert hook into same stitch, yarn over, pull up a loop (5 loops on hook), yarn over and pull through 2 loops (4 loops on hook). Yarn over, insert hook into same stitch, yarn over, pull up a loop (6 loops on hook), yarn over pull through 2 loops (5 loops on hook), yarn over, and pull through all loops.
The first cluster stitch will be different. Here you need to chain two, which counts as the first stitch and instead of inserting your hook into the same stitch 4 times, just do it 3 times.
Materials you need for these crochet chicks:
Affiliate links for the US:
1. Cotton yarn:
A: Scheepjes Catona – 212 Sage Green
B: – Safran – 56 Powder Pink
C: – Safran – 10 Vanilla Cream
D: – Scheepjes Catona – 392 Lime Juice
E: – Schachenmayr Catania – 423 Vintage
F: – Schachenmayr Catania – 403 Vanille
G: – Scheepjes Catona – 173 Bluebell
H: – Scheepjes Catona – 263 Petal Peach
3. Safety eyes – 6mm
5. Scissors
7. Pins
8. Stuffing
Affiliate links for the UK:
1. Cotton yarn:
A: – Scheepjes Catona – 212 Sage Green
B: – Safran – 56 Powder Pink
C: – Safran – 10 Vanilla Cream
D: – Scheepjes Catona – 392 Lime Juice
E: – Schachenmayr Catania – 423 Vintage
F: – Schachenmayr Catania – 403 Vanille
G: – Scheepjes Catona – 173 Bluebell
H: Scheepjes Catona – 263 Petal Peach
3. Safety eyes – 6mm
4. Tapestry Needle
5. Scissors
7. Pins
8. Stuffing
Head:
Use colour A
Rnd 1: 6sc in a MR [6]
Rnd 2: (inc) x6 [12]
Rnd 3: (sc, inc) x6 [18]
Rnd 4: (2sc, inc) x6 [24]
Rnd 5: (3sc, inc) x6 [30]
Rnd 6-11: sc in every st [30]
In round 8 mark stitch 8 and 18, the eyes will go there later
Rnd 12: sc in first 6 sts, (sc, dec) x6, sc in last 6 sts [24]
Rnd 13: sc in first 6 sts, (sc, dec) x4, sc in last 6 sts [20]
insert eyes in the marked stitches.
Rnd 14-23: sc in every st [20]
Stuff the head uo to round 15, do not stuff the rest.
sc in next 6 sts, fold the head in half, and press both layers together, so they lay flat on top of each other, aligning the stitches side by side, and sc together the opposite stitches until you reach the end.
Fasten off yarn, leaving a long tail to sew
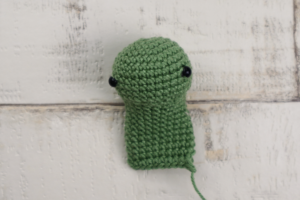
Front Legs: (make 2)
Use colour A
Rnd 1: 6sc in a MR [6]
Rnd 2: (inc) x6 [12]
Rnd 3: (sc, inc) x6 [18]
Rnd 4: (2sc, inc) x6 [24]
Rnd 5: (3sc, inc) x6 [30]
Rnd 6: (4sc, inc) x6 [36]
Fold the legs in half, and press both layers together, so they lay flat on top of each other, aligning the stitches side by side. (sc together the corresponding opposite stitch, ch1) repeat this until you reach the end.
Fasten off yarn, leaving a long tail to sew.
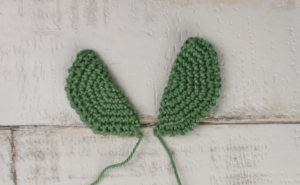
Hind Legs: (make 2)
Use colour A
Rnd 1: 6sc in a MR [6]
Rnd 2: (inc) x6 [12]
Rnd 3: (sc, inc) x6 [18]
Rnd 4: (2sc, inc) x6 [24]
Rnd 5: (3sc, inc) x6 [30]
Rnd 6: (4sc, inc) x6 [36]
Rnd 7: (5sc, inc) x6 [42]
Fold the legs in half, and press both layers together, so they lay flat on top of each other, aligning the stitches side by side. (sc together the corresponding opposite stitch, ch1) repeat this until you reach the end.
Fasten off yarn, leaving a long tail to sew.

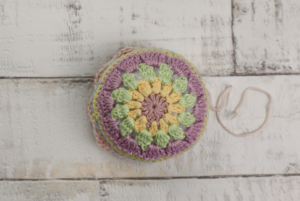
Top Shell:
Tip: ch2 at the beginning do not count as a stitch
Rnd 1: use colour B, make a MR, ch2, 12dc into ring, sl st to top of first dc, close the ring, fasten off yarn
Rnd 2: Connect colour C between any 2 dc, ch2, put 2dc in same space, put 2dc in every space. sl st to top of first dc, fasten off yarn
Rnd 3: Connect colour D between any 2 set of 2 dc, ch2,(in this round ch2 counts as a stitch) make a cluster stitch (this cluster stitch is different than the rest, details above in special stitches section), (ch2, cluster stitch in next chain space) x11, ch2, sl st to top of first cluster stitch, fasten off yarn
Rnd 4: connect colour E in any ch2 space, ch2, put 5dc in every chain space, sl st to first dc, fasten off yarn
Rnd 5:connect colour F into any stitch, ch1, hdc in same st, hdc in every st, sl st to top of first hdc, fasten off yarn
Rnd 6-9: connect colour G in to any st with a standing sc (see details in special stitches), sc in every st, DO NOT SL ST at the end of the rounds, but work in continuous rounds.
Fasten off yarn
Stuff the shell
Bottom Shell:
Use colour H
Rnd 1: 6sc in a MR [6]
Rnd 2: (inc) x6 [12]
Rnd 3: (sc, inc) x6 [18]
Rnd 4: (2sc, inc) x6 [24]
Rnd 5: (3sc, inc) x6 [30]
Rnd 6: (4sc, inc) x6 [36]
Rnd 7: (5sc, inc) x6 [42]
Rnd 8: (6sc, inc) x6 [48]
Rnd 9: (7sc, inc) x6 [54]
Rnd 10: (8sc, inc) x6 [60]
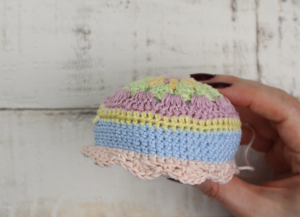
Holding top and bottom shell together, aligning the stitches side by side. sc together the opposite sts.
ch1, turn, (sc, skip 2sts, 5dc, skip 2sts) x10, sl st to top of first sc,
Fasten off yarn, weave in the ends.
Assembling the Turtle:
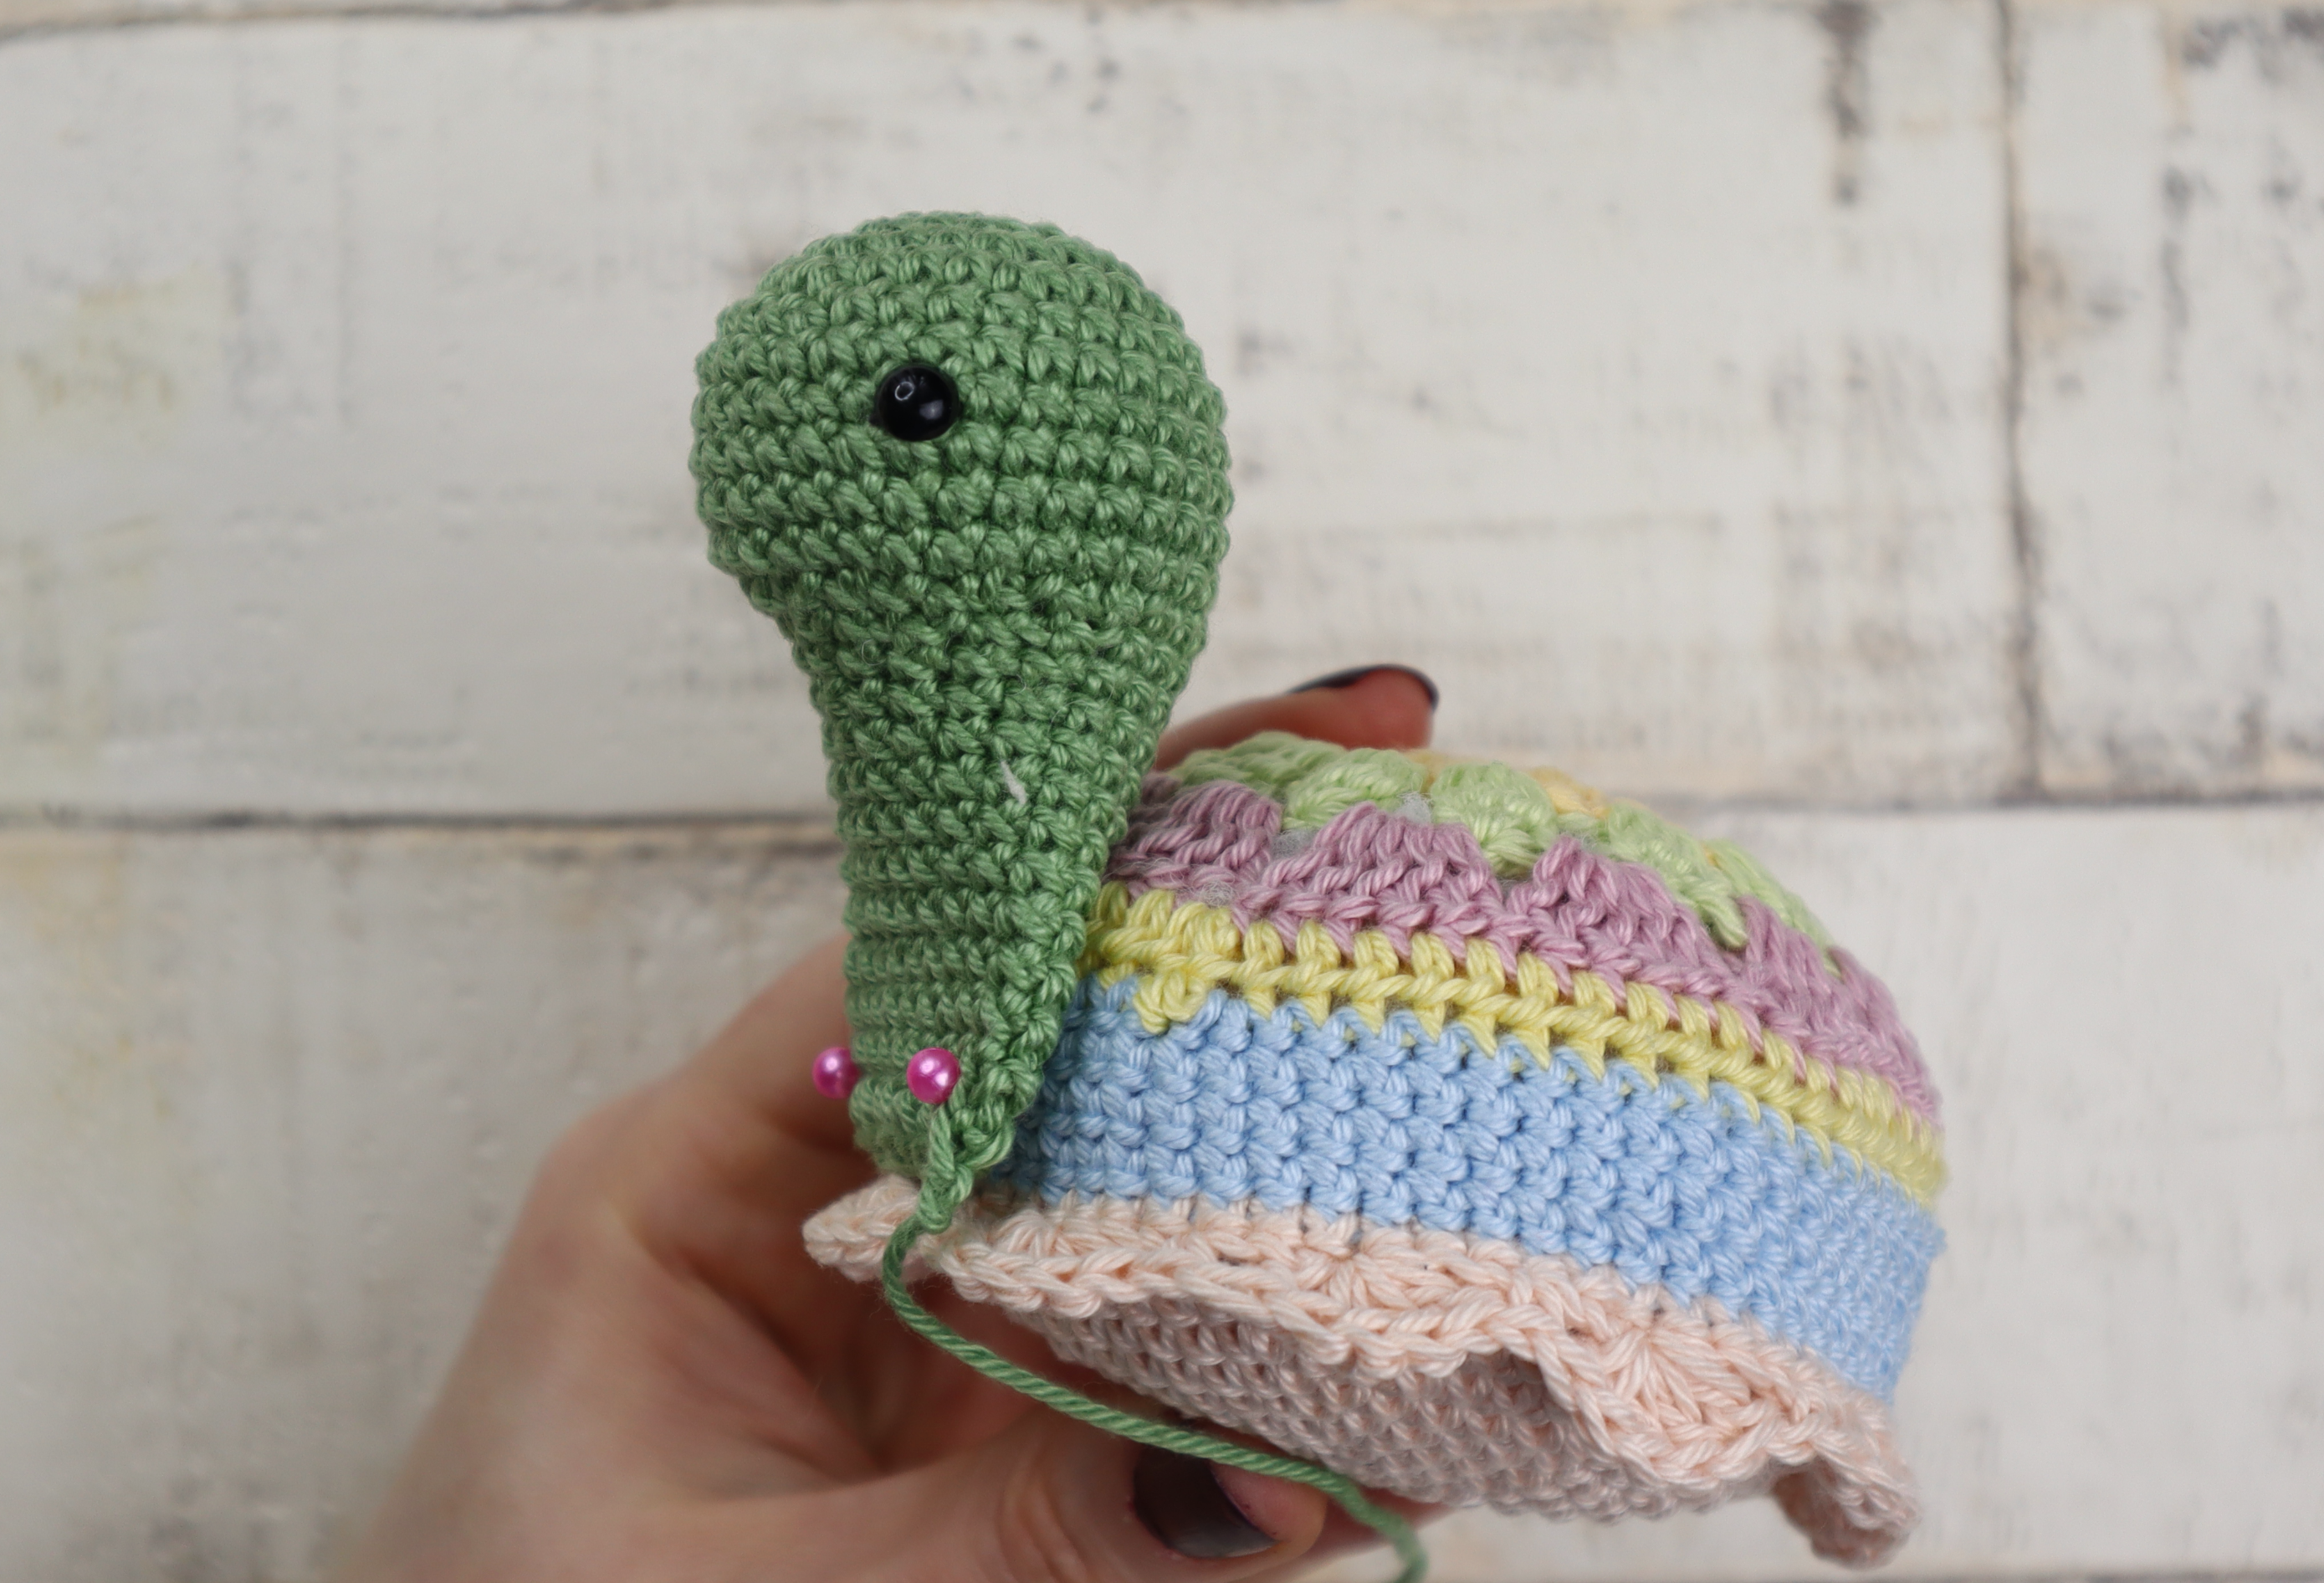
1. Sew the head to the shell
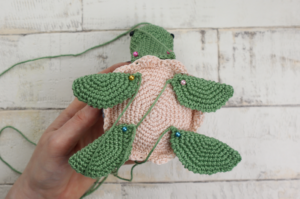
2. Sew the four legs under the shell
Congratulation, you finished Freddie the Turtle!
I would love to see your finished turtle. Please share it with me on Instagram. You can find me as @zitaandbunny or click on this icon. ![]()
Check out some of my other spring related patterns:
