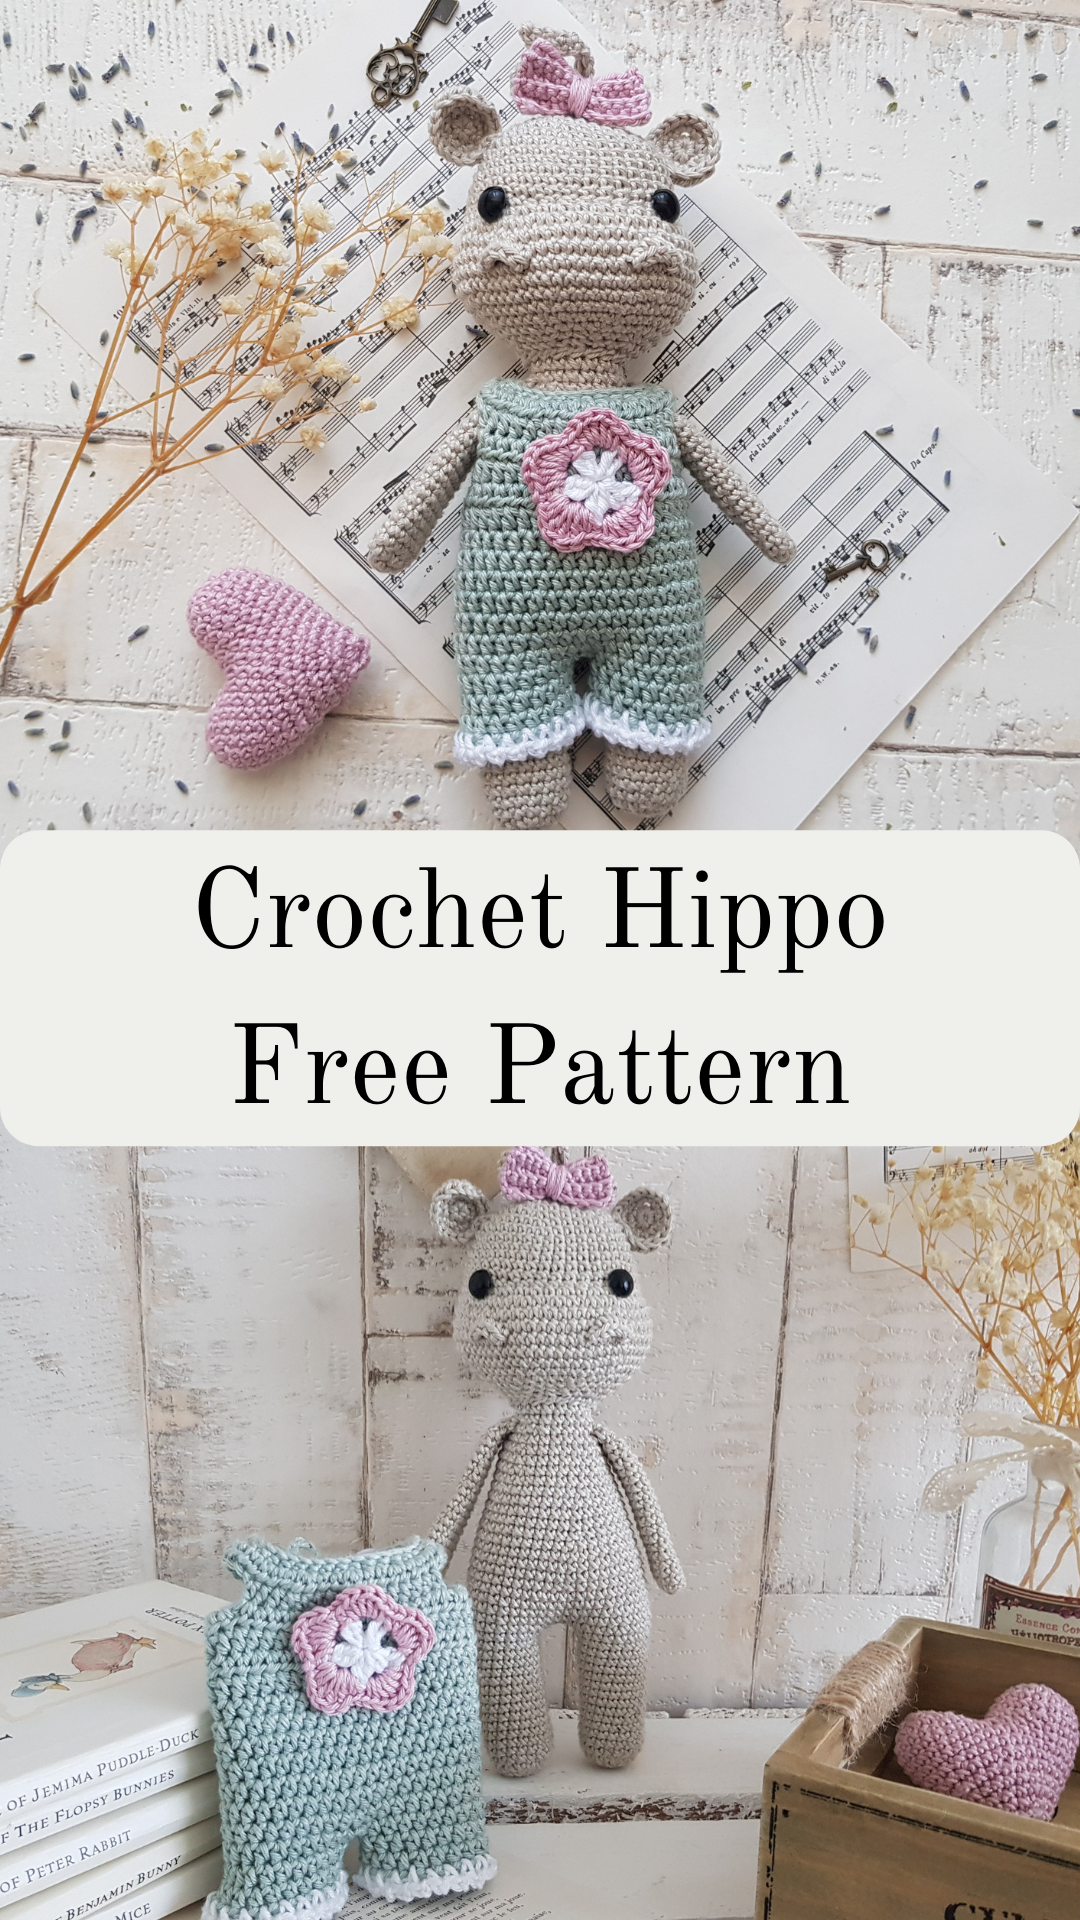
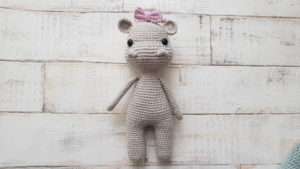
Do you want to make some cute crochet gift for someone? This adorable little hippo is just perfect for it. In this pattern you will learn how to make an amigurumi joined leg.
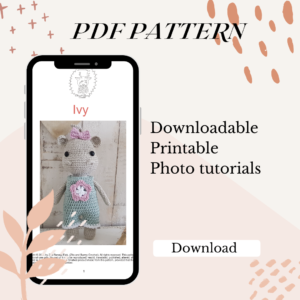
Pin it now, make it later!

I created this crochet hippo many years ago. When I design, I like to think back on my childhood and bring up memories.
When I was 7, I saw a pink hippo in a zoo. Of course I told everyone at school, but all the kids were laughing and they didn’t believe me. To be honest I questioned my own sanity a few times, until internet boomed into our life and finally I was able to search. Now I can tell you for sure, pink hippos do exist, and I am sure I did see one. So when I created Ivy, this little crochet hippo, I wanted to make her pink, to stand with my statement, that I did actually see a pink hippo. But again memories hit me and I didn’t want to be a laughing stock again. I did use some pink on her just to make myself happy.
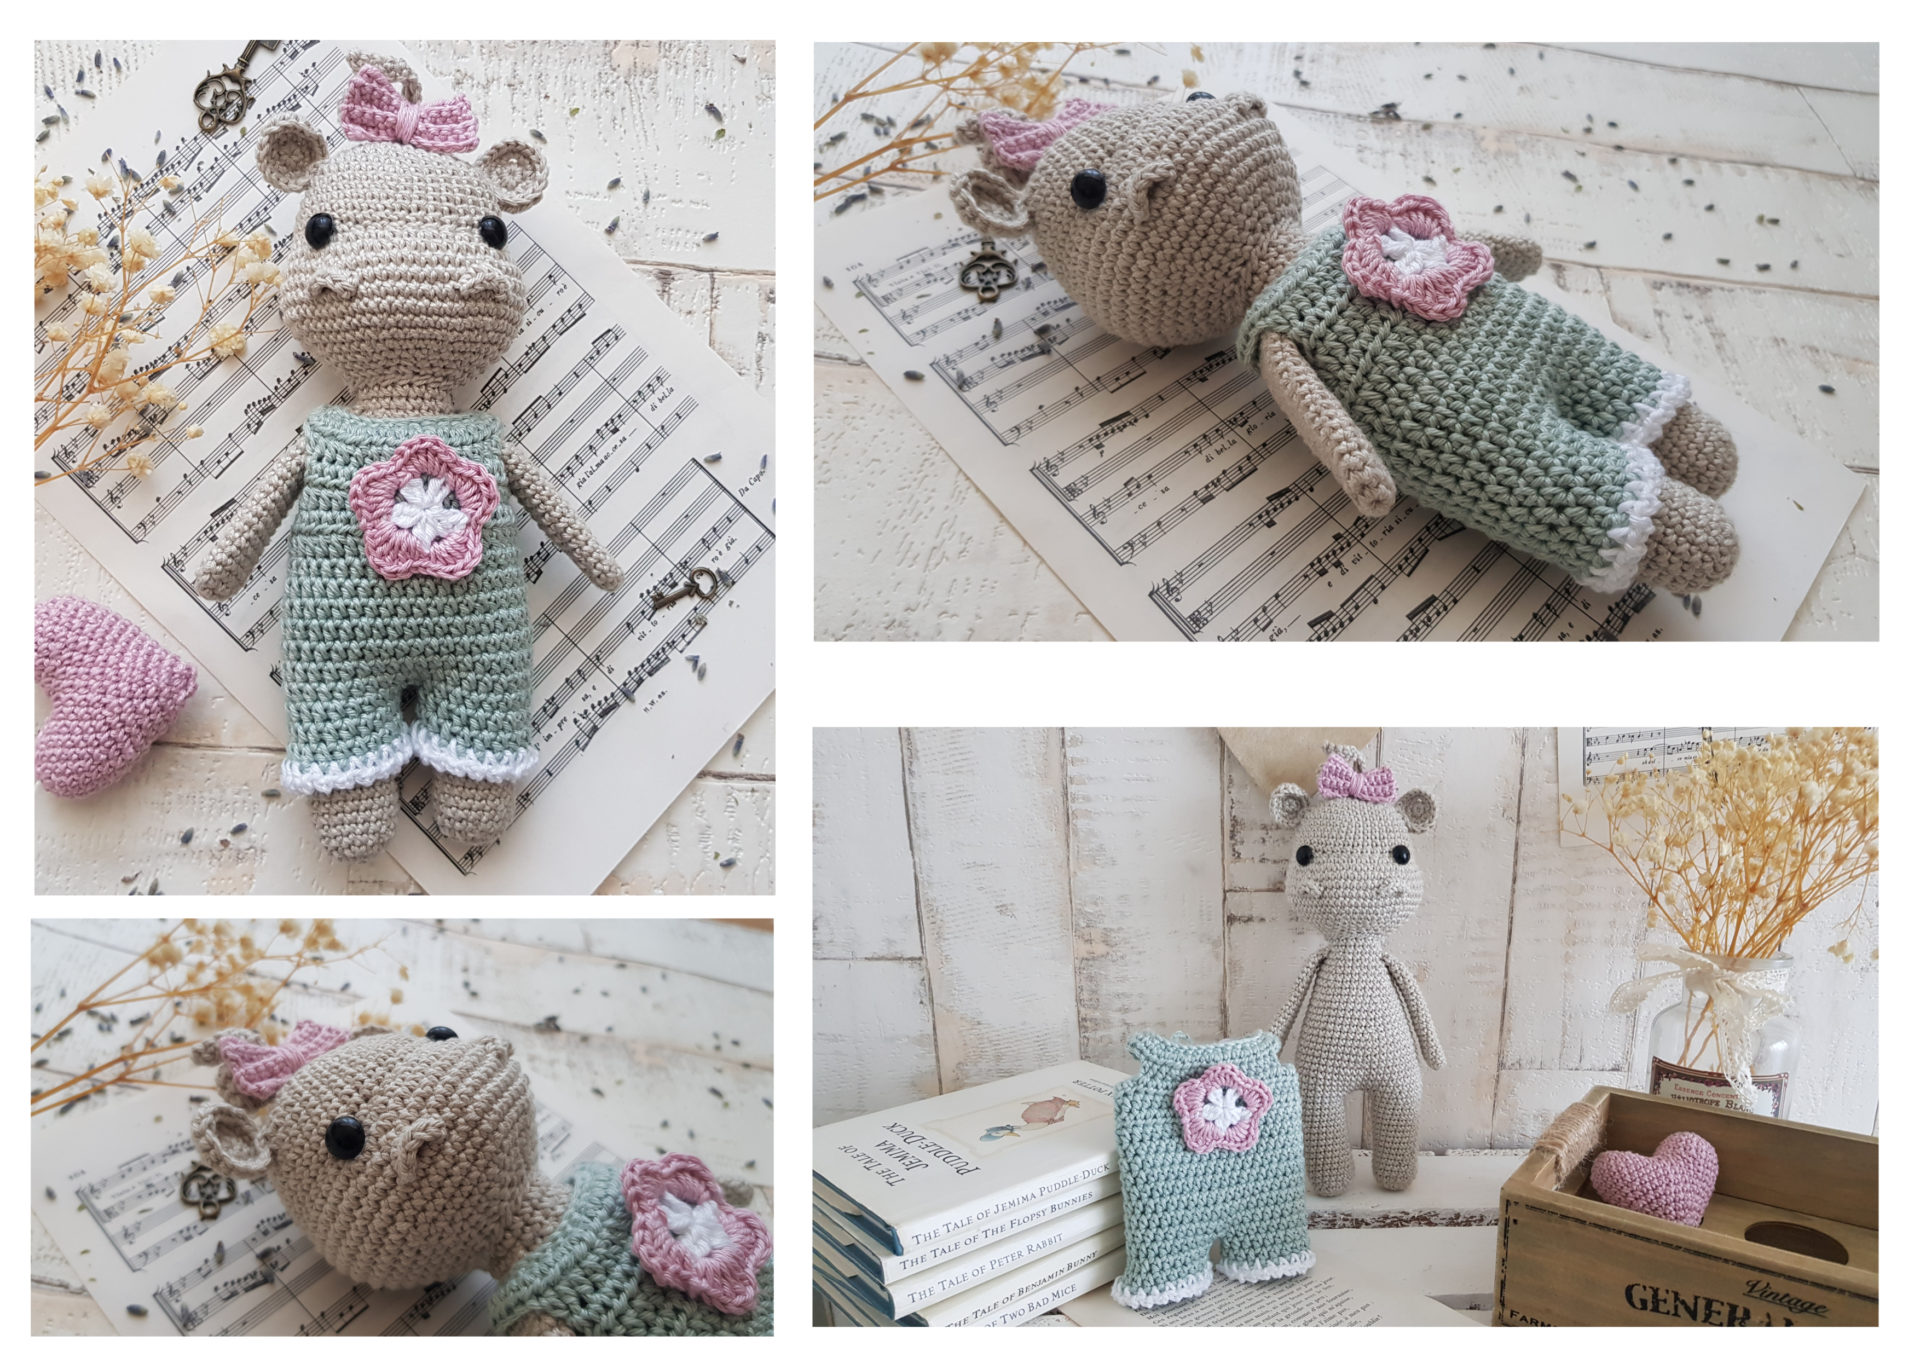
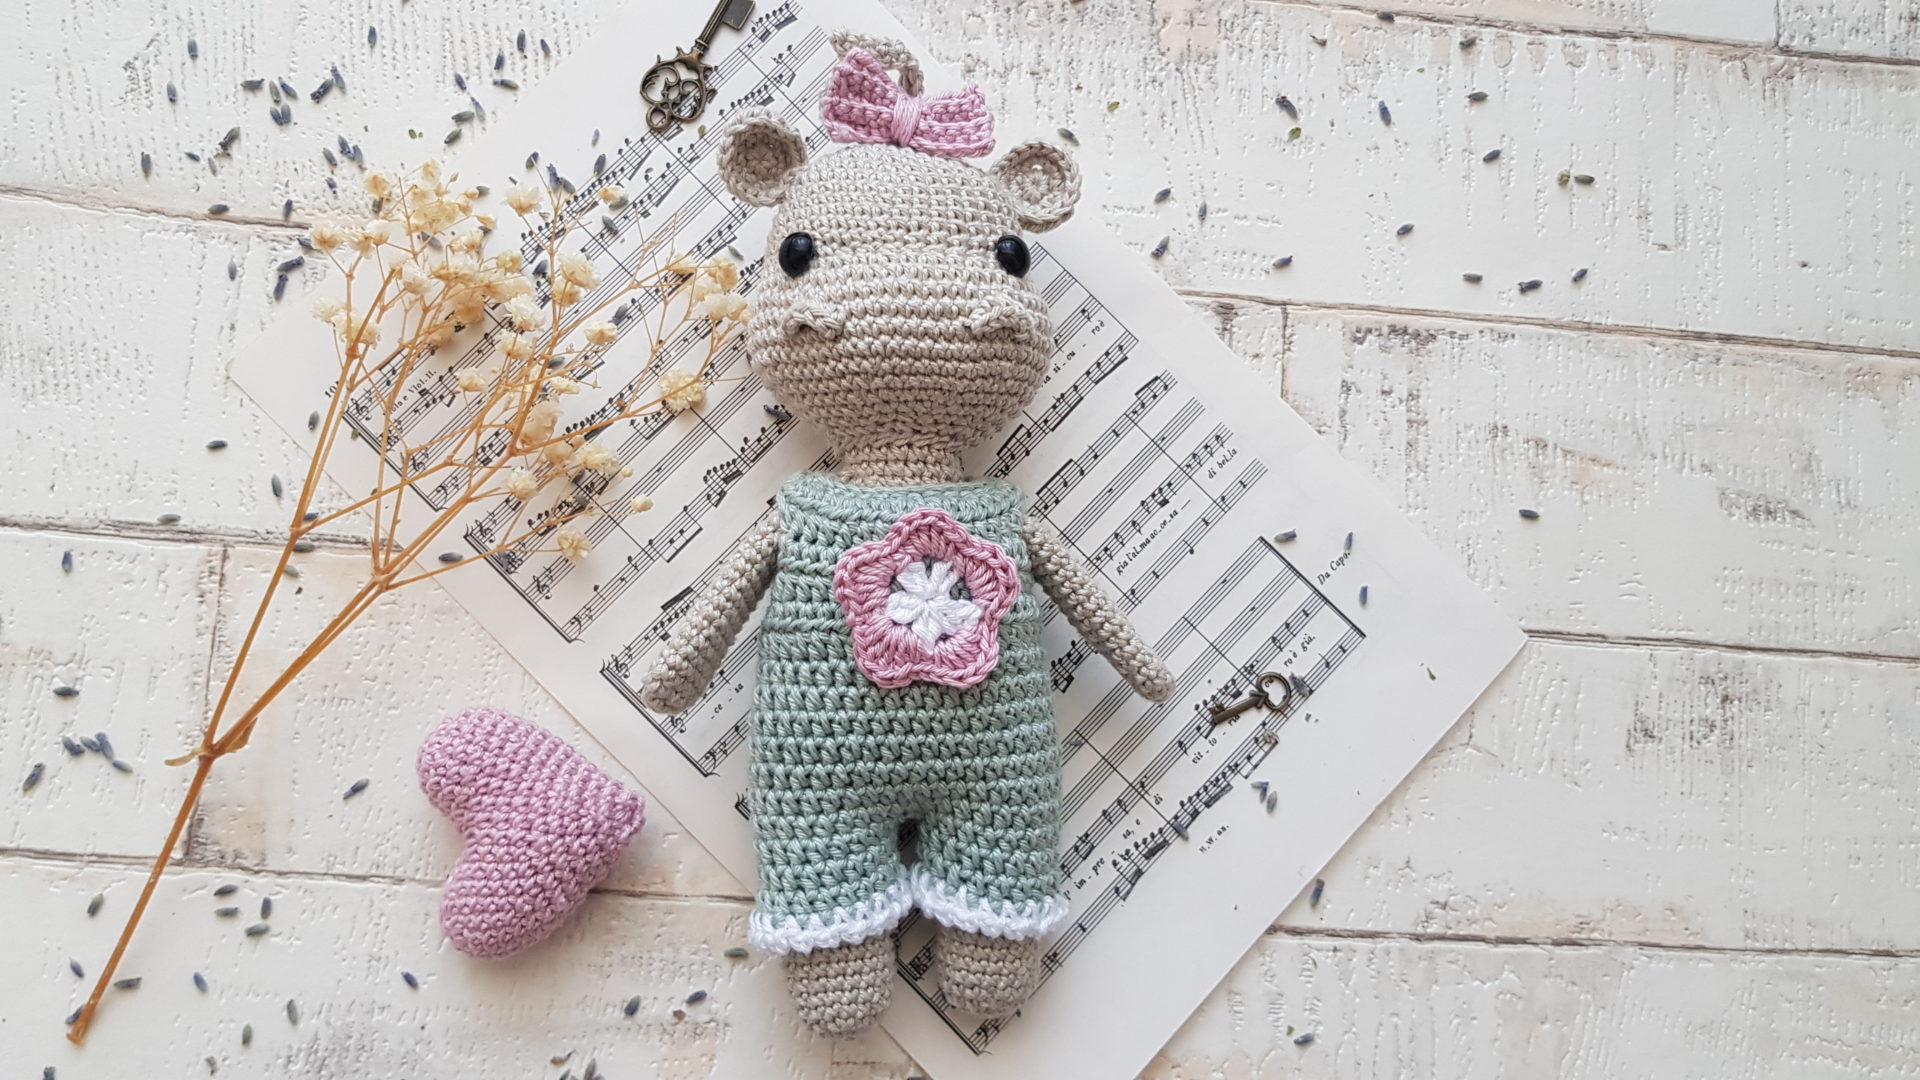
Anyway I think Ivy is still very cute and sweet, even with the usual grey colour.
Although she is very girly, she can be transformed into a boy, if you change her onesie to a different colour and you lose the hair.
Ivy is an easy going little hippo, who likes to spend her time in water, with her siblings, and sipping cold juice from her favourite cup. Her best friend is her sister, who is obviously pink. When they don’t splash around in the water, they like to play tricks on their parents and their siblings.

Caution!
Please be very cautious when you make toys for babies or children under the age of 3. If you sew parts on it, make sure they are secure and safe.
I recommend, to embroider the eyes, as the plastic safety eyes can be dangerous. My tutorial for embroidery eyes can be found here
|
All Zita and Bunny designs are original. Sales of the finished items are encouraged, but please give credit to the designer. Copyright © 2021 by Zita Renata Elek (Zita and Bunny).All rights reserved. This pattern is for personal use only. No part of it may be reproduced, resold, translated, published, altered, shared or posted in any way. |
**This blog contains affiliate links for products I use, believe in, or recommend. This means I will earn a small commission if you make a purchase from one of their links, and of course it is at no extra cost for you. It helps me to keep Zita and Bunny going and to keep publishing free patterns for you. You can check my full disclosure here. **


Abbreviations:
sc – single crochet
inc – increase
dec – decrease
sc-inc – single crochet decrease
hdc – half double crochet
hdc-inc – half double crochet increase
dc2tog – double crochet 2 together
FLO – front loop only
BLO – back loop only
ch – chain
st – stitch
sts – stitches
sl st – slip stitch
MR – magic ring
(…) – repeat instruction for the amount of times given
Materials you need for this crochet hippo:
Affiliate links for the US:
1. Cotton yarn,
I used:
A: Sheepjes Catona – 248 Champagne
B: Scheepjes Catona – 402 Silver Green
C: Schachenmayr Catania – 423 Vintage
D: Schachenmayr Catania – 106 White
3. Safety eyes, 9mm
5. Scissors
7. Pins
8. Stuffing
9. Button – I used a 12mm one
10. Sewing needle
Affiliate links for the UK:
1. CottonYarn:
A: Sheepjes Catona – 248 Champagne
B: Scheepjes Catona – 402 Silver Green
C: Schachenmayr Catania – 423 Vintage
D: Schachenmayr Catania – 106 White
5. Scissors
7. Pins
8. Stuffing
9. Button – I used a 12mm one
10. Sewing needle


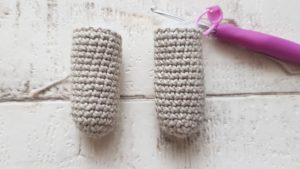
Arms: (make 2)
Use colour A
1: 6sc in a MR [6]
2: (inc) x6 [12]
3 – 19: sc in every st around [12]
20: (sc, dec) x4 [8]
Press both layers of arms together so that they lay flat on top of each other, aligning the stitches side by side. sc together the opposite stitches. I put 3sc. Fasten off yarn, leave a long tail to sew.

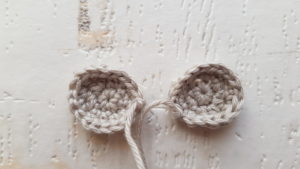
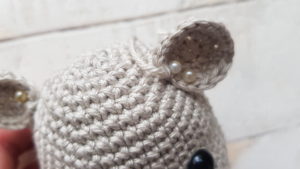
Ears: (make 2)
Use colour A
1: 6sc in a MR [6]
2: (sc-inc) x2, (hdc-inc) x2, (sc-inc) x2 [12]
3: (sc, sc-inc)x2, hdc, hdc-inc, hdc, (sc-inc, sc) x2, sc-inc [18]
4: sl st in next 4 sts
Fasten off yarn, leaving a long tail to sew.
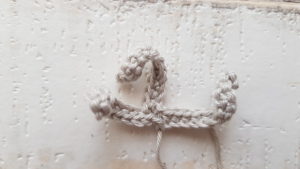
Hair:
Use colour A
Leave a long tail when you make the MR as we will use this tail to sew the hair to the head
Make a magic ring, (ch13, starting from 2nd ch from hook, sc in next 12sts, sl st into MR) x3, sl st to 1st ch, close MR, fasten off yarn, leaving a long tail. Use the 2 tails to sew it to the head.
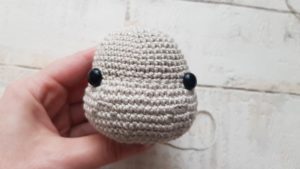
Head:
Use colour A
1: 6sc in a MR [6]
2: (inc) x6 [12]
3: (sc, inc) x6 [18]
4: (2sc, inc) x6 [24]
5: (3sc, inc) x6 [30]
6: (4sc, inc) x6 [36]
7: (5sc, inc) x6 [42]
8 – 13: sc in every st around [42]
In row 13, you can mark st 21 and 22. between these 2 sts will be the middle between the 2 eyes.
14: 15sc, (inc, sc) x6, 15sc [48]
15: (3sc, inc) x2, 4sc, inc, (2sc, inc) x7, (4sc, inc) x2, 4sc [60]
16: sc in every st around [60]
17: 22sc, 3 BLO sc, 10sc, 3 BLO sc, 22sc [54sc, 6 BLO sc]
18: 21sc, BLO sc, 3sc, BLO sc, 8sc, BLO sc, 3sc, BLO sc, 21sc [56sc, 4 BLO sc]
19: sc in every st around [60]
Insert safety eyes between row 12-13, leaving 10 sts between them. The 2 sts we marked in row 13 will be the middle between the 2 eyes.
20: (8sc, dec) x6 [54]
21: (7sc, dec) x6 [48]
22: (4sc, dec) x8 [40]
23: (3sc, dec) x8 [32]
24: (2sc, dec) x8 [24]
25: (2sc, dec) x6 [18]
Fasten off yarn, stuff the head firm

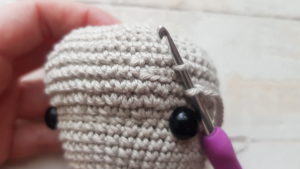
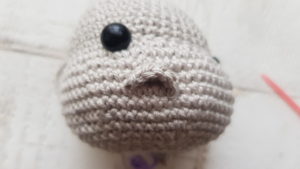
Nose:
Holding head upside down, connect yarn A with a standing sc to first FLO we did in row 18. sc in FLO in all 3 sts in row 17, than sc in the last FLO in row 18. Fasten off yarn. Pull both tails through the head, by inserting the needle next to the first or last stitch made and pull it through the head. Tie both tails together and hide the ends inside the head. Repeat it with the other nose.
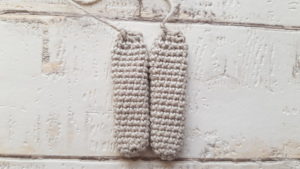
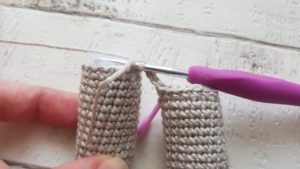
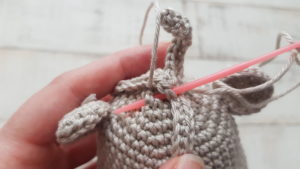
Legs: (make 2)
Use colour A
1: 6sc, in a MR [6]
2: (inc) x6 [12]
3: (sc, inc) x6 [18]
4 – 17: sc in every st around [18]
Stuff the legs, and on the 1st leg, fasten off yarn
on the 2nd leg, do not fasten off yarn, keep crocheting, we will connect the 2 legs and continue with the body.
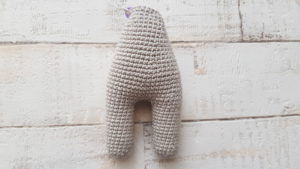
Body:
1: ch4, sc in the last stitch made on first leg, sc in next 17 sts on leg, working on ch4, sc in all ch spaces, on second leg, sc in every 18 st, sc in the next 4 sts in unused loops on the other side of ch4. [44]
2 – 6: sc in every st around [44]
7: (20sc, dec) x2 [42]
8 – 10: sc in every st around [42]
11: (19sc, dec) x2 [40]
12: (8sc, dec) x4 [36]
13 – 16: sc in every st around [36]
17: (7sc, dec) x4 [32]
18: (6sc, dec) x4 [28]
19: (5sc, dec) x4 [24]
20: (4sc, dec) x4 [20]
21: sc in every st around (20)
22: (sc in next 8 sts, dec) 2 times (18)
23: sc in every st around (18)
Stuff the body firm, Fasten off yarn, leaving a long tail to sew the head to the body.
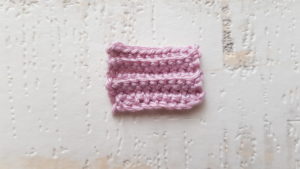
Bow:
Use colour C
1: ch11, starting from 2nd chain from hook, sc in all 10 sts [10]
2 – 5: ch1, turn, BLO sc in all 10 sts [10]
Fasten off yarn, weave in the ends.
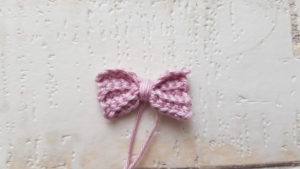
Get a long, string. Place it in the middle of the bow, leaving a long tail. Using the other tail, wrap around the bow 8 times. Tie the 2 tails together tight, and leave both tails long. We will use them to tie the bow to the hair.
Assembling Ivy, the Hippo:
1: Sew the ears onto the head between row 6-8
2: Sew the hair to the top of the head, and tie the bow around the hair
3: Sew the head to the body
4: Sew the arms to the body to row 20-21
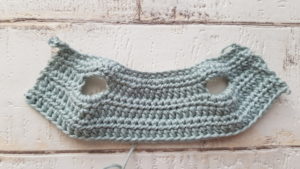
Onesie:
Use colour B
Tip: ch1 at the beginning of the round does not count as a stitch
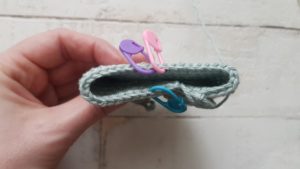
1: Ch 37. Starting from 8th ch from hook, sc in all 30 sts [30sc]
The hook we created with that ch7 will be the button hole.
2: Ch1, turn,(2hdc, hdc-inc) x10 [40hdc]
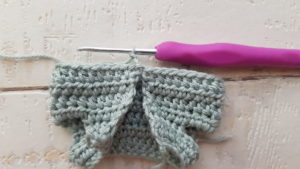
3: Ch1, turn, 6hdc, ch6, skip 6sts, 16hdc, ch6, skip 6, 6hdc [28hdc, 12 ch]
4: ch1 turn, 6hdc, 6hdc in ch space, 16hdc, 6hdc in ch space, 6hdc [40hdc]
5 -7: ch1, turn, hdc in every st around, at the end of round 7, sl st to 1st hdc [40hdc]
From now on we continue with continuous rounds
8 – 13: Ch1, hdc in every st, sl st to 1st st [40hdc]
In round 13, before you sl st, mark stitch 5, 24 and 25
14: Sl st to 1st stitch now, ch1, hdc in next 4 sts, hdc in st 25, we marked, hdc in next 15 sts, sl st [20hdc]
15 – 16: Ch1, hdc in all 20 sts, sl st [20hdc]
Fasten off yarn
17: Connenct yarn to sts 5, you marked, ch1, hdc in all 20 sts. The last st will be st 24, you marked before. Sl st to 1st st [20hdc]
18 – 19: Ch1, hdc in all 20 sts, sl st to 1st st
Fasten off yarn. If there is a little hole between the legs, where you did the sl st, close it with a needle and yarn
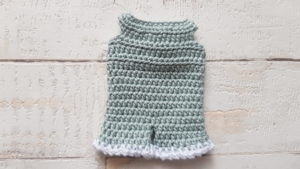
20: Connect colour D with a standing sc into any st on 1st leg, (ch2, sc in next st) x19, ch2, sl st to 1st sc
Repeat round 20 on the 2nd leg.
Sew the button on the back of the onesie.
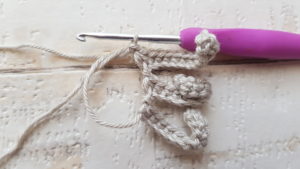
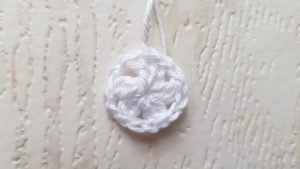
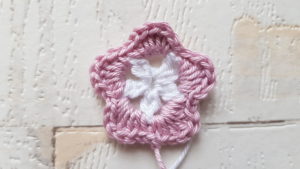
Flower applique:
Start with colour D
1: Start with a MR, ch3, dc, (ch2, dc2tog) x4, ch2 sl st to 1st dc, close the ring [5set of 2dc]
Fasten off yarn
2: Connect colour C with a standing sc into any ch2 space, hdc – 3dc – hdc – sc, into same space, (sc-hdc, 3dc-hdc-sc) x4 (in every ch2 space) sl st to 1st sc,
Fasten off yarn, leave a long tail to sew. When I sewed the flowers on, I only stitched around the dc2tog, leaving the petals free.
Congratulation, you finished Ivy, the hippo!