


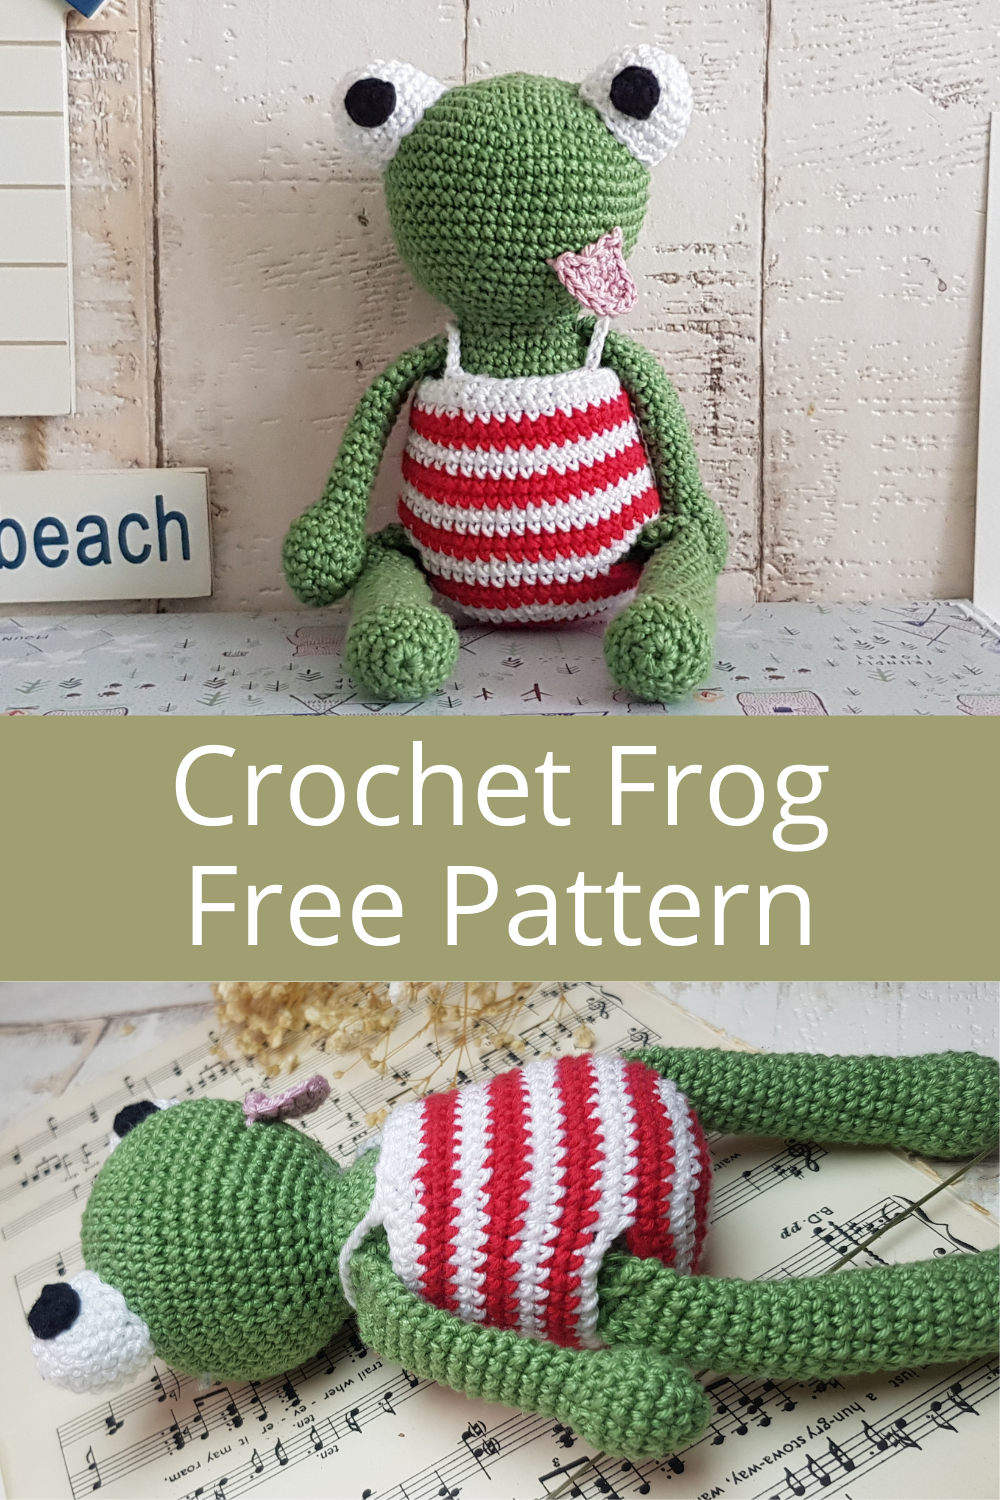
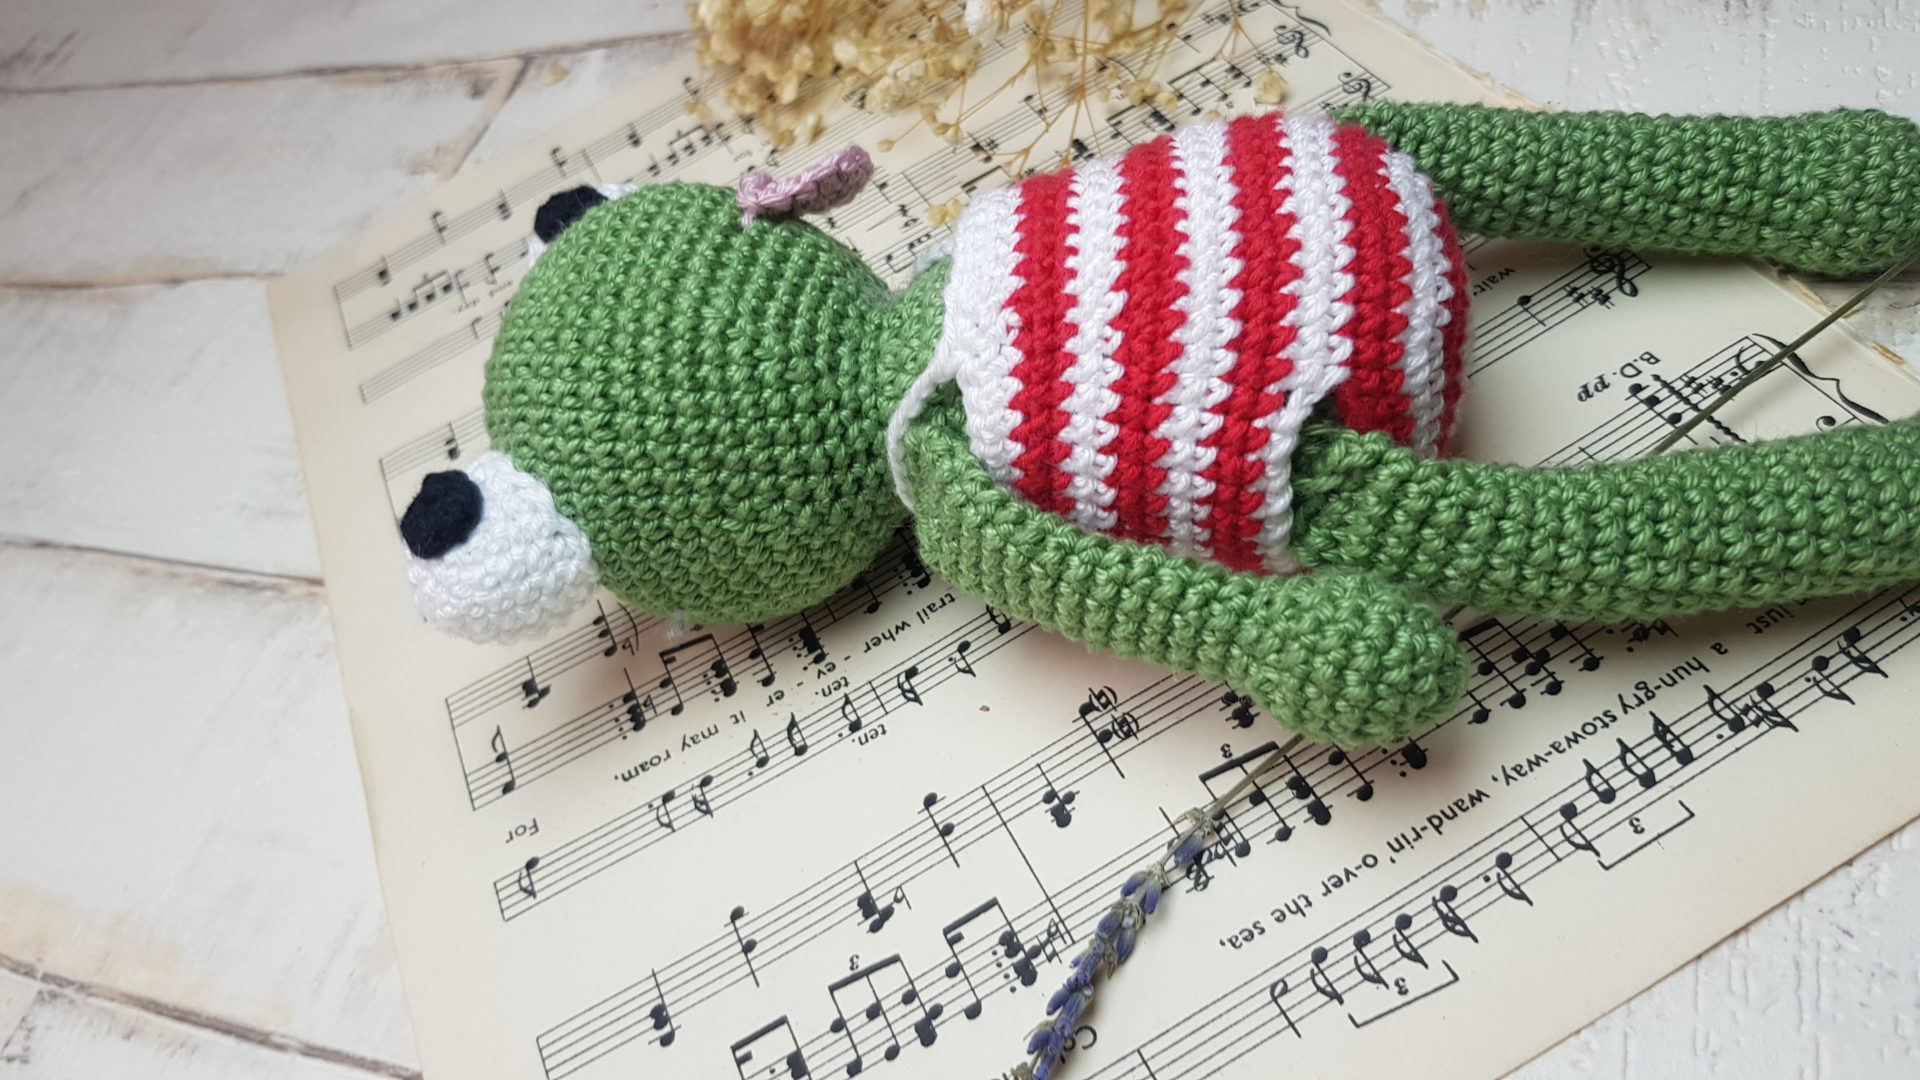
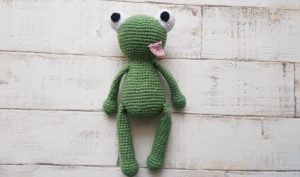
Here is a free amigurumi pattern of Lulu, the frog. It is super easy to make, and this pattern teaches you how to turn a basic doll design into a cute frog toy.
Pin it now, make it later!

Every summer we go to Hungary to visit my family. My dad lives by a big lake, which is connected to one of the main rivers and visited by many tourists.
Last year was so horrible for all of us, so we couldn’t wait to get there. We spent one whole day inside the lake, with very little sun protection. Extremely immature behaving, please don’t follow my silly example.
Both me and my daughter got burnt a little, because of our snow white skin. As I was looking at my daughter in her white and red stripy swimming costume, the idea to crochet Lulu, this little frog came to my mind.
Unluckily I didn’t take enough yarn with me, so I couldn’t crochet this frog straight away. I had to wait to come back home, and when we did I had other chores, but the idea of her was bugging me. So when I decided to make this blog, she was the second one in my creation box.
The story of Lulu, the frog:
Lulu loves to spend time by the lake, especially at summer. She hops in and out of the water with a big smile on her face, builds sand castles, and goes on long boat rides.
She is addicted to water by nature, so when her mum tells her to go home and have a proper bath, she can become moody and grumpy, but that makes her so lovable.
I hope Lulu will bring you as much joy as it does for me. If you crochet this little frog, please share it with me. ![]()

Caution!
Please be very cautious when you make toys for babies or children under the age of 3. If you sew parts on it, make sure they are secure and safe.
I recommend, to embroider the eyes, as the plastic safety eyes can be dangerous. My tutorial for embroidery eyes can be found here
|
All Zita and Bunny designs are original. Sales of the finished items are encouraged, but please give credit to the designer. Copyright © 2021 by Zita Renata Elek (Zita and Bunny).All rights reserved. This pattern is for personal use only. No part of it may be reproduced, resold, translated, published, altered, shared or posted in any way. |
**This blog contains affiliate links for products I use, believe in, or recommend. This means I will earn a small commission if you make a purchase from one of their links, and of course it is at no extra cost for you. It helps me to keep Zita and Bunny going and to keep publishing free patterns for you. You can check my full disclosure here. **


Abbreviations:
sc – single crochet
inc – increase
dec – decrease
ch – chain
st – stitch
sts – stitches
sl st – slip stitch
MR – magic ring
(…) – Repeate instructions for the amount of time given.

Materials you need for this crochet frog:
Affiliate links for the US:
1. Cotton yarn,
I used:
A – Scheepjes Catona, 212 – Sage Green
B – Schachenmayr Catania, 106 – Weiss
C – Schachenmayr Catania, 423 – Vintage
D – Safran, 19 – Red
E – Safran, 16 – Black
4. Scissors
6. Pin
7. Stuffing
Affiliate links for the UK:
1. CottonYarn:
A – Scheepjes Catona, 212 – Sage Green
B – Schachenmayr Catania, 106 – Weiss
C – Schachenmayr Catania, 423 – Vintage
D – Safran, 19 – Red
E – Safran, 16 – Black
4. Scissors
6. Pins
7. Stuffing


Legs: (make 2)
Use colour green
1: 6sc in a MR
2: (inc) x6 [12]
3: (sc, inc) x6 [18]
4 – 6: sc in every st around [18]
7: (sc, dec) x6 [12]
8 -23: sc in every st around [12]
Stuff the leg up to this point, do not stuff the rest
24 – 27: sc in every st around [12]
Press both layers of legs together so that they lay flat on top of each other, aligning the stitches side by side. sc together the opposite stitches. I put 4sc. Fasten off yarn, leaving a long tail to sew.

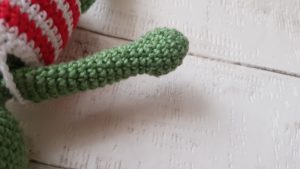
Arms: (make 2)
use colour green
1: 5sc in a MR
2: (inc) x5 [10]
3: (sc, inc) x5 [15]
4 -6: sc in every st around [15]
7: (sc, dec) x5 [10]
Stuff the arm up to this point, do not stuff the rest.
8 -21: sc in every st around [10]
Press both layers of arms together so that they lay flat on top of each other, aligning the stitches side by side. sc together the opposite stitches. I put 4sc. Fasten off yarn, leaving a long tail to sew.

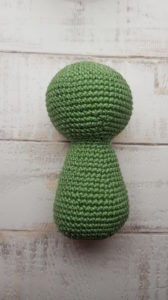
Head and Body:
Use colour green
1: 6sc in a MR
2: (inc) x6 [12]
3: (sc, inc) x6 [18]
4: (2sc, inc) x6 [24]
5: (3sc, inc) x6 [30]
6: (4sc, inc) x6 [36]
7: (5sc, inc) x6 [42]
8: (6sc, inc) x6 [48]
9: (7sc, inc) x6 [54]
10 – 17: sc in every st around [54]
18: (7sc, dec) x6 [48]
19: (6sc, dec) x6 [42]
20: (5sc, dec)x6 [36]
21: (4sc, dec) x6 [30]
22: (3sc, dec) x6 [24]
Stuff the head firm
23: (2sc, dec) x6 [18]
24: sc in every st [18]
25: (2sc, inc) x6 [24]
26: (3sc, inc) x6 [30]
27 -28: sc in every st around [30]
29: (4sc, inc) x6 [36]
30 – 31: sc in every st around [36]
32: (5sc, inc) x6 [42]
33 – 34: sc in every st around [42]
35 (6sc, inc) x6 [48]
36 – 41: sc in every st around [48]
42: (6sc, dec) x6 [42]
43: (5sc, dec) x6 [36]
44: (4sc, dec) x6 [30]
45: (3sc, dec) x6 [24]
Stuff the body firm
46: (2sc, dec) x6 [18]
47: (sc, dec) x6 [12]
48: (dec) x6 [6]
Fasten off yarn and close the hole.

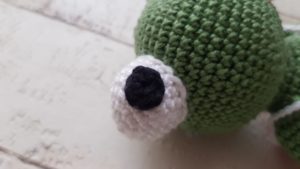
Eyes: (make 2)
Using white yarn
1: 6sc in a MR
2: (inc) x6 [12]
3: (sc, inc) x6 [18]
4 – 7: sc in every st around [18 ]
Fasten off yarn, leaving a long tail to sew.
Pupil
using black yarn
1: 6sc in a MR
sl st to 1st st
Fasten off yarn, leaving a long tail to sew. Sew the black pupil to the white eye. Stuff the eyes with fiber filler.

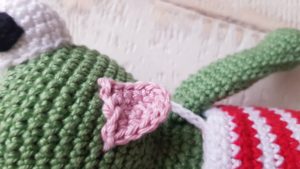
Tongue:
Use colour vintage
Ch5
1: starting from 2nd ch from hook, sc in next 3sts, 3sc in last stitch, continue on the other side, sc in next 3st [9]
2: ch1, turn, sc in next 3sts, inc in next 3sts, sc in next 3sts [12]
Fasten off yarn, leaving a long tail to sew.

Assembling Lulu, the crochet frog:
Sew the eyes between rows 5 – 11
tongue between rows 18 – 15
arms to row 26
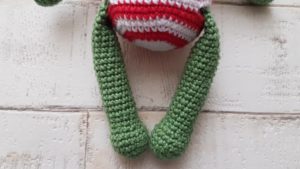
legs to row 38, leaving 17 sts between them at the front. This is very important because when we make the swimming costume it will only fit this way.
The other way to do it is to finish the swimming costume first, put it on the body and then sew the legs on where the holes of the swimming custom are.

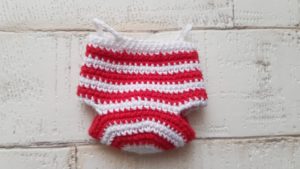
Swimming costume:
Start with white yarn, always change colour in the last st of previous row
1: White – 6sc in a MR
2: White – (inc) x6 [12]
3: White – (sc, inc) x6 [18]
4: White – (2sc, inc) x6 [24] In the last st change to colour red
5: Red – (3sc, inc)x6 [30]
6: Red – (4sc, inc) x6 [36] In the last st change to colour white
7: White – (5sc, inc) x6 [42]
8: White – (6sc, inc) x6 [48] In the last st, change to colour red
9 -10: Red – sc in every st around [48] In the last stitch change back to colour white
11: White – sc in next 9sts, ch9, skip 9 sts, sc in next 14sts, ch9 skip 9, sc in last 7sts [39sc, 18 ch]
12: White – sc in next 9sts, 9sc in ch space, sc in next 14 sts, 9sc in ch space, sc in next 7sts [48]
In last st change to colour red
13 -14: Red – sc in every st around [48] In the last st change to colour white
15 – 16: White – sc in every st around [48] In the last st change to colour red
17 – 18: Red – sc in every st around [48] In the last st change to colour white
19: White – (6sc, dec) x6 [42]
20: White – sc in every st around [42] In the last st change to colour red
21: Red – sc in every st around [42]
This was the last round where we worked in continuous rounds, from now on we ch1 (does not count as st) and turn at the end of every row.
22: Red – ch1, turn, sc in every st [42] in last st change to colour white
23: White – ch1, turn, (5sc, dec) x6 [36]
24: White – ch1, turn, sc in next 7 sts, ch9, skip next 6sts, sc in next 12 sts, ch9, skip 6 sts, sc in last 5 sts [36]
Fasten off yarn.

Congratulation! You finished Lulu, the crochet frog!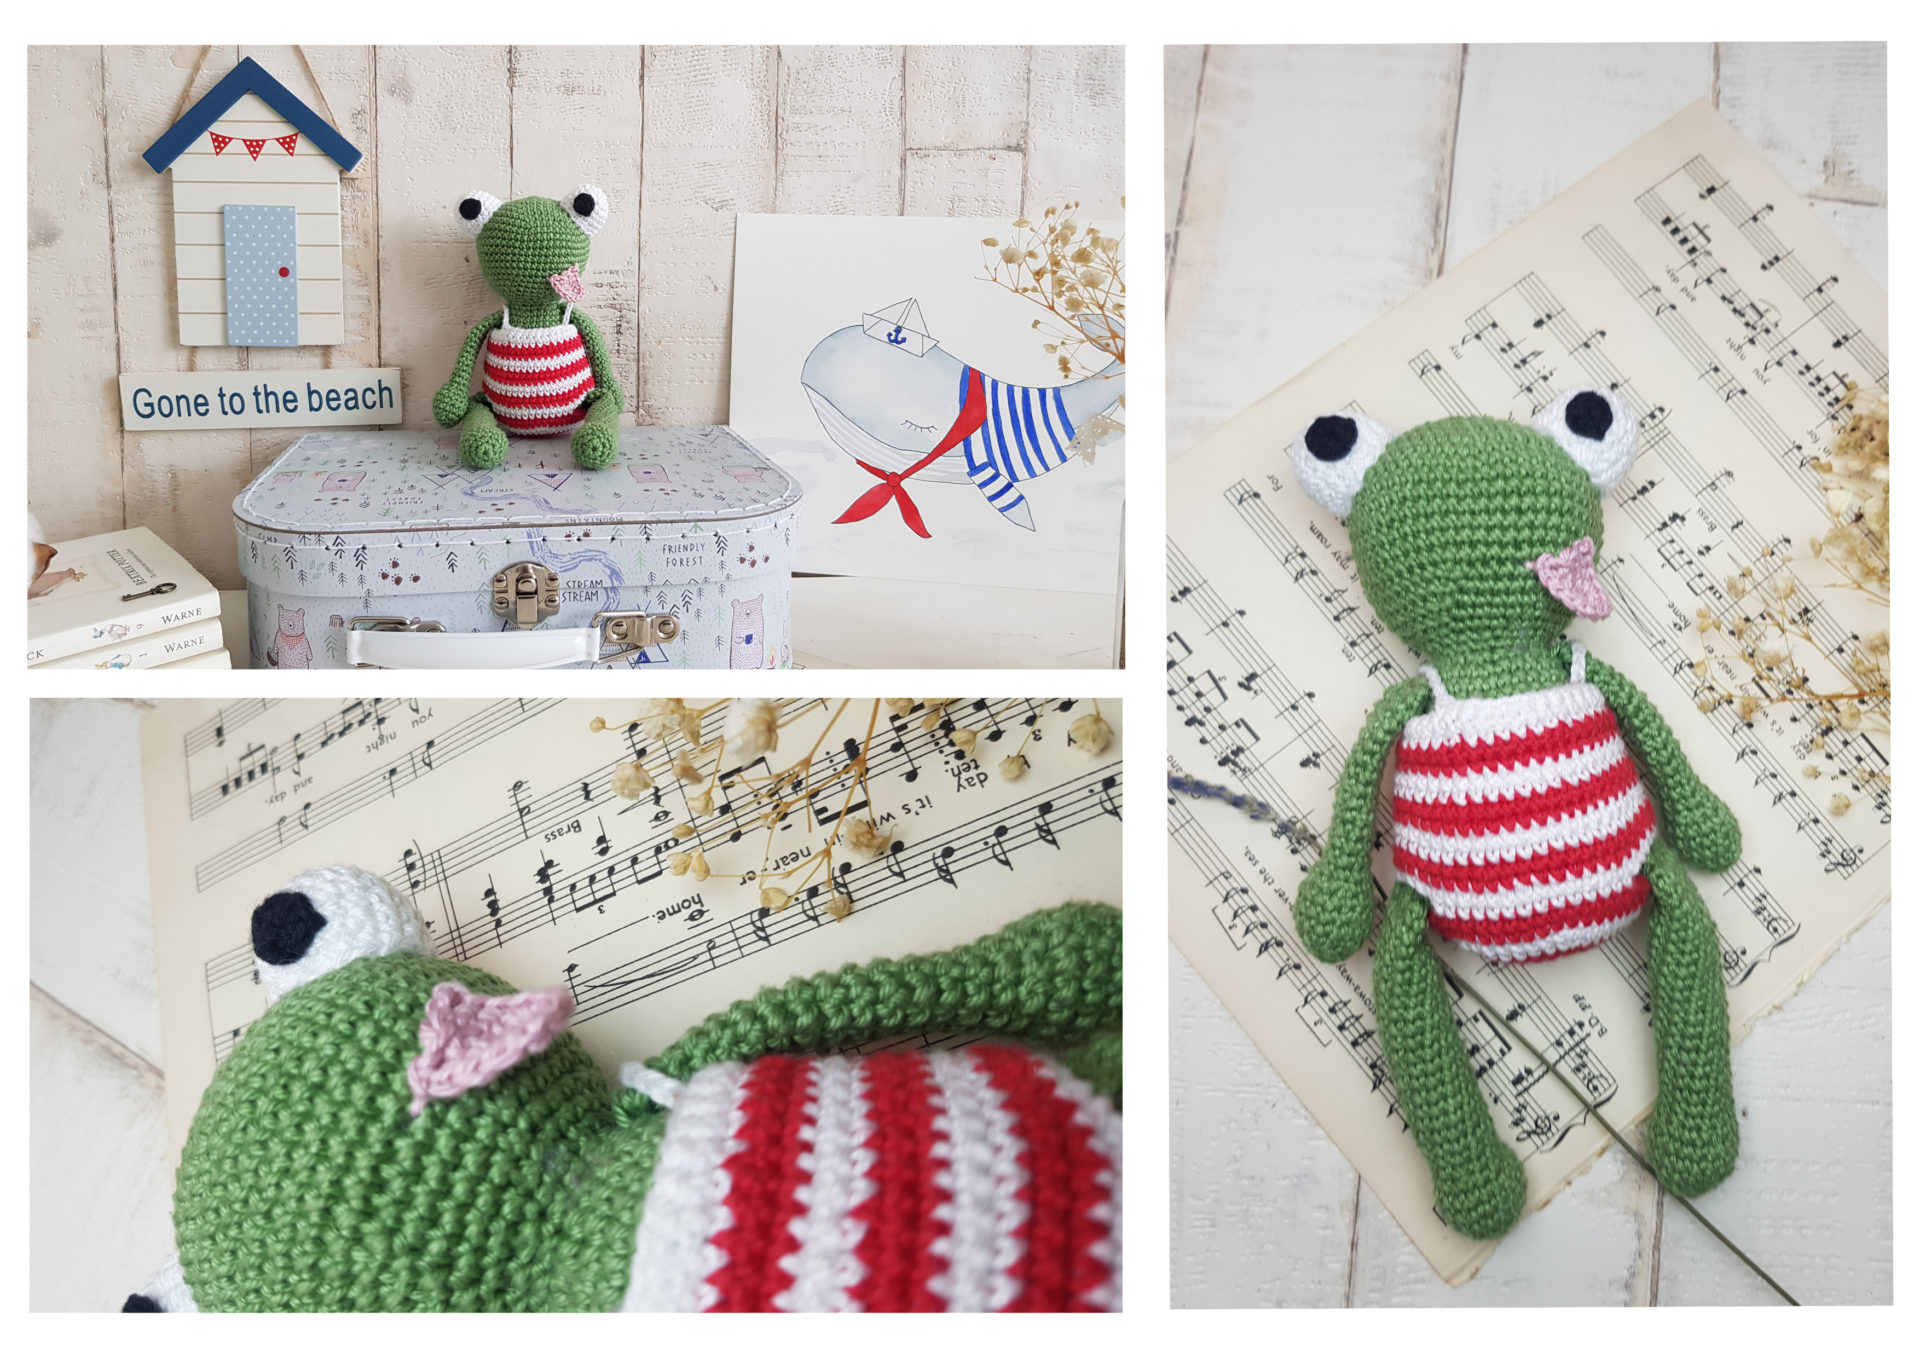

I would love to see your finished crochet frog, Lulu. Please share it with me on Instagram. You can find me as @zitaandbunny or click on this icon. ![]()

