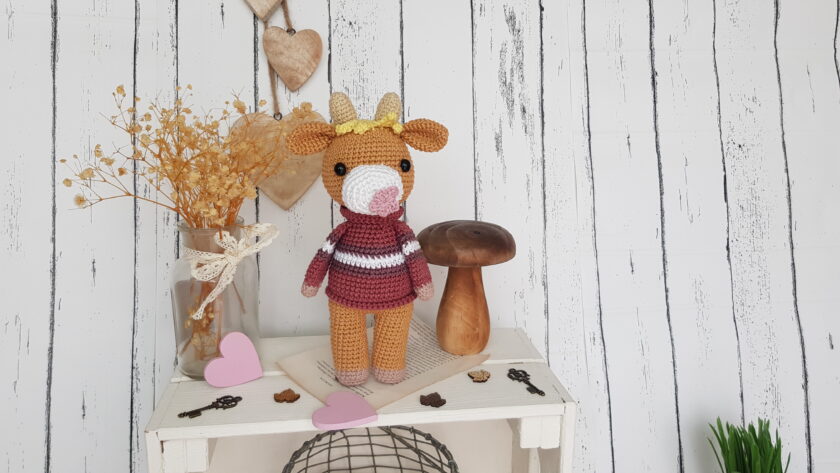
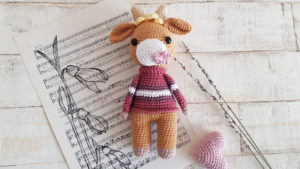
Enjoy the free pattern of Honey, this sweet little crochet cow. This is a super cute crochet pattern. You can learn how to join the legs in amigurumi. I was inspired to make this pattern by a very fond childhood memory of mine.
Pin it now, make it later!
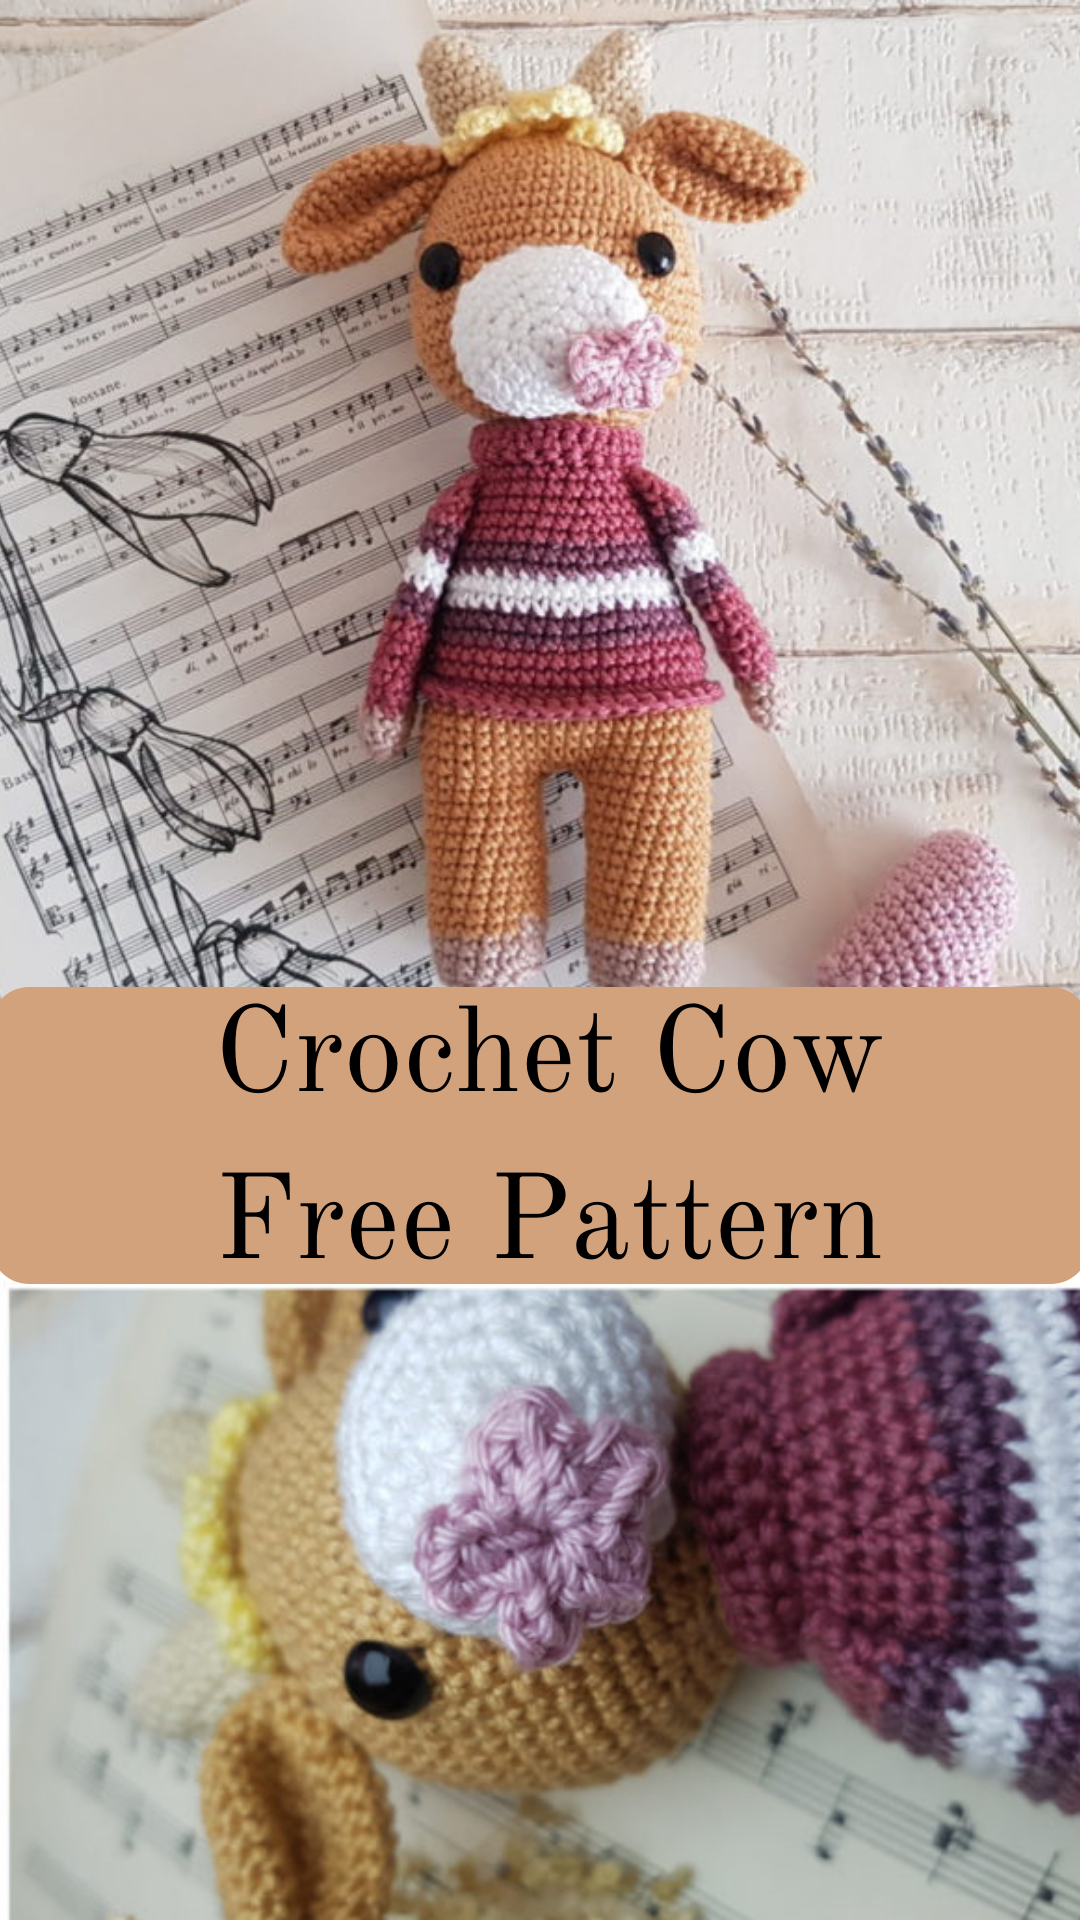
How did I come up with the idea to crochet a cow? I absolutely don’t know that, but I am pretty sure I saw a cross stitch picture with a cow, which inspired me and I also know I didn’t think about it long, I just did it. I have to tell you I totally love everything about Honey, this little crochet cow. The colours, the appearance, and the style.
Although my heart beats for forest animals, I have some connection and fond memories of farm animals. I grew up in the city, but we had a holiday home in the middle of nowhere where we went at the weekends to get wild. There was absolutely nothing around, only our old little house and a farm next to us with and old couple, and their many animals. My brother and me always went there to pet them. It was absolutely fantastic, for city kids.
One day a new cow was born. Me and and my brother went to check it out. My brother was wearing a short, and mid calf length socks. (It was around 1983 so just roll with it). One of his sock was rolled up and the other rolled down. While we were petting the little calf, he grabbed my brother’s rolled down sock and pulled it up. It was so unreal and funny, I will never forget it. I was only 4 years old but I totally remember every second of that experience.
Honey, my little cow reminds me of that baby calf.
The story of Honey, the cow:
Honey is a chic city cow, who loves being around other animals and hang out with friends. She also likes to go to the countryside and visit her cousins. When she is there, she likes to lay on a big straw stack, look at the sky and eat her favourite pink flowers.
Caution!
Please be very cautious when you make toys for babies or children under the age of 3. If you sew parts on it, make sure they are secure and safe.
I recommend, to embroider the eyes, as the plastic safety eyes can be dangerous. My tutorial for embroidery eyes can be found here
|
All Zita and Bunny designs are original. Sales of the finished items are encouraged, but please give credit to the designer. Copyright © 2021 by Zita Renata Elek (Zita and Bunny).All rights reserved. This pattern is for personal use only. No part of it may be reproduced, resold, translated, published, altered, shared or posted in any way. |
**This blog contains affiliate links for products I use, believe in, or recommend. This means I will earn a small commission if you make a purchase from one of their links, and of course it is at no extra cost for you. It helps me to keep Zita and Bunny going and to keep publishing free patterns for you. You can check my full disclosure here. **
Abbreviations:
sc – single crochet
inc – increase
dec – decrease
sc-inc – single crochet decrease
hdc – half double crochet
hdc-inc – half double crochet increase
ch – chain
st – stitch
sts – stitches
sl st – slip stitch
MR – magic ring
FLO – front loop only
BLO – back loop only
(…) – repeat instruction for the amount of times given
Materials you need for this crochet cow:
Affiliate links for the US:
1. Cotton yarn,
I used:
A: Schachenmayr Catania – 179 Camel
B: Scheepjes Catona – 396 Rose Wine
C: Schachenmar Catania – 106 Snow White
D: Scheepjes Catona – 257 Antique Mauve
E: Schachenmayr Catania – 404 Sand
F: Schachenmayr Catania- 403 Vanille
G: Schachenmayr Catania – 423 Vintage
H: Scheepjes Catona – 526 Ashes
3. Safety eyes, 9mm
5. Scissors
7. Pins
8. Stuffing
Affiliate links for the UK:
1. CottonYarn:
A: Schachenmayr Catania – 179 Camel
B: Scheepjes Catona – 396 Rose Wine
C: Schachenmayr Catania – 106 Snow White
D: Scheepjes Catona – 257 Antique Mauve
E: Schachenmayr Catania – 404 Sand
F: Schachenmayr Catania– 403 Vanille
G: Schachenmayr Catania – 423 Vintage
H: Scheepjes Catona – 526 Ashes
5. Scissors
7. Pins
8. Stuffing
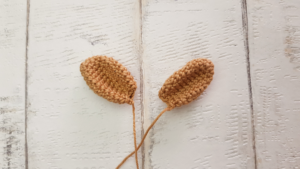
Ears: (make 2)
Use colour A
1: 6sc in a Mr [6]
2: (sc, inc) x3 [9]
3: (2sc, inc) x3 [12]
4: (3sc, inc) x3 [15]
5: (4sc, inc) x3 [18]
6-9: sc in every st around [18]
10: (4sc, dec) x3 [15]
11: (3sc, dec) x3 [12]
12: (2sc, dec) x3 [9]
Fasten off yarn, leaving a long tail to sew.
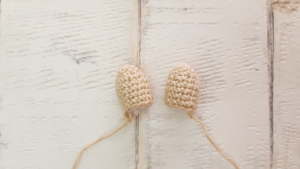
Horns: (make 2)
Use colour E
1: 6sc in a MR [6]
2: (sc, inc) x3 [9]
3: sc in every st around [9]
4: (2sc, inc) x3 [12]
5 – 8: sc in every st around [12]
Fasten off yarn, leaving a long tail to sew.
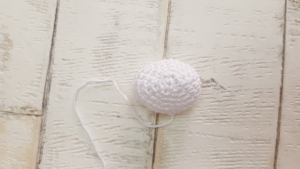
Nose:
Use colour C
1: 6sc in a MR [6]
2: sc-inc, hdc-inc, (sc, inc) x2, hdc-inc, sc-inc [8sc, 4hdc]
3: sc, sc-inc, hdc, hdc-inc, (sc, sc-inc) x2, hdc, hdc-inc, sc, sc-inc [12sc, 6hdc]
4: 2sc, sc-inc, 2hdc, hdc-inc, (2sc, sc-inc) x2, 2hdc, hdc-inc, 2sc, sc-inc [16sc, 8hdc]
5: 3sc, sc-inc, 3hdc, hdc-inc, (3sc, sc-inc) x2, 3hdc, hdc-inc, 3sc, sc-inc [20sc, 10hdc]
6-7: sc in every st around [30sc]
Fasten off yarn, leaving a long tail to sew
Hair:
Use colour F
(After chain, always start from 2nd chain from hook)
1: 8sc in a MR [8]
2: (inc) x8 [16]
3: (sc, inc) x8 [24]
4: sl st to next st, ch1and turn (this side is the wrong side), skip sl st we just made, sl st to next st, ch7, sc in next 6sts, sl st in next 2sts on main sircle.
- ch5, sc in next 4sts, sl st in next 2sts on main circle
- ch7, sc in next 6sts, sl st in next 2sts on main circle
- ch7, sc in next 6sts , slst in next 2sts on main circle
- ch5, sc in next 4sts, sl st in next 2sts on main circle
- ch6, sc in next 5sts, sl st in next 2sts on main circle
- ch5, sc in next 4sts, sl st in next 2sts on main circle
- ch7, sc in next 6 sts, sl st to next 2sts on main circle
- ch6, sc in next 5sts, sl st in next 2sts on main circle
- ch6, sc in next 5 sts, sl st in next 2sts on main circle
- ch5, sc in enxt 4sts, sls t to next 2 sts on main circle (this part will go to the back of the head)
Fasten off yarn, leaving a long tail to sew. You will sew the hair on, with the right side facing up, so the hair does not curl upwards.
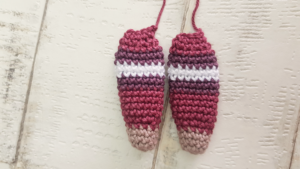
Arms: (make 2)
Always change colour in the last st of previous round
Start with colour D
1: 5sc in a MR [5]
2: (inc) x5 [10]
3-4: sc in every st around, in the last st change to colour B [10]
5: sc in every st around [10]
6: (sc, inc) x5 [15]
7-10: sc in every st around, in last st change to colour H [15]
11-12: sc in every st around, in last st change to colour C [15]
13-14: sc in every st around, in last st change to colour H [15]
15-16: sc in every st around, in last st change to colour B [15]
17: sc in every st around [15]
18: (sc, dec) x5 [10]
Press both layers of arms together so that they lay flat on top of each other, aligning the stitches side by side. Sc together the opposite stitches. I put 5sc. Fasten off yarn on both arms and leave a long tail to sew.
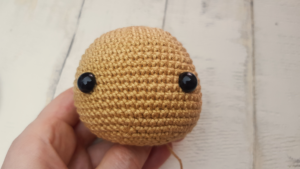
Head:
Use colour A
1: 8sc in a MR [8]
2: (inc) x8 [16]
3: (sc, inc) x8 [24]
4: (3sc, inc) x6 [30]
5: (4sc, inc) x6 [36]
6: (5sc, inc) x6 [42]
7: sc in every st around [42]
8: (13sc, inc) x3 [45]
9: sc in every st around [45]
10: (14sc, inc) x3 [48]
11: sc in every st around [48]
12: (15sc, inc) x3 [51]
13: sc in every st around [51]
14: (16sc, inc) x3 [54]
15-18: sc in every st around [54]
19: (7sc, dec) x6 [48]
20: (4sc, dec) x8 [40]
21: (3sc, dec) x8 [32]
22: (2sc, dec) x8 [24]
Insert safety eyes between row 13-14, leaving 12 sts between them, stuff head firm
23: (4sc, dec) x4 [20]
fasten off yarn, leaving a long tail to sew. Stuff the head firm
Legs: (make 2)
always change colour in the last stitch of previous round
Start with colour D
1: 6sc in a MR [6]
2: (inc) x6 [12]
3: (sc, inc) x6 [18]
4: BLO in every st around [18]
5-6: sc in every st around, in last st change to colour A [18]
7-16: sc in every st around [18]
Stuff the legs, and on the 1st leg fasten off yarn.
On the 2nd leg do not fasten off yarn, keep crocheting, we will connect the 2 legs
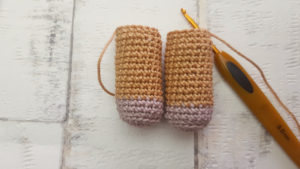
Body:
continue with colour A
1: ch2, sc in the last stitch made on first leg, sc in next 17 sts on leg, working on ch2, sc in both ch spaces, on second leg, sc in every 18 st, sc in the next 2 sts in unused loops on the other side of ch2. [40]
2: (9sc, inc) x4 [44]
3-5: sc in every st around, in last st change to colour B [44]
6: sc in every st around [44]
7: BLO sc in every st around [44]
8-10: sc in every st around, in last st change to colour H [44]
11: (9sc, dec) x4 [40]
12: sc in every st around, in last st change to colour C [40]
13: sc in every st around [40]
14: (8sc, dec) x4, in last st change to colour H [36]
15-16: sc in every st around, in last st change to colour B [36]
17: (7sc, dec) x4 [32]
18: sc in every st around [32]
19: (6sc, dec) x4 [28]
20: sc in every st around [28]
21: (5sc, dec) x4 [24]
22: BLO (4sc, dec) x4, in last st change to colour A [20]
23: sc in every st around [20]
sl st to next st, fasten off yarn, leaving a long tail to sew
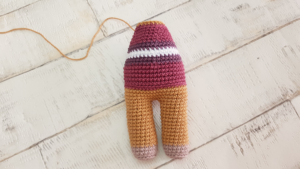
Shirt edge:
Use colour B
Holding the body with neck facing down, attach colour B to the 1st FLO in row 7. Sc in every st around. Sl st to 1st sc, fasten off yarn and weave in end.
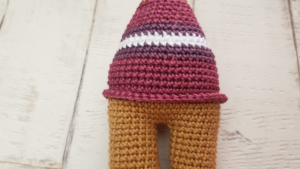
Neck edge:
Use colour B
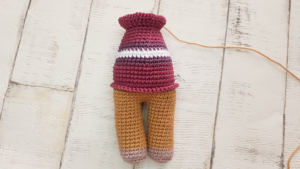
1: Holding the body with legs facing down, attach colour B to the 1st FLO in row 22. Sc in every st around [20]
2: (sc, inc) x10 [30]
3: (2sc, inc) x10 [40]
Fasten off yarn, weave in the ends
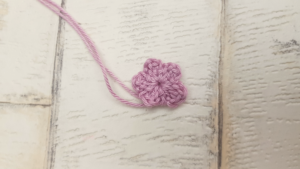
Flower:
Use colour F
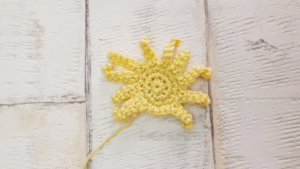
Start with a MR, (ch2, dc, ch2, sl st into Mr) x5, sl st to 1st ch in 1st petal.
Fasten off yarn, leaving a long tail
Assembling Honey, the Cow
1. Sew the arms onto the body between round 20-21.
2. Sew the hair on top of the head
3. Sew the ears onto the head between round 6-7
4. Sew the horns on the hair, next to the ears
5. Sew the nose to the head. The top of the nose should be between rounds 13-14.
6. Sew the flower to the mouth
I stuffed the horns and the nose a little before I sewed them on.
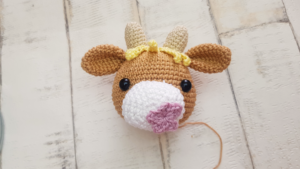
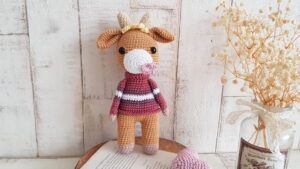
Congratulation, you finished Honey!
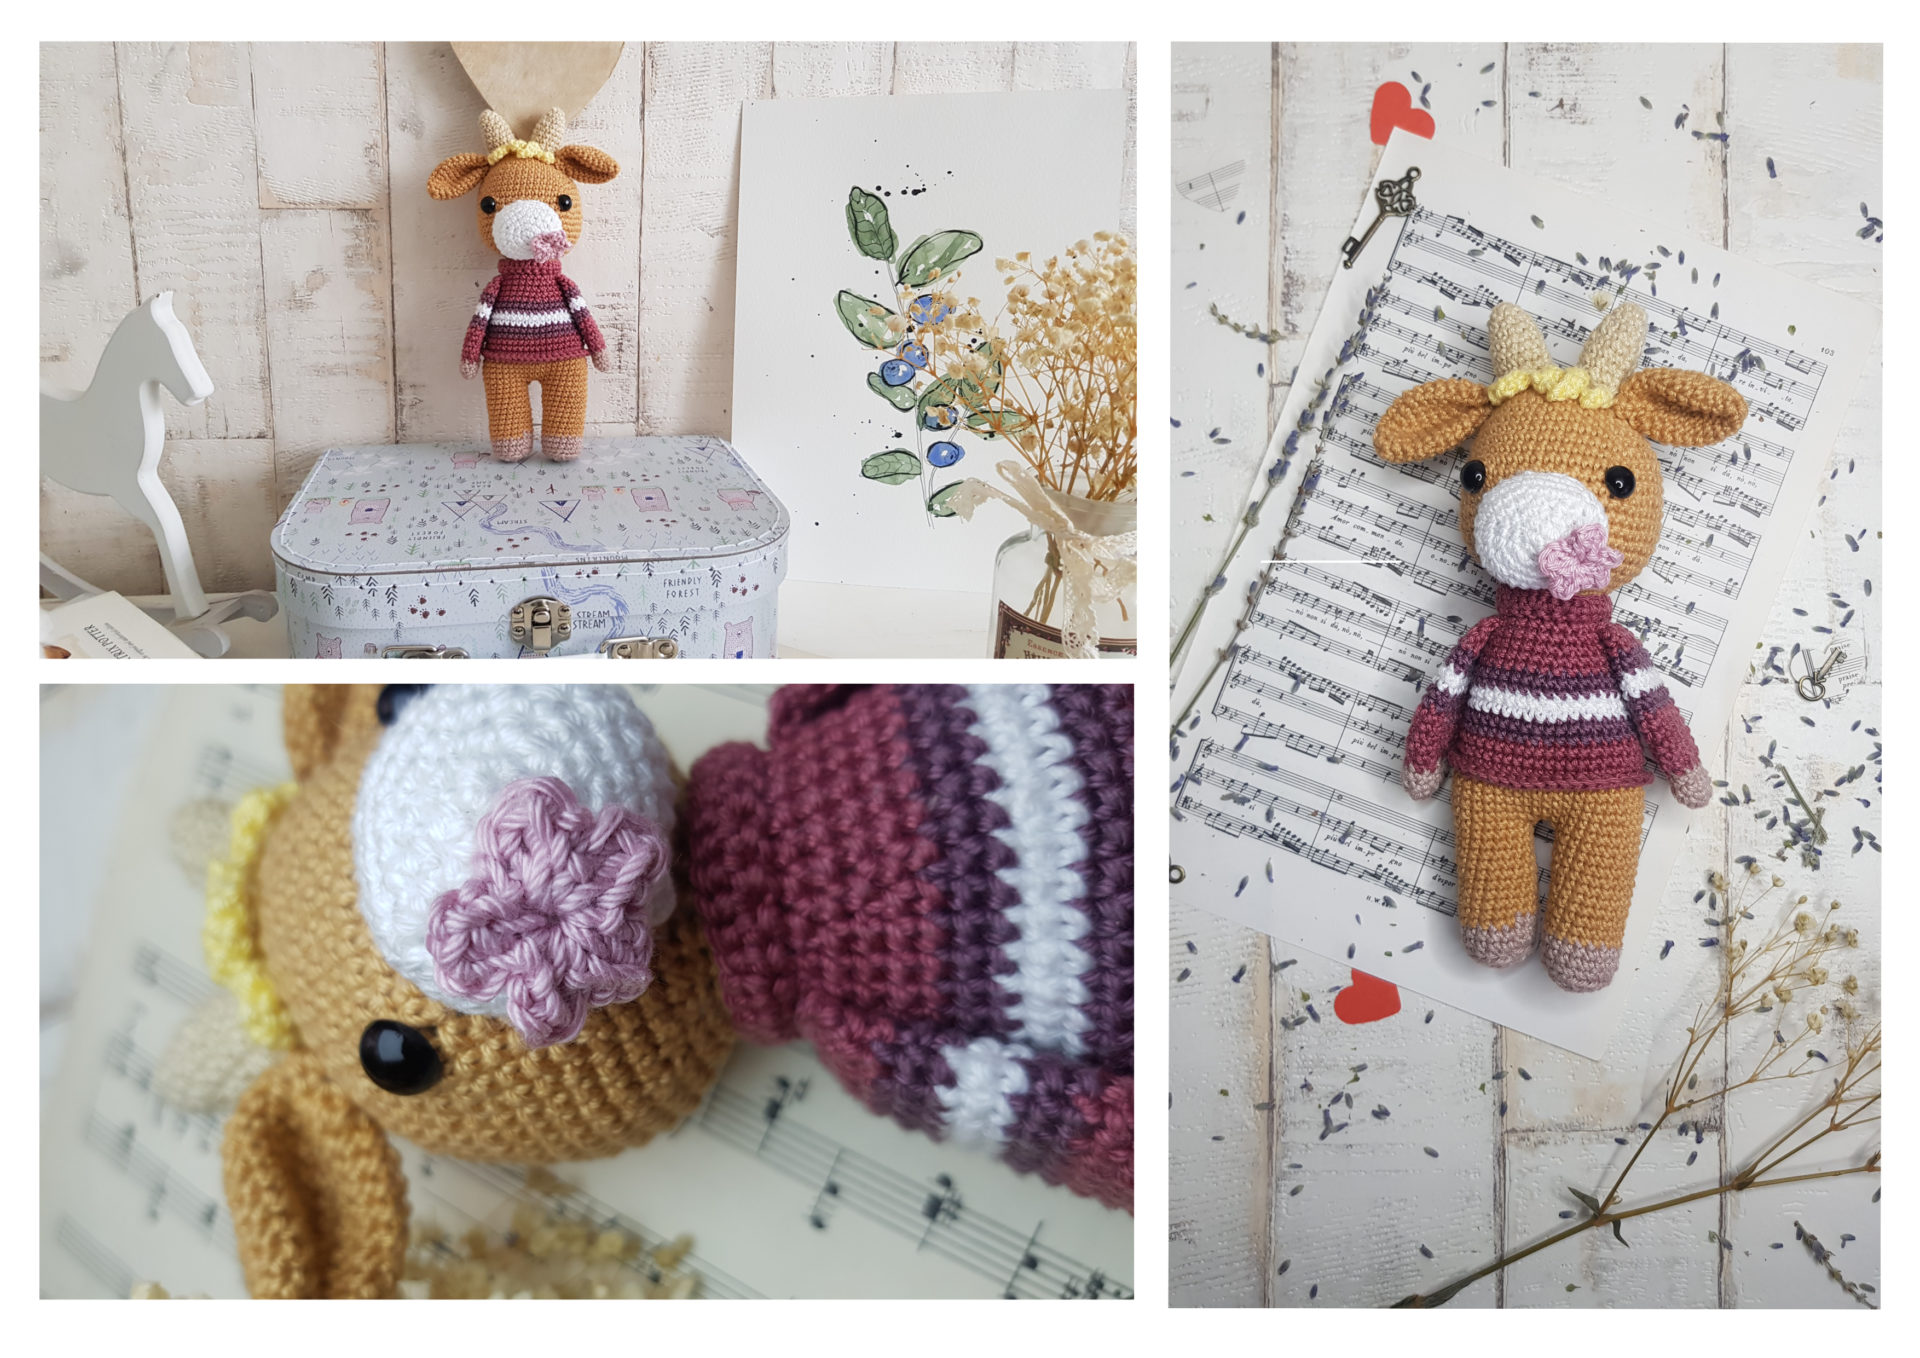
I would like to see your finished crochet bunny, Snowball. Please share it with me on Instagram. You can find me as @zitaandbunny or click on this icon. ![]()
