


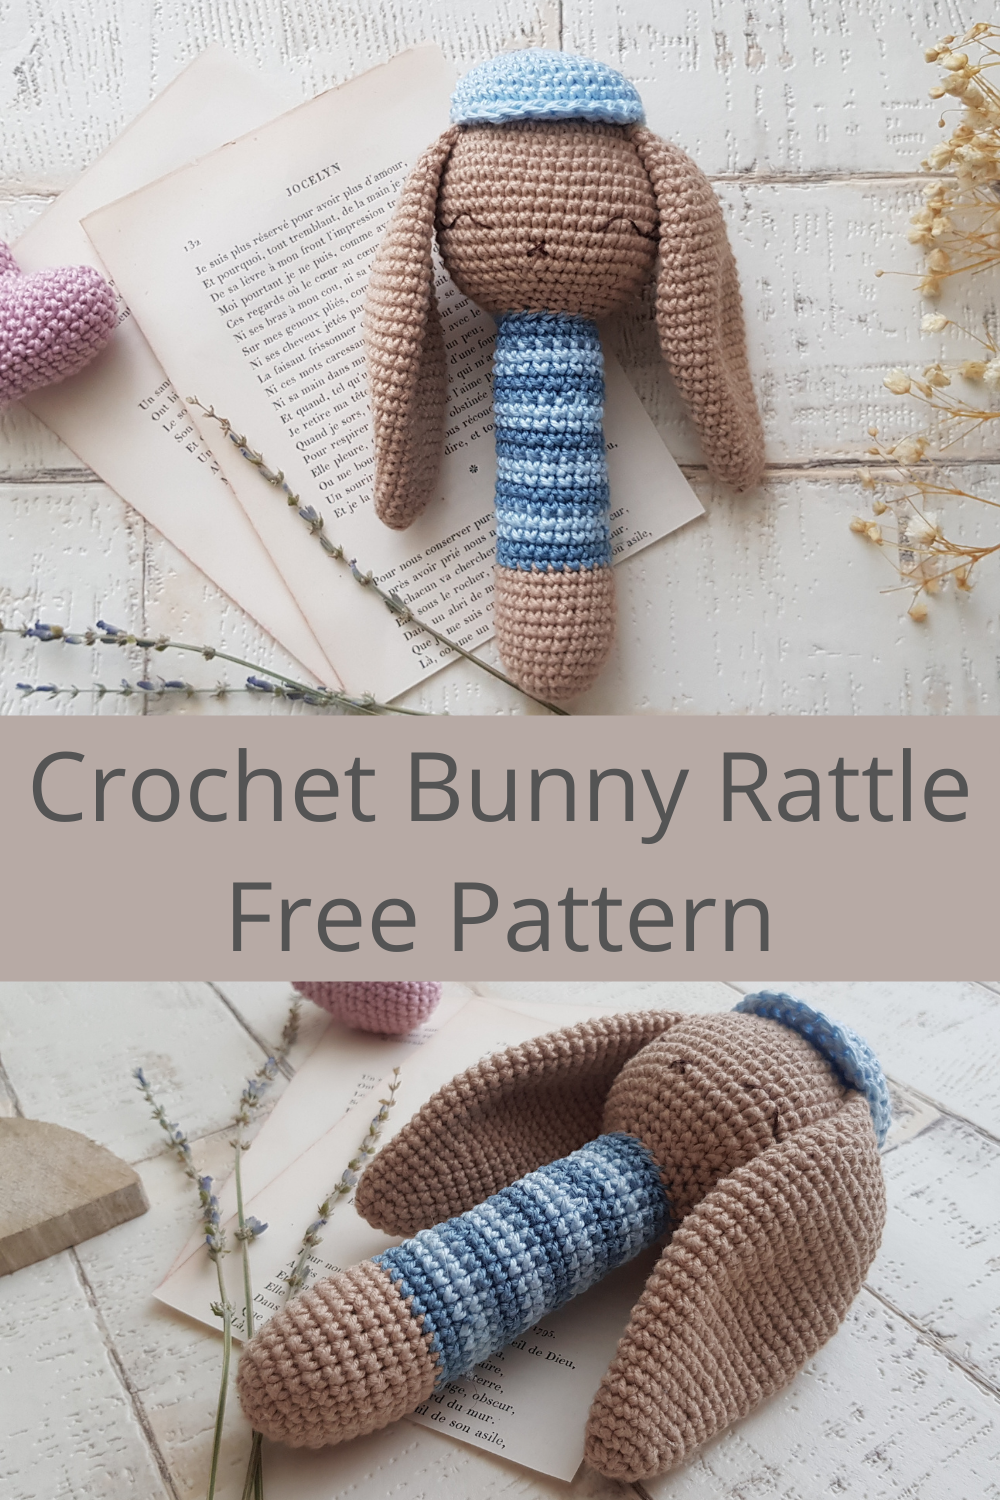
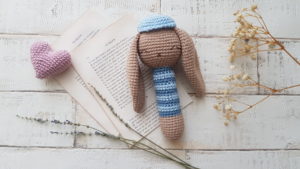
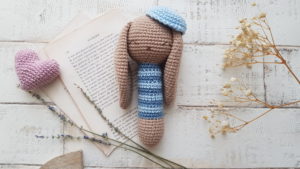
I am happy to offer you this free crochet rattle bunny pattern. It works up very quickly and can be the perfect present to a new baby, for a baby shower or for Christening.
Pin it now, make it later!

I love baby toys, especially if they are handmade, and a pretty crochet rattle is my weakness. I still have my children’s first toys, kept safe in a box. Time to time I take them out and just look at them. They bring back nice memories.
When I was a child, my dream job was to own a toy shop and play all day. I am very close to fulfil my dreams, although it is not a shop and I don’t play, but I love to be surrounded with my own toy creations.
Handmade toys are timeless. If I see something unique and pretty, I buy it straight away even if I have to order it from Australia.
My children always say they are so lucky because I love toys and sweets more than them, so we always have these at home.
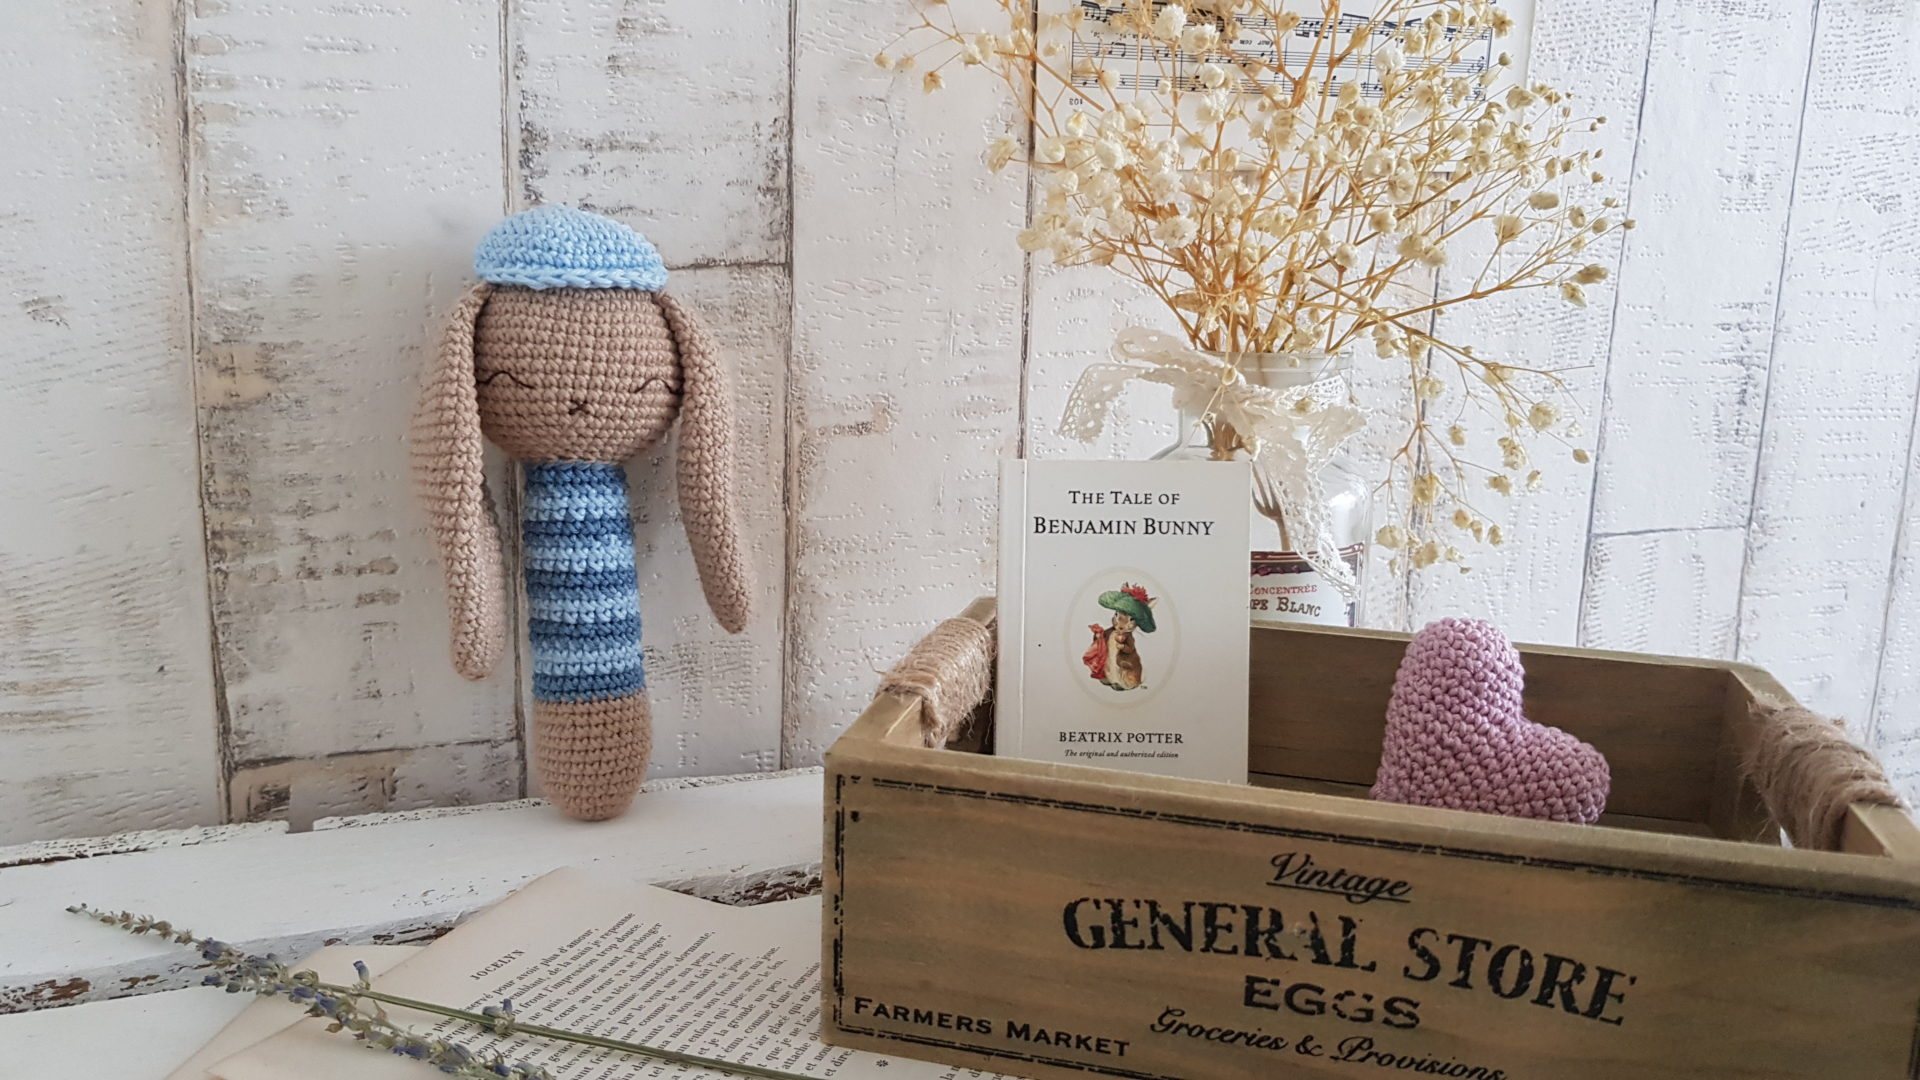
In this crochet rattle toy, I combined my obsession for toys and bunnies.
This rattle is easy to make and can be the perfect gift for a baby. I am planning to make a matching blanket in the future, to make these the perfect new baby present. As soon as I have it, I will link the pattern here.
Although this bunny rattle is quite boyish, you can easily adjust it to a girl, just use a different colour and instead of the hat, put a flower on the head.
I have the pattern for the flower in my Zara Bunny post.
Caution!
Please be very cautious when you make toys for babies or children under the age of 3. If you sew parts on it, make sure they are secure and safe.
I recommend, to embroider the eyes, as the plastic safety eyes can be dangerous. My tutorial for embroidery eyes can be found here.

|
All Zita and Bunny designs are original. Sales of the finished items are encouraged, but please give credit to the designer. Copyright © 2021 by Zita Renata Elek (Zita and Bunny).All rights reserved. This pattern is for personal use only. No part of it may be reproduced, resold, translated, published, altered, shared or posted in any way. |
**This blog contains affiliate links for products I use, believe in, or recommend. This means I will earn a small commission if you make a purchase from one of their links, and of course it is at no extra cost for you. It helps me to keep Zita and Bunny going and to keep publishing free patterns for you. You can check my full disclosure here. **
Abbreviations:
sc – single crochet
inc – increase
dec – decrease
ch – chain
st – stitch
sl st – slip stitch
MR – magic ring
FLO – front loop only
sts – stitches
(…) – Repeat instructions for the amount of times given

Materials you need for this crochet bunny:
Affiliate links for the US:
1. Cotton yarn,
I used:
A – Safran, 21 – Beige
B – Scheepjes Catona, 173 – Bluebell
C – Schachenmayr Catania, 421 – Denim
4. Scissors
6. Pins
7. Stuffing
8. Rattle inserter
9. Embroidery thread
Affiliate links for the UK:
1. CottonYarn:
A – Safran, 21 – Beige
B – Scheepjes Catona, 173 – Bluebell
C – Schachenmayr Catania, 421 – Denim
4. Scissors
6. Pins
7. Stuffing
8. Rattle inserter
9. Embroidery thread


Head:
Use main colour
1: 6sc in a Mr
2: (inc) x6 [12]
3: (sc, inc) x6 [18]
4: (2sc, inc) x6 [24]
5: (3sc, inc) x6 [30]
6: (4sc, inc) x6 [36]
7: (5sc, inc) x6 [42]
8: (6sc, inc) x6 [48]
9 – 16: sc in every st around [48]
17: (6sc, dec) x6 [42]
18: (5sc, dec) x6 [36]
19: (4sc, dec) x6 [30]
20: (3sc, dec) x6 [24]
21: (2sc, dec) x6 [18]
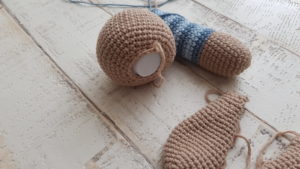
Fasten off yarn, stuff head firm, and insert the rattle.

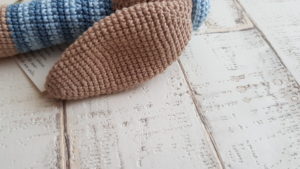
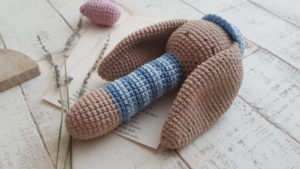
Ears:
Use main colour
1: 6sc in a MR
2: (inc) x6 [12]
3: (3sc, inc) x3 [15]
4: sc in every st around [15]
5: (4sc, inc) x3 [18]
6: sc in every st around [18]
7: (5sc, inc) x3 [21]
8: sc in every st around [21]
9: (6sc, inc) x3 [24]
10: sc in every st around [24]
11: (5sc, inc) x4 [28]
12: sc in every st around [28]
13: (13sc, inc) x2 [30]
14 – 19: sc in every st around [30]
20: (13sc, dec) x2 [28]
21: sc in every st around [28]
22: (12sc, dec) x2 [26]
23: sc in every st around [26]
24: (11sc, dec) x2 [24]
25: (10sc, dec) x2 [22]
26: (9sc, dec) x2 [20]
27: (8sc, dec) x2 [18]
28: (7sc, dec) x2 [16]
29: (6sc, dec) x2 [14]
30: (5sc, dec) x2 [12]
31: (4sc, dec) x2 [10]
Fasten off yarn, leaving a long tail to sew.

Handle:
Start with the main colour
1: 6sc in a MR
2: (inc) x6 [12]
3: (sc, inc) x6 [18]
4: (2sc, inc) x6 [24]
5 – 10: sc in every st around [24]
11: (10sc, dec) x2 [22]
12: sc in every st around [22] In the last stitch, change to colour dark blue
13 – 14: sc in every st around [22] In the last stitch change to colour light blue
15 -16: sc in every st around [22] In the last st change to colour dark blue
17: sc in every st around [22]
18: (9sc, dec) x2 [20] In the last stitch change to light blue
19 -20: sc in every st around [20] In the last st change to colour dark blue
21 -22: sc in every st around [20] In the last st change to colour light blue
23 – 24: sc in every st around [20] In the last st change to colour dark blue
25: (8sc, dec) x2 [18]
26: sc in every st around [18] In the st change to colour light blue
27 – 28: sc in every st around [18] In the last st change to colour dark blue
29 – 30: sc in every st around [18]
Fasten off yarn, leave a long tail to sew it to the head.

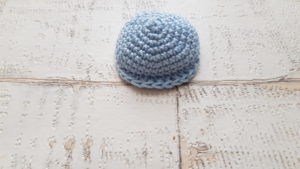
Hat:
1: 6sc in a MR
2: (inc) x6 [12]
3: (sc, inc) x6 [18]
4: (2sc, inc) x6 [24]
5: (3sc, inc) x6 [30]
6: (4sc, inc) x6 [36]
7 – 8: sc in every st around [36]
9: 12sc, {FLO – sc, hdc, 8dc, hdc, sc,}, 12sc [24sc, 2FLO sc, 2FLO hdc, 8FLO dc]
Fasten off yarn, leaving a long tail to sew.

Assembling the bunny rattle:
Sew the ears between row 6-7, and sew the head to the handle.
You can decide where you want to sew the hat. I like it on the side, but even in the middle it is very cute.


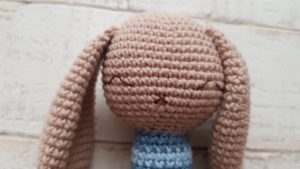
Embroider the eyes and the nose. You can find the tutorial here.

Congratulations, you finished the bunny rattle.
I would like to see your finished crochet bunny. Please share it with me on Instagram. You can find me as @zitaandbunny or click on this icon.![]()

