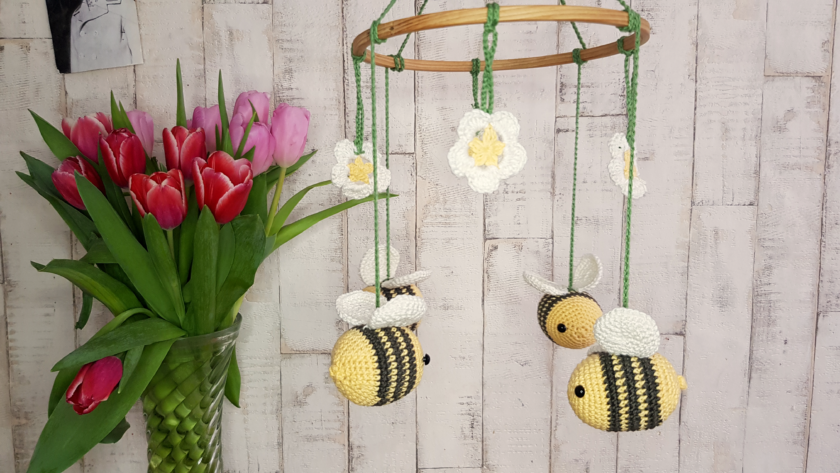
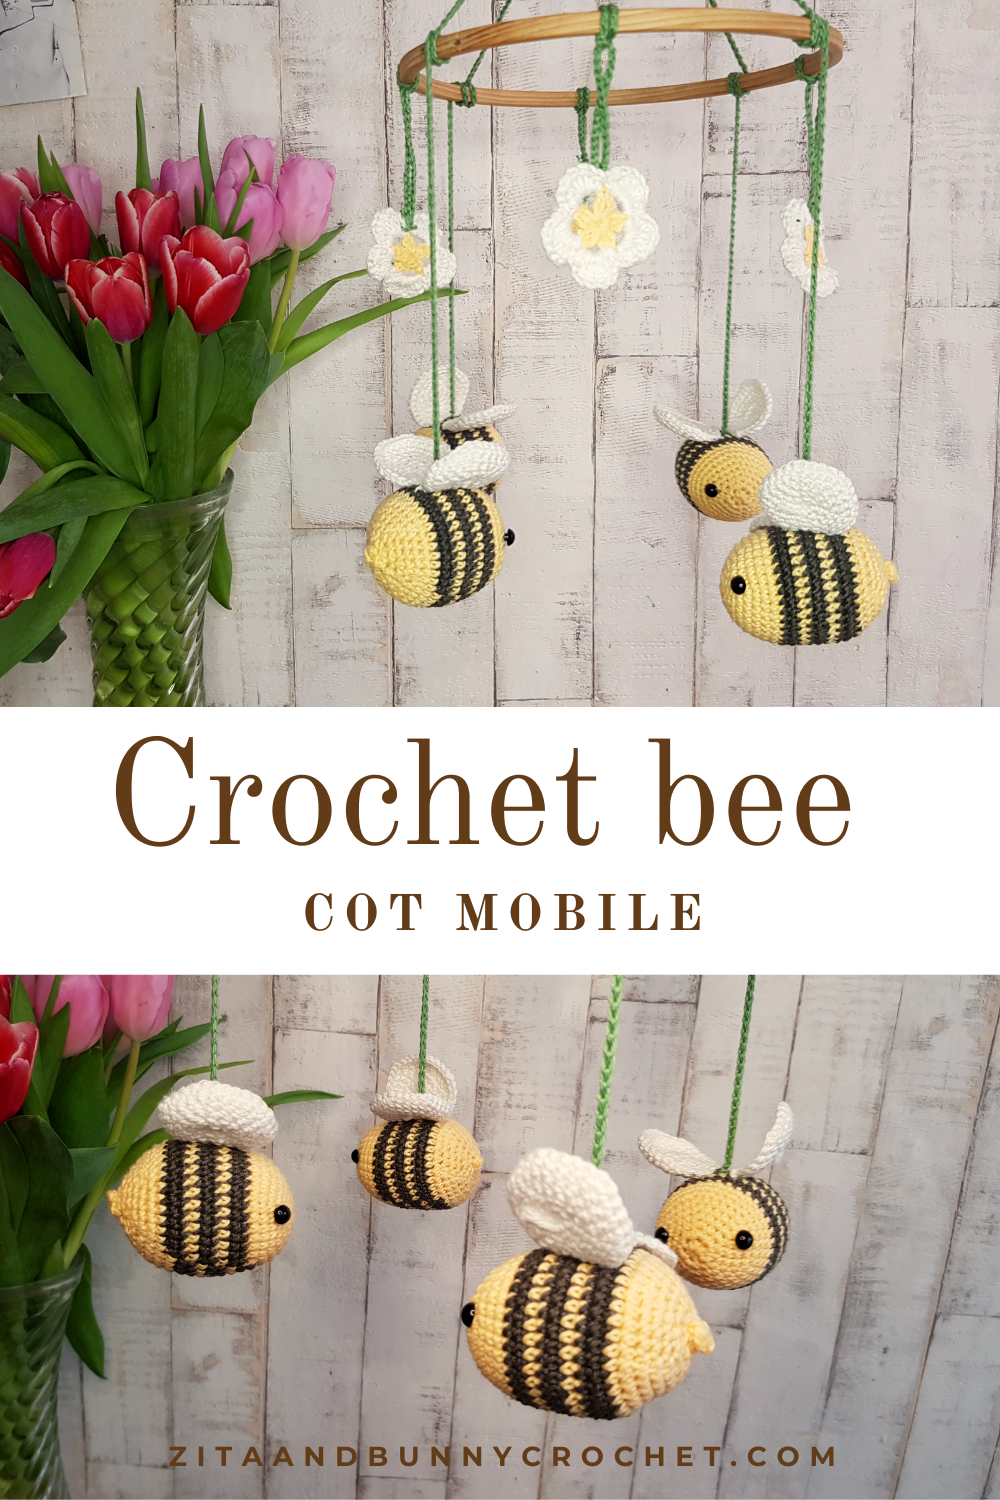
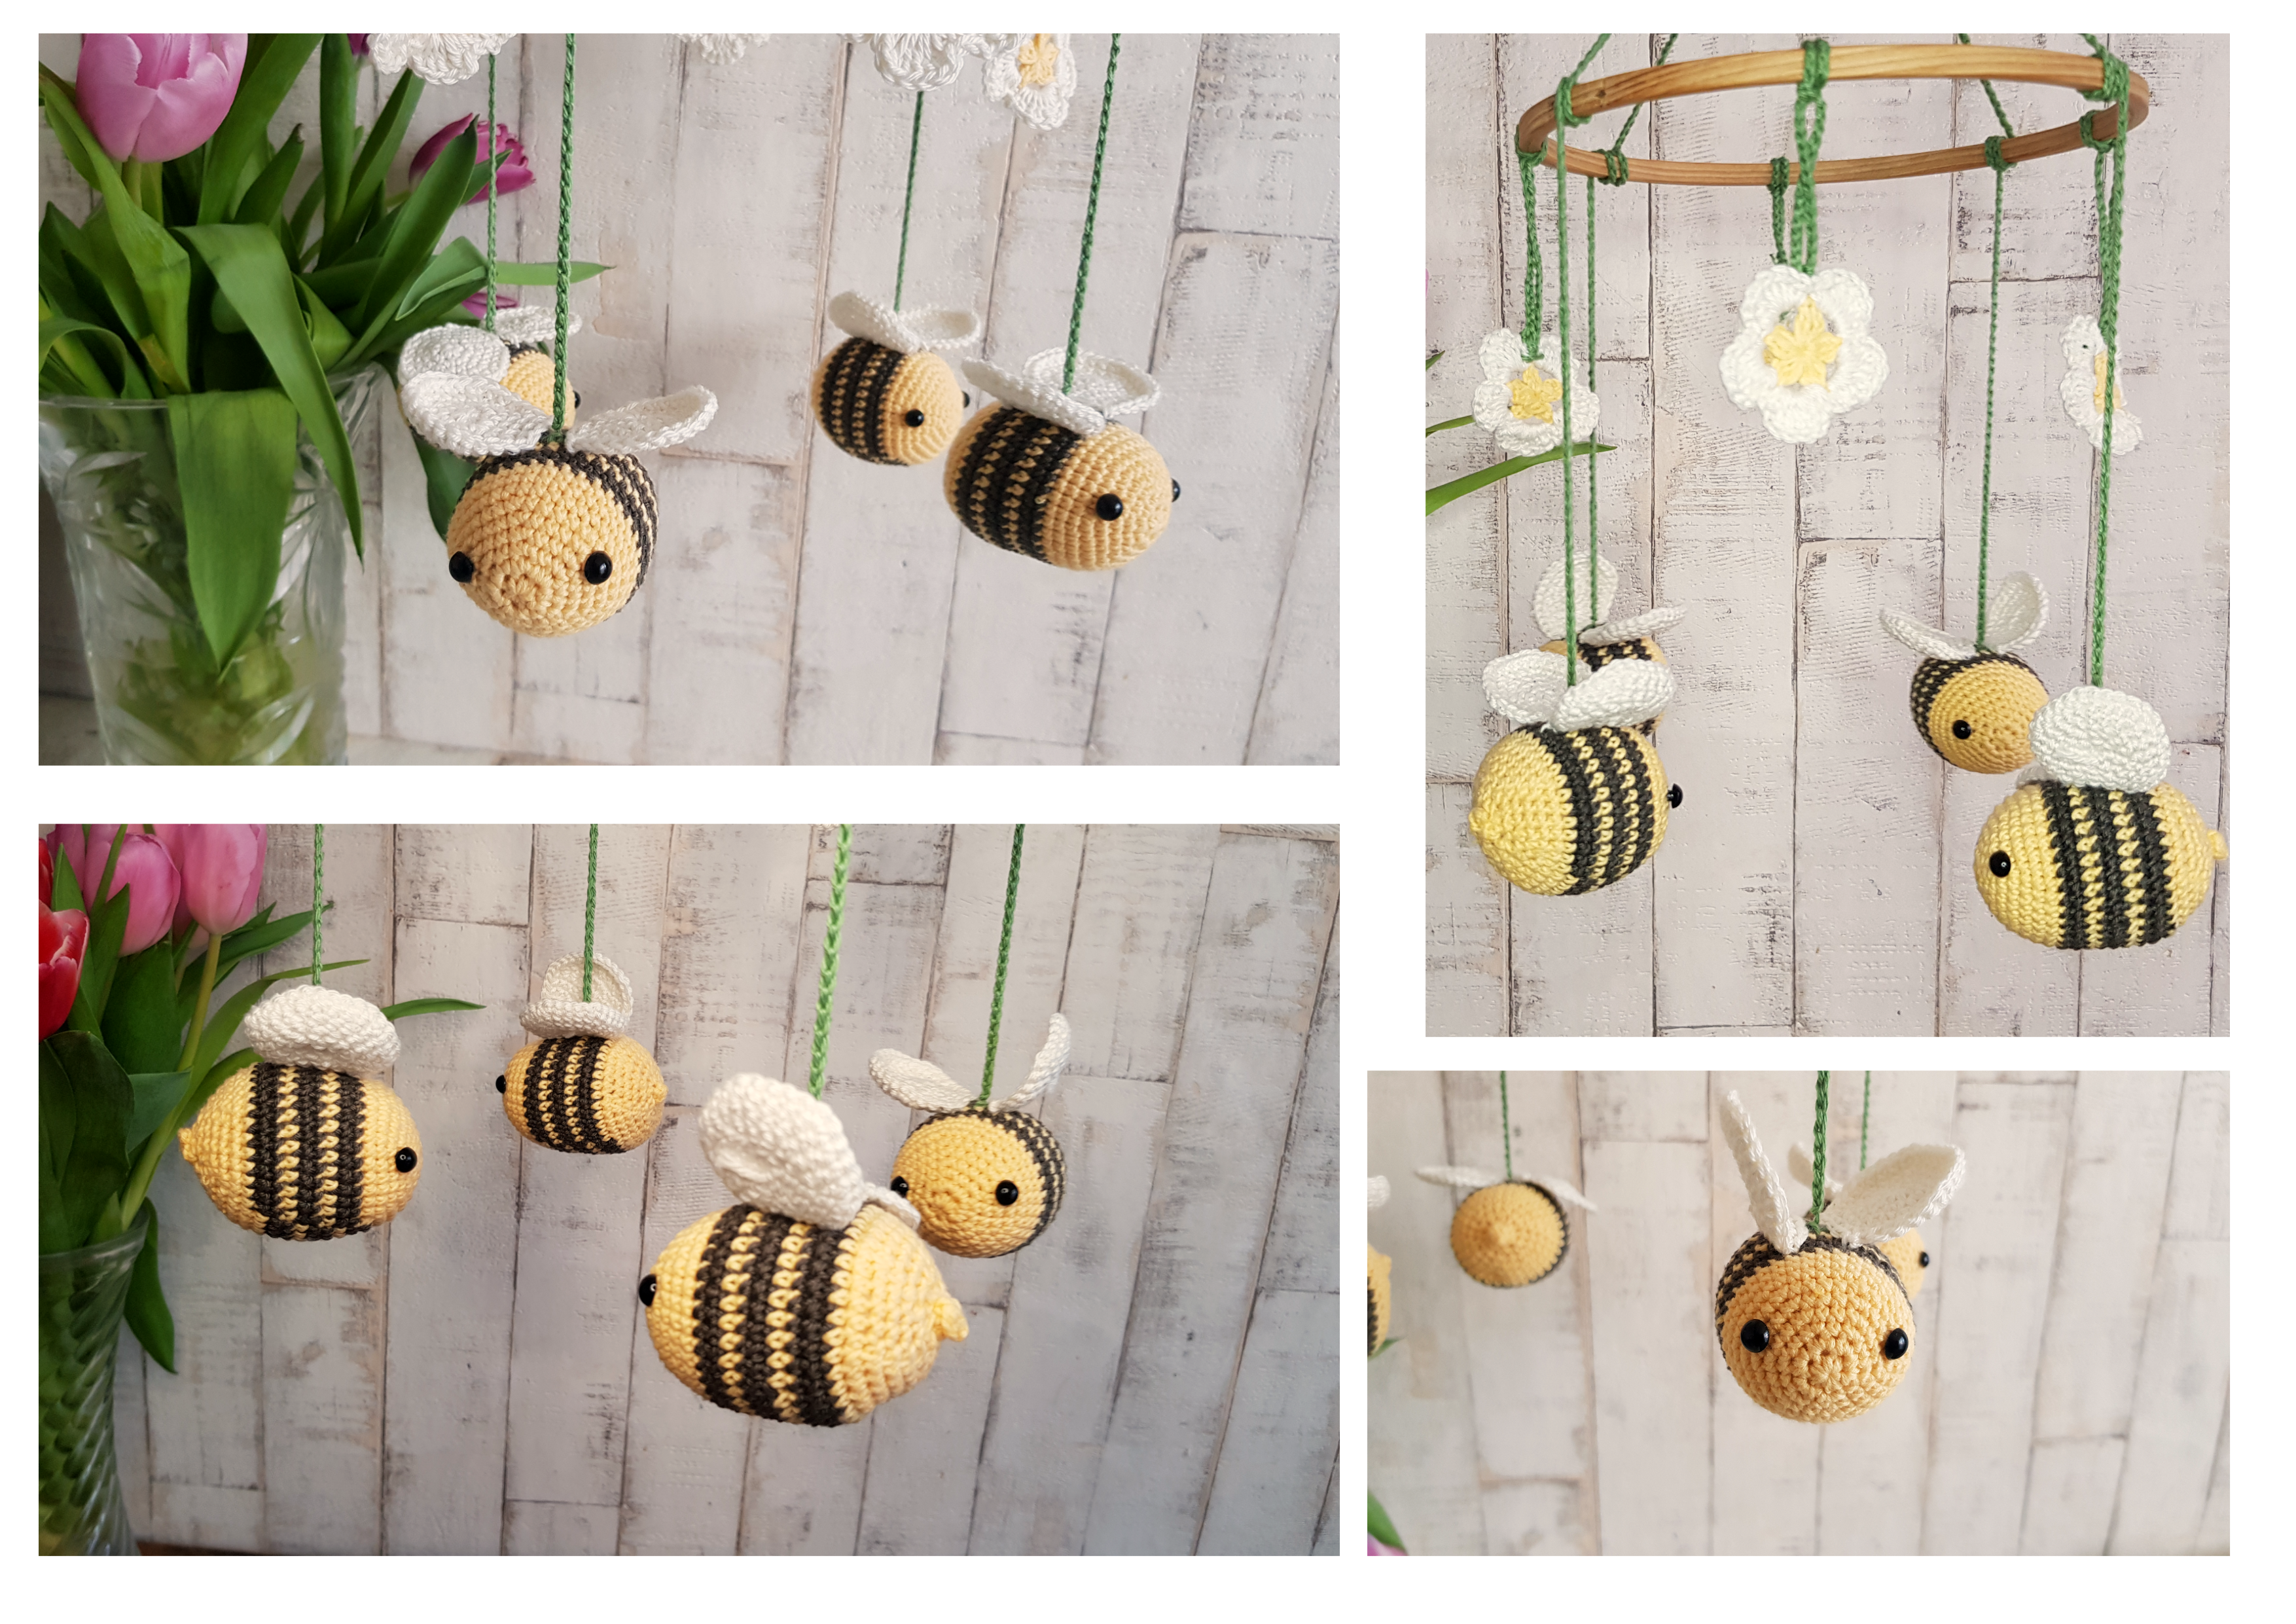
Learn how to crochet this pretty, beautiful cot mobile with the bees and flowers in this simple amigurumi tutorial. It looks absolutely stunning in every nursery room.
Pin it now, make it later!
If you are into crochet and DIY, probably you would love to decorate your baby’s nursery, or gift something special to someone special for you. This cot mobile can be the perfect present for parents-to-be who have not yet revealed the gender of their baby. Cot mobiles are a must in any nursery room. I can tell you by experience, babies love colourful little toys moving around. It will help to soothe and entertain your baby.
My children are pretty big now, but I still have their cot mobile. It was used for many years, serving both of my children and it is one of the best thing to keep as a memory.
I love crochet bees and I love everything related to babies. It was pretty obvious if I make a cot mobile, that has to have bees on it and if there are bees on it than obviously there have to be flowers on it too. The colour combination and the theme of this mobile reminds me of spring which is one of my favourite things ever.
This is a very easy pattern, if the written instruction is a bit confusing, you can check it out in the video I made.
Caution!
Please be very cautious when you make toys for babies or children under the age of 3. If you sew parts on it, make sure they are secure and safe.
I recommend, to embroider the eyes, as the plastic safety eyes can be dangerous. My tutorial for embroidery eyes can be found here
|
All Zita and Bunny designs are original. Sales of the finished items are encouraged, but please give credit to the designer. Copyright © 2021 by Zita Renata Elek (Zita and Bunny).All rights reserved. This pattern is for personal use only. No part of it may be reproduced, resold, translated, published, altered, shared or posted in any way. |
**This blog contains affiliate links for products I use, believe in, or recommend. This means I will earn a small commission if you make a purchase from one of their links, and of course it is at no extra cost for you. It helps me to keep Zita and Bunny going and to keep publishing free patterns for you. You can check my full disclosure here. **
**zitaandbunnycrochet is a participant in the Amazon Services LLC Associates Program, an affiliate advertising program designed to provide a means for sites to earn advertising fees by advertising and linking to amazon.co.uk**
You can watch the full video here.
Abbreviations:
sc – single crochet
inc – increase
dec – decrease
hdc – half double crochet
dc – double crochet
3dctog – 3 double crochet together
ch – chain
st – stitch
sl st – slip stitch
MR – magic ring
(…) – Repeat instructions for the amount of times given
Materials you need for this crochet badger:
Affiliate links for the US:
1. Cotton yarn,
I used:
A – Safran – 10 Yellow
B- Scheepjes Catona – 387 Dark Olive
C – Scheepjes Catona, 105 – Bridal White
D – Scheepjes Catona – 212 Sage Green
3 Wooden Ring (I used a 20cm one, but you can use whatever size you like. If your chosen ring is bigger, you might need to chain more to hang the bees)
4. Safety eyes, 6mm
6. Scissors
8. Pins
9. Stuffing
Affiliate links for the UK:
1. CottonYarn:
A – Safran – 10 Yellow
B- Scheepjes Catona – 387 Dark Olive
C – Scheepjes Catona, 105 – Bridal White
D – Scheepjes Catona – 212 Sage Green
3. Wooden Ring (I used a 20cm one, but you can use whatever size you like. If your chosen ring is bigger, you might need to chain more to hang the bees)
5. Scissors
7. Pins
8. Stuffing

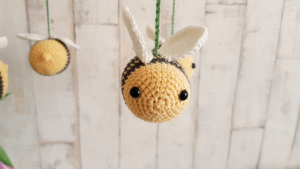
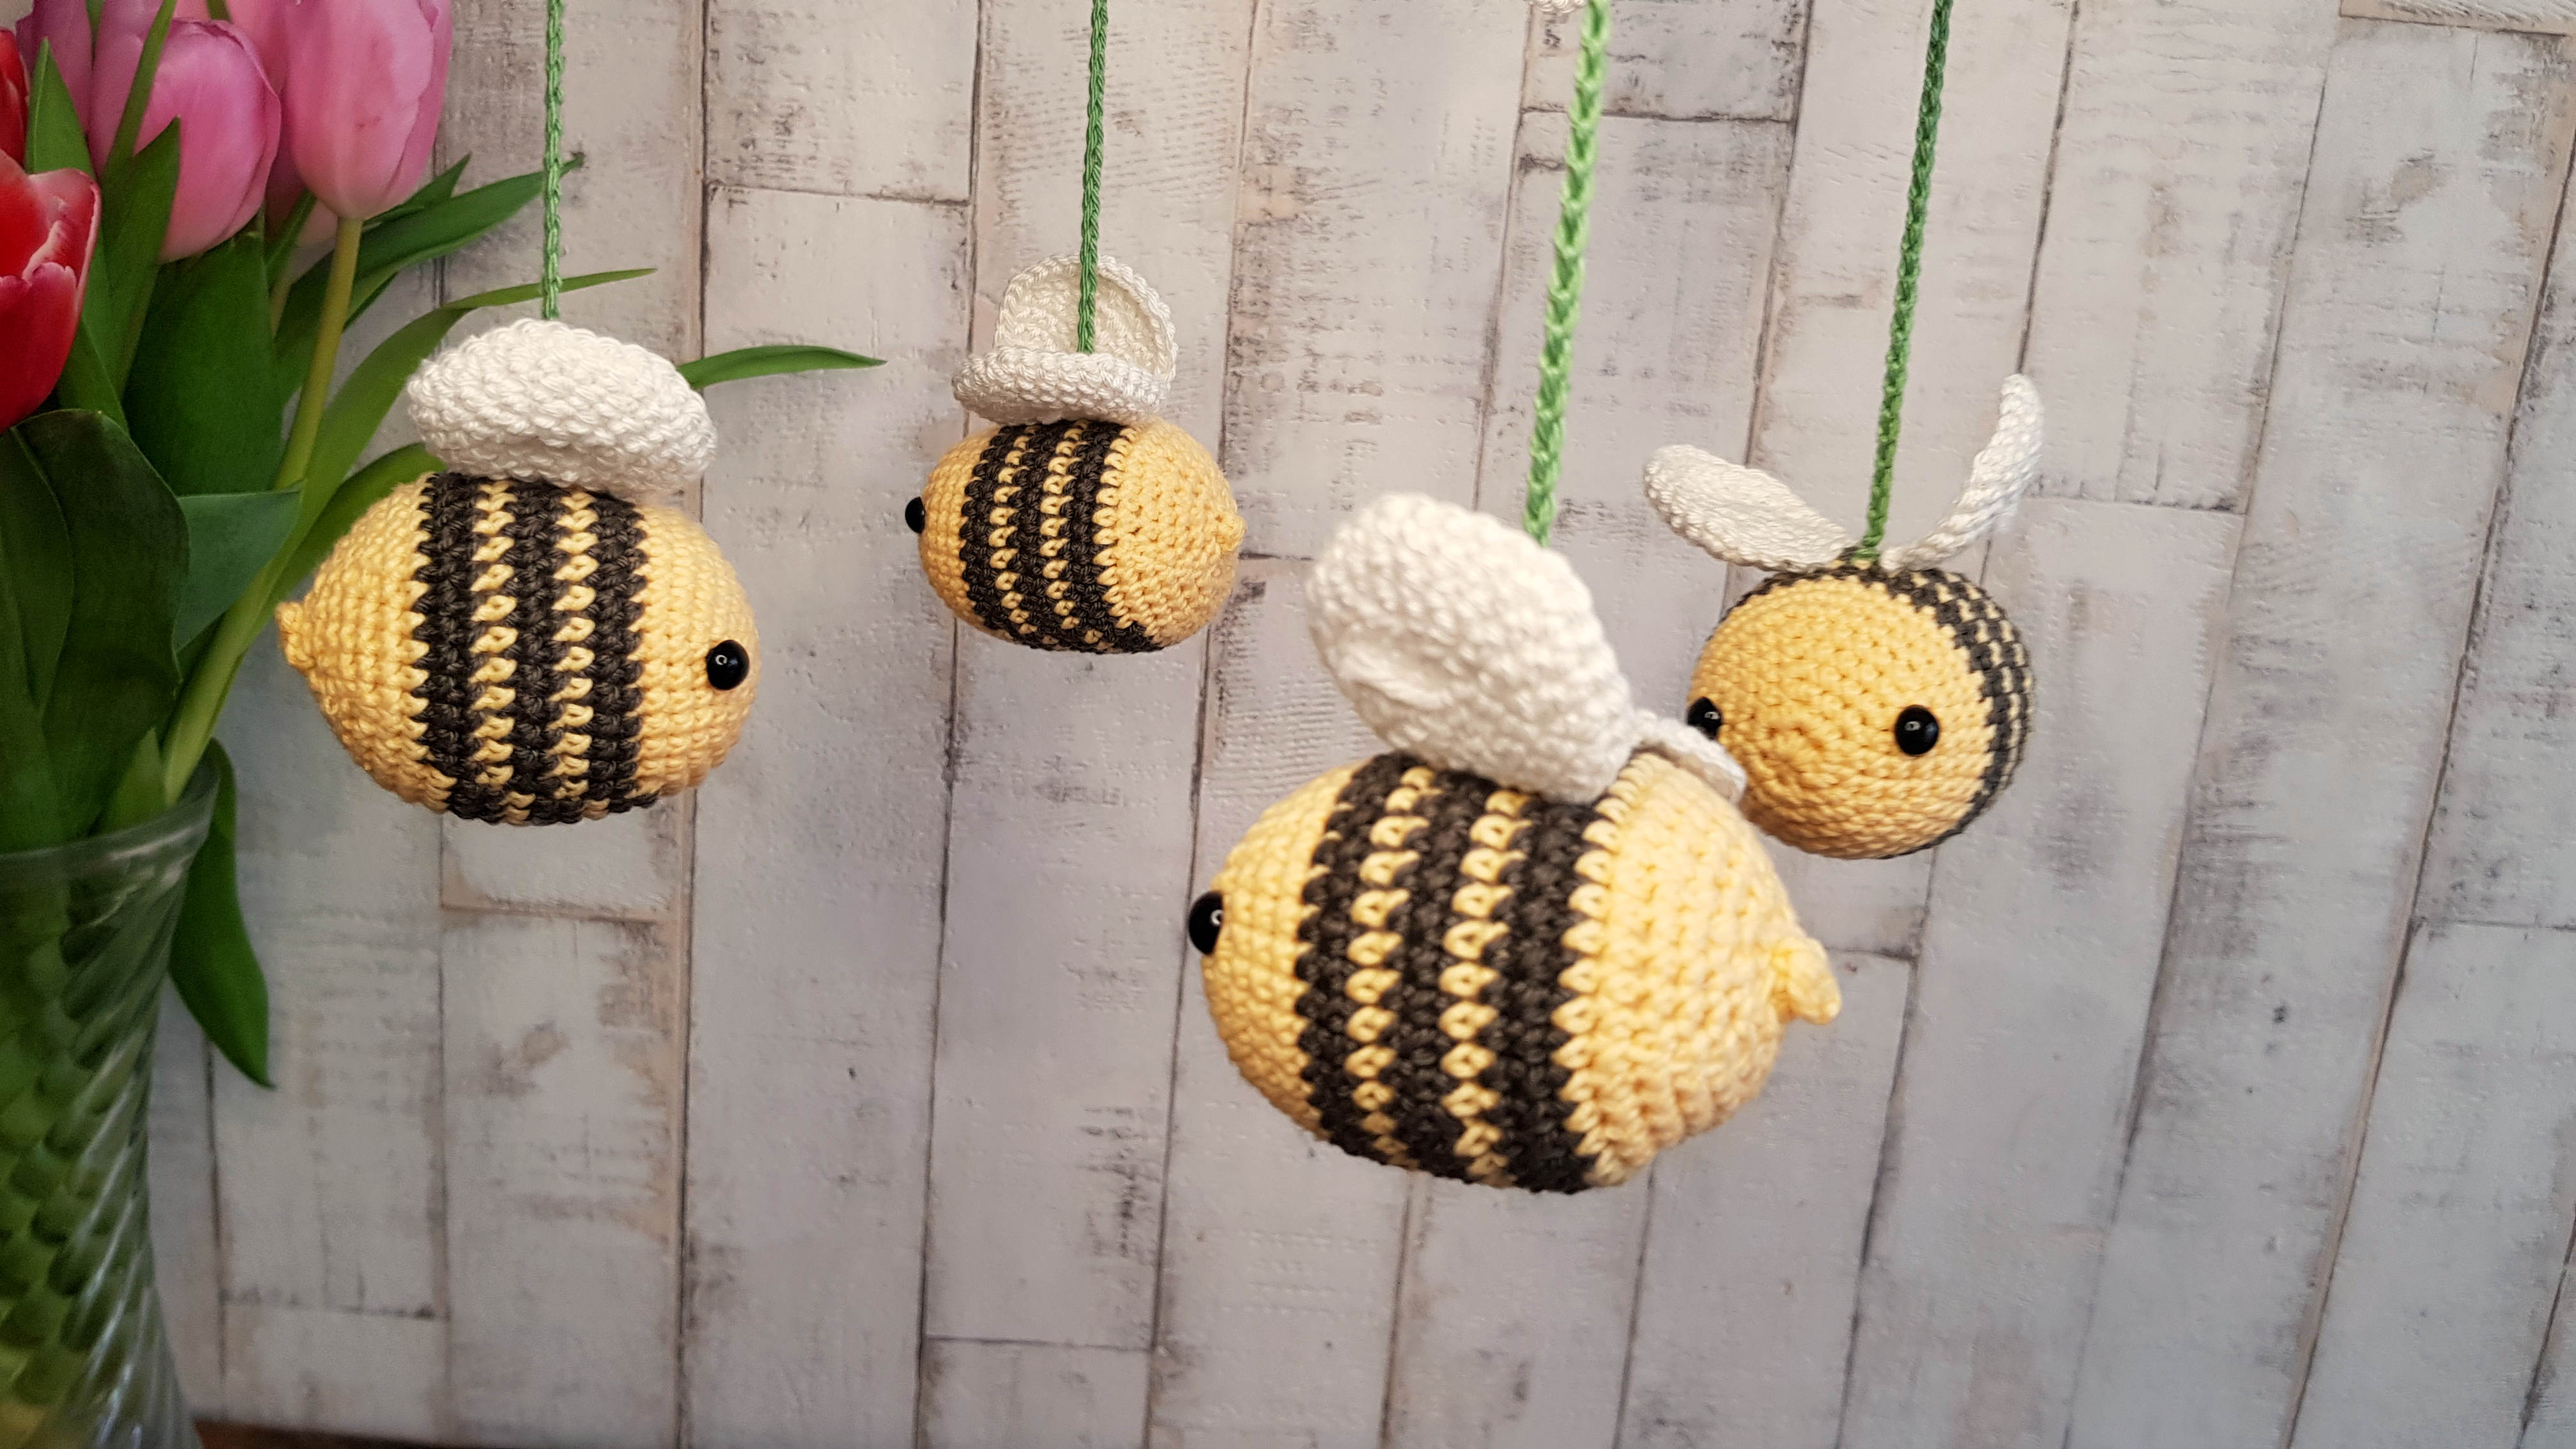
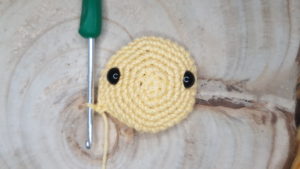
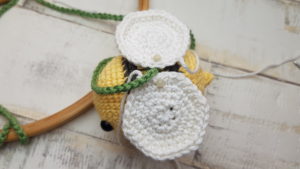
Bees: (make 4)
Start with colour A
1: 6sc in a MR [6]
2: (inc) x6 [12]
3: (sc, inc) x6 [18]
4: (2sc, inc) x6 [24]
5: (3sc, inc) x6 [30]
6: (4sc, inc) x6 [36]
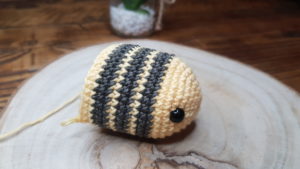
7-8: sc in every st around, in the last st change to colour B [36]
Place the safety eyes between rows 5-6, leaving 12sts between them.
9-10: sc in every st around, in last st change to colour A [36]
11: sc in every st around, in the last st change to colour B [36]
12-13: sc in every st around, in the last st change to colour A [36]
14: sc in every st around, in the last st change to colour B [36]
15-16: sc in every st around, in the last st change to colour A [36]
17-18: sc in every st around [36]
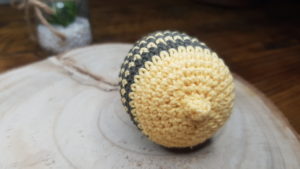
19: (4sc, dec) x6 [30]
20: (3sc, dec) x6 [24]
21: (2sc, dec) x6 [18]
22: (sc, dec) x6 [12]
23: (dec) x6 [6]
24: sc in every st around [6]
Close the hole, weave in the ends.
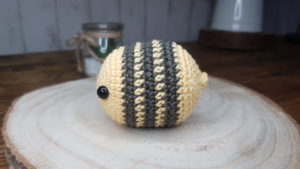
Wings: (make 8)
Use colour C
1: 6sc in a MR [6]
2: (inc) x6 [12]
3: (sc, inc) x6 [18]
4: (2sc, inc) x6 [24]
5: (3sc, inc) x6 [30]
6: (4sc, inc) x6 [36]
sc in the next 3sts, sl st, cut the yarn, leave a long tail to sew
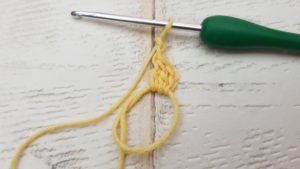
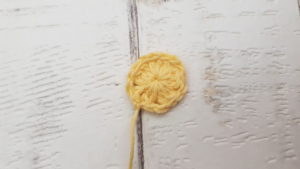
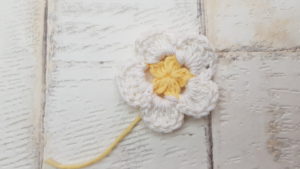
Flowers: (make 4)
Start with colour A
1: make a MR, Ch3, 2dctog, ch3, (3dctog, ch3) x4, sl st to top of 2dctog, fasten off yarn
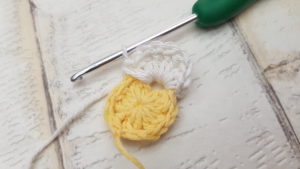
Connect colour C into any ch3 space.
2: (sc, hdc, 5dc, hdc, sc) x5
sl st to the 1st sc, fasten off yarn, leaving a long tail to sew.
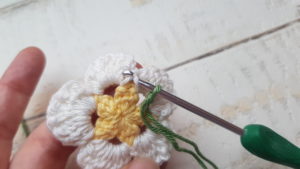
Connect colour D between two petals, and ch 50. Fasten off yarn, leaving a long tail to sew.
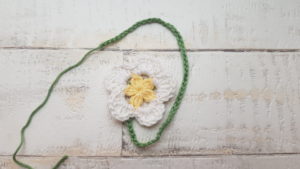
Strings:
Use colour D
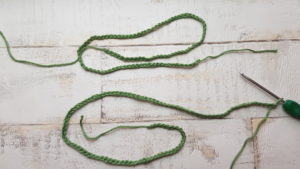
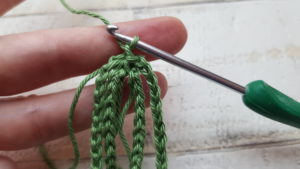
1: You will need to make 4 chain strings, but, make sure you leave a long tail, before you do a slip knot. Chain 100, and fasten off yarn, but only fasten off 3, do not fasten off the last one, but leave it on your hook.
The last chain 100 being on your hook, put all the other chains on your hook by the last chain you made.
Yarn over, and pull the yarn through all the 4 chains.
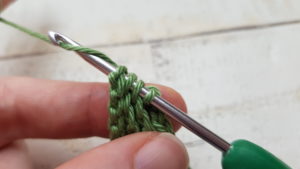
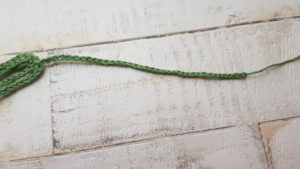
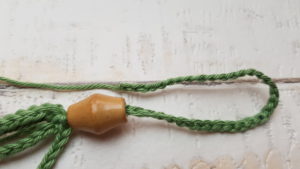
2. ch40, fasten off yarn.
Put the wooden ball on your chain and tighten up the ch40 by creating a hook.
Weave in the ends on the chains


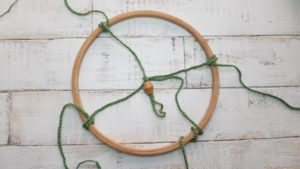
Assembling the Mobile:
Using a tapestry needle, sew the end of your ch100 to the middle of the back of the bee.
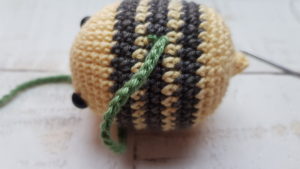
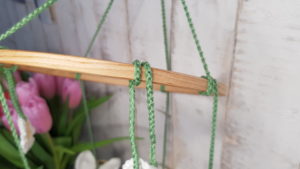
Try to divide your wooden ring by four to distribute the ornaments evenly around the ring. Wrap the chain around the ring twice.
Check the balance of your mobile: hold the mobile up, by lifting up by the loop. If the elements are not balanced, adjust them.
Sew the wings on the bees with the chain string in between.
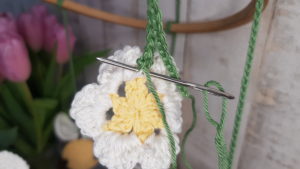
Get your flower and attach it to the ring between two bees, by wrapping it around the ring twice. Make sure equal chain strings left on both side and that the flower is facing outward. sew the end of the chain string to the flower to the same place where we connected colour D.
Congratulation, you finished you cot mobile!
 I would love to see your finished cot mobile. Please share it with me on Instagram. You can find me as @zitaandbunny or click on this icon.
 ![]()