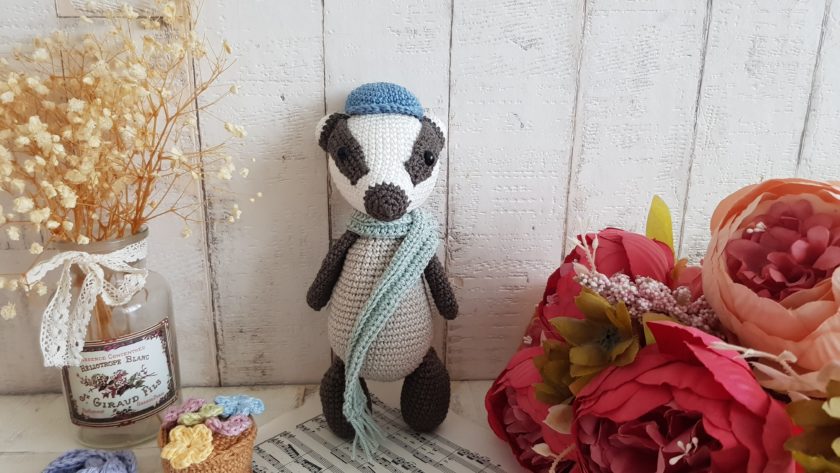
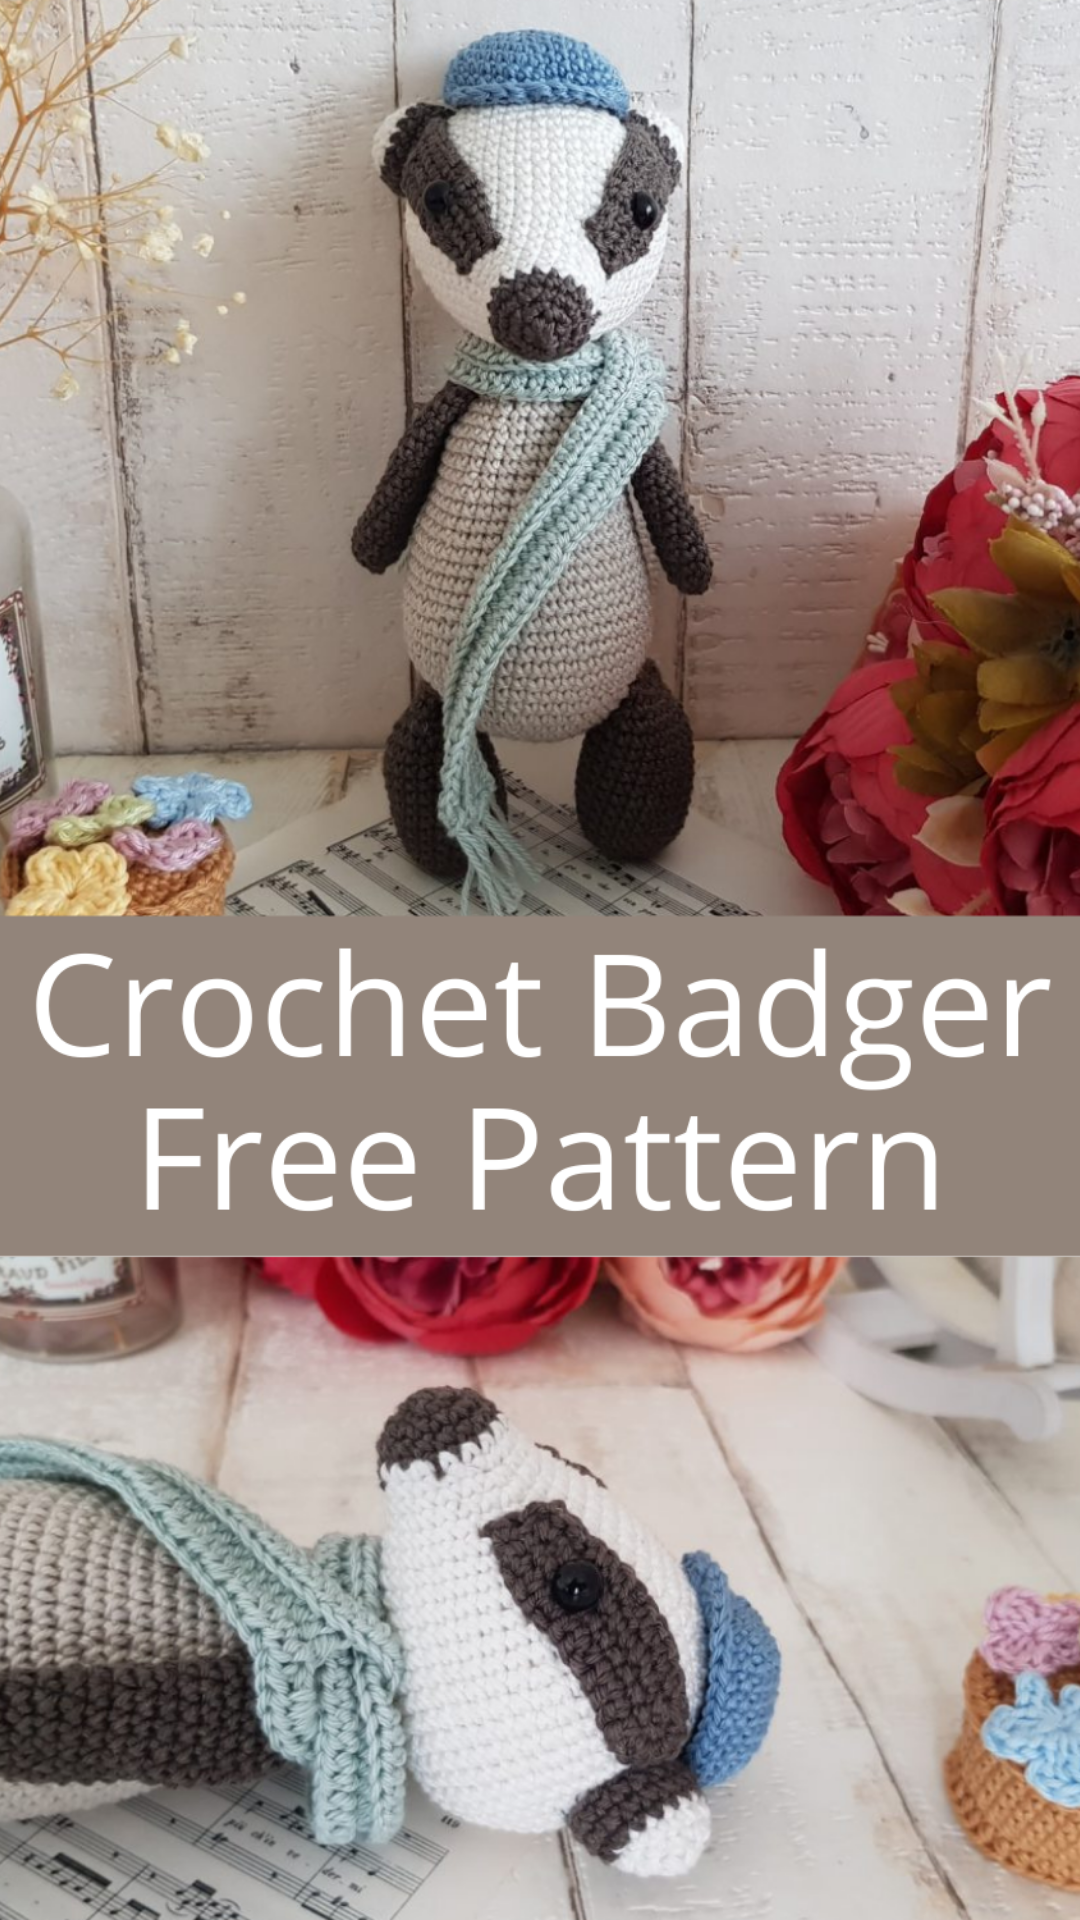
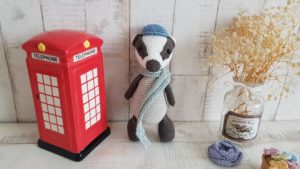
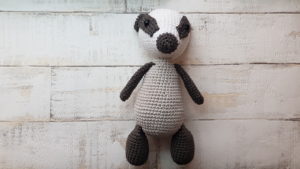
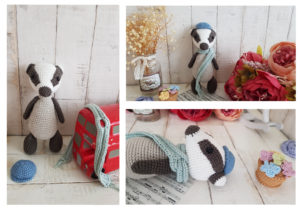
Learn how to crochet Cinnamon, the badger in this simple amigurumi tutorial. Just some basic stitching skills and a few ball of yarns you need to start making your own crochet toy.
Pin it now, make it later!
I always adored badgers. They are small, cute and because of their unique look, they always appear in cartoons. When I read interesting facts about badgers, I started to like them more. Badgers can live up to 24 years, and just like humans they live with their families in homes, which they pass down to future generations. Badgers keep their homes in tip-top shapes, by creating a latrine as a bathroom. They use grass, as their bedding, and they comfort their little ones during thunderstorms.
They are so humanlike and so sweet.
I wanted to crochet a badger since forever, but I am not so keen to use black yarn, as my vision is not too good. As a yarn addict, I always order new colours of my favourite brand, so when I found this dark olive yarn, I knew straight away what to do with it.
The name Cinnamon was my daughter’s idea, but hey the girl knows something. Cinnamon is my favourite thing since I can remember. In Hungary we have a breakfast for children, similar to semolina, cooked together with milk. All children I have ever known ate it with sugar and cocoa powder. I ate it with sugar and cinnamon. We also have chocolate swirl, which is the same as cinnamon swirl, just filled with cocoa powder. And again, all children used to choose the chocolate one, but me. I love cinnamon so much, there was a time I even used it in the pasta Bolognese, until my children told me off. Well. Their loss…
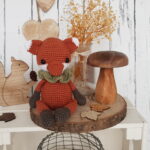
In this toy I combined my love for badgers, and my love for cinnamon, and here we are.
The story of Cinnamon, the badger:
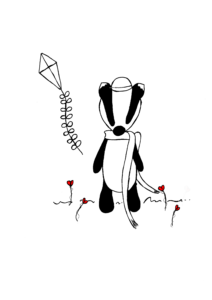
Cinnamon is a prim and proper little gentleman, because he was born into a high class family. He likes to drink tea, and read his newspaper during breakfast, but he also likes to go for a walk with his best friend, Tommy, the Fox.
They can talk for hours together, and laugh until they roll. Cinnamon is sarcastically funny, and just like his friend, he likes to jump up and down and shout loudly during playtime. They like to play tricks on others.
Even though they are mischievous together, they are the best students in their class, and both of their parents are very proud of them.
Caution!
Please be very cautious when you make toys for babies or children under the age of 3. If you sew parts on it, make sure they are secure and safe.
I recommend, to embroider the eyes, as the plastic safety eyes can be dangerous. My tutorial for embroidery eyes can be found here
|
All Zita and Bunny designs are original. Sales of the finished items are encouraged, but please give credit to the designer. Copyright © 2021 by Zita Renata Elek (Zita and Bunny).All rights reserved. This pattern is for personal use only. No part of it may be reproduced, resold, translated, published, altered, shared or posted in any way. |
**This blog contains affiliate links for products I use, believe in, or recommend. This means I will earn a small commission if you make a purchase from one of their links, and of course it is at no extra cost for you. It helps me to keep Zita and Bunny going and to keep publishing free patterns for you. You can check my full disclosure here. **
**zitaandbunnycrochet is a participant in the Amazon Services LLC Associates Program, an affiliate advertising program designed to provide a means for sites to earn advertising fees by advertising and linking to amazon.co.uk**
Abbreviations:
sc – single crochet
inc – increase
dec – decrease
hdc – half double crochet
dc – double crochet
FLO – use the front loop only
BLO – use the back loop only
ch – chain
st – stitch
sl st – slip stitch
MR – magic ring
(…) – Repeat instructions for the amount of times given
Materials you need for this crochet badger:
Affiliate links for the US:
1. Cotton yarn,
I used:
A – Scheepjes Catona, 105 – Bridal White
B- Scheepjes Catona – 387 Dark Olive
C – Scheepjes Catona – 248 Champagne
D – Scheepjes Catona – 402 Silver Green
E – Schachenmayr Catania – 421 Denim
3. Safety eyes, 9mm
5. Scissors
7. Pins
8. Stuffing
9. embroidery thread (optional)
Affiliate links for the UK:
1. CottonYarn:
A – Scheepjes Catona, 105 – Bridal White
B- Scheepjes Catona – 387 Dark Olive
C – Scheepjes Catona – 248 Champagne
D – Scheepjes Catona – 402 Silver Green
E – Scahchenmayr Catania – 421 Denim
5. Scissors
7. Pins
8. Stuffing
9. embroidery thread (optional)

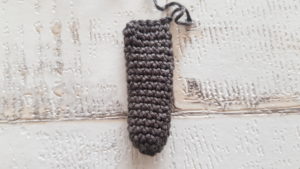
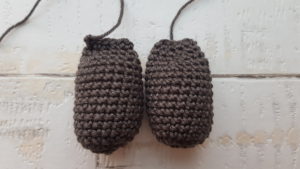
Arms: (make 2)
Use colour B
1: 6sc in a MR [6]
2: (inc) x6 [12]
3 – 17: sc in every st around [12]
Press both layers of arms together so that they lay flat on top of each other, aligning the stitches side by side. sc together the opposite stitches. I put 5sc. Fasten off yarn, leave a long tail to sew.
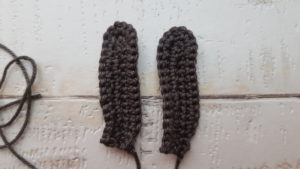
Legs: (make 2)
Use colour B
1: 7sc in a MR [7]
2: (inc) x7 [14]
3: (sc, inc) x7 [21]
4 – 13: sc in every st around [21]
Stuff the legs up to this point, do not stuff the rest
14: (5sc, dec) x3 [18]
15: (4sc, dec) x3 [15]
16: (3sc, dec) x3 [12]
Press both layers of legs together so that they lay flat on top of each other, aligning the stitches side by side. sc together the opposite stitches. I put 5sc. Fasten off yarn, leave a long tail to sew.
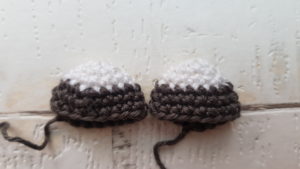
Ears: (make 2)
Start with colour A
1: 6sc in a Mr [6]
2: (inc) x6 [12]
3: (3sc, inc) x3, in the last stitch change to colour B [15]
4: (4sc, inc) x3 [18]
5 – 6: sc in every st around [18]
fasten off yarn, leaving a long tail to sew.
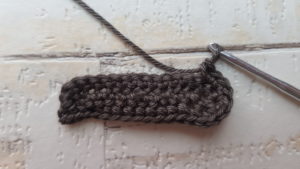
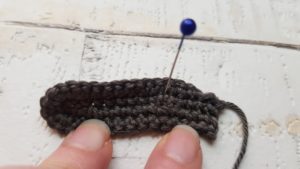
Face patches: (make 2)
Use colour B
1: Chain 15, starting from 2nd chain from hook, sc in next 13sts, 4sc in last stitch,
Continue on the other side of the chain, sc in next 13 sts [30]
2: Ch1, turn, sl st in first 3 sts, sc in next 10sts, 2sc in next 4sts, sc in next 10sts, sl st in last 3sts [34]
fasten off yarn, leaving a long tail to sew.
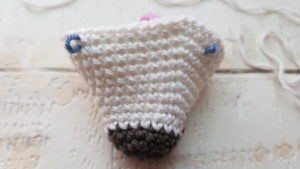
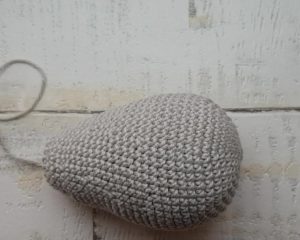
Head:
Start with colour B
1: 6sc in a MR [6]
2: (inc) x6 [12]
3: (sc, inc) x6 [18]
4: sc in every st around, in last stitch change to colour A [18]
5 – 6: sc in every st around [18]
7: (5sc, inc) x3 [21]
8: (6sc, inc) x6 [24]
9: (7sc, inc) x3 [27]
10: (8sc, inc) x3 [30]
11: (9sc, inc) x3 [33]
12: (10sc, inc) x3 [36]
13: (11sc, inc) x3 [39]
In row 13, mark stitch 10 and 22. These indicate where the eyes will go later
14: (12sc, inc) x3 [42]
15: (13sc, inc) x3 [45]
16: (14sc, inc) x3 [48]
17: (7sc, inc) x6 [54]
18 – 23: sc in every st around [54]
24: (7sc, dec) x6 [48]
25: (6sc, dec) x6 [42]
26: (5sc, dec) x6 [36]
27: (4sc, dec) x6 [30]
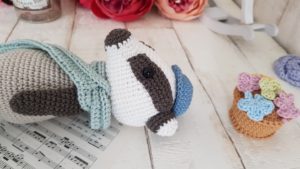
Before you stuff and finish the head, you need to insert the eyes, along with the face patches.
1. Lay down the patches flat
2. In the middle row, mark the hole between st 6-7. Start counting from the straight side of the patch
3. Insert the safety eyes in that hole.
4. Than insert the eye together with the patch in the hole we marked on the head
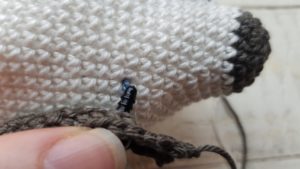
5. Repeat it with both eyes

Do not sew the patch on yet, we will do it after finishing the head off.
Stuff the head firm
Continue working on the head
28: (3sc, dec) x6 [24]
29: (2sc, dec) x6 [18]
30: (sc, dec) x6 [12]
31: (dec) x6 [6]
fasten off yarn, close the hole, weave in the end.
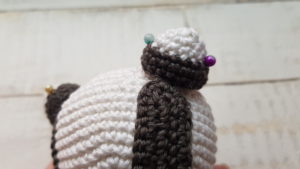
Sew the patches to the head:
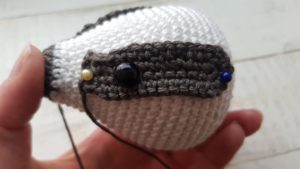
Pin down the patches, and using the tail, sew it to the face.
You can use embroidery yarn instead, as I do. In my opinion it will make it look neater and nicer.

Body:
Use colour C
1: 6sc in a MR [6]
2: (inc) x6 [12]
3: (sc, inc) x6 [18]
4: (2sc, inc) x6 [24]
5: (3sc, inc) x6 [30]
6: (4sc, inc) x6 [36]
7: (5sc, inc) x6 [42]
8: (6sc, inc) x6 [48]
9 – 15: sc in every st around [48]
16: (6sc, dec) x6 [42]
17 – 19: sc in every st around [42]
20: (5sc, dec) x6 [36]
21 – 23: sc in every st around [36]
24: (4sc, dec) x6 [30]
25 – 27: sc in every st around [30]
28: (3sc, dec) x6 [24]
29 – 30: sc in every st around [24]
stuff the body firm
31: (4sc, dec) x6 [20]
32: sc in every st around [20]
stuff the rest of the body. Fasten off yarn, leaving a long tail to sew the head to the body.
Assembling Cinnamon, the badger:
1: sew the ears to the head, behind the patches. stuff them a bit before.
2: sew the head to the body
3: sew the arms to the body between rows: 30 – 31
4: sew the legs to the body between rows: 9 – 10
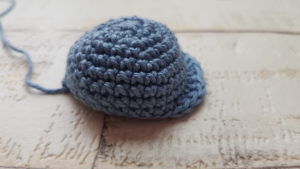
Hat:
Use colour E
1: 6sc in a MR [6]
2: (inc) x6 [12]
3: (sc, inc) x6 [18]
4: (2sc, inc) x6 [24]
5: (3sc, inc) x6 [30]
6: (4sc, inc) x6 [36]
7 – 8: sc in every st around [36]
9: using both loops, sc in next 12 sts. using FLO, sc in next st, hdc in next, dc in next 8sts, hdc in next and sc in next. Using both loops, sc in last 12sts.
Fasten off yarn, leaving a long tail, if you want to sew it to the head. It is totally optional and up to your preferences.
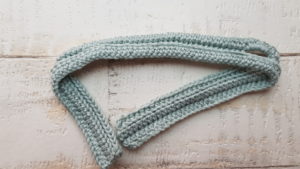
Scarf:
Use colour D
1: Ch 101. Starting from 2nd ch from hook, hdc in all 100 sts, ch1, turn [100]
2: Using BLO, hdc in next 36sts, ch5, skip next 5 sts, hdc in next 59sts, ch1, turn
3: Using BLO, hdc in next 59sts, 5hdc in chain space, hdc in last 36sts
Fasten off yarn.

1. Cut 10, 8cm long strings of the same yarn, we used for the scarf and fold them in half
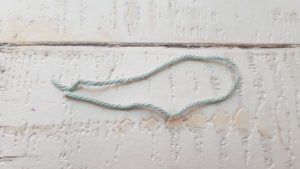
2. Pull them through the side stitches of the scarf , holding the loop with the hook
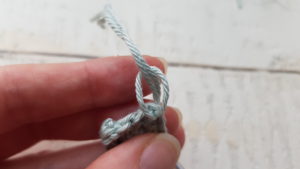
3. Pull both string through that loop, to secure them
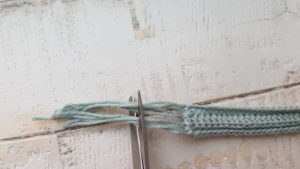
4. Trim them to the desired size
Congratulation, you finished Cinnamon!
I would love to see your finished crochet badger, Cinnamon. Please share it with me on Instagram. You can find me as @zitaandbunny or click on this icon. ![]()