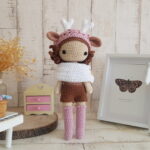
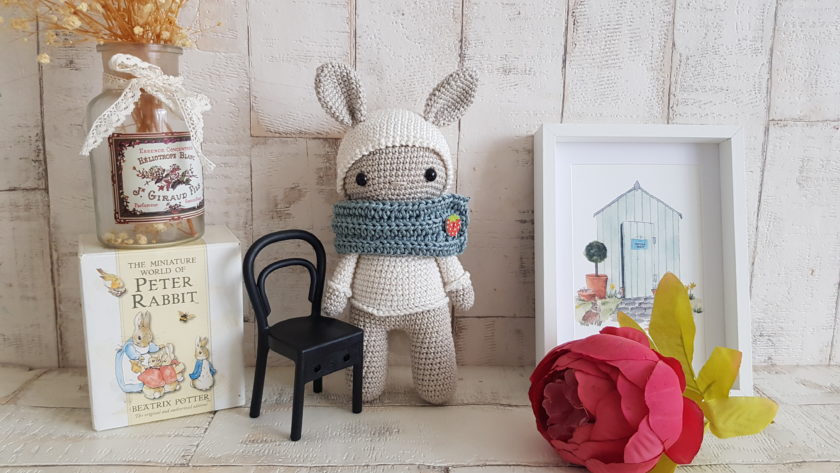
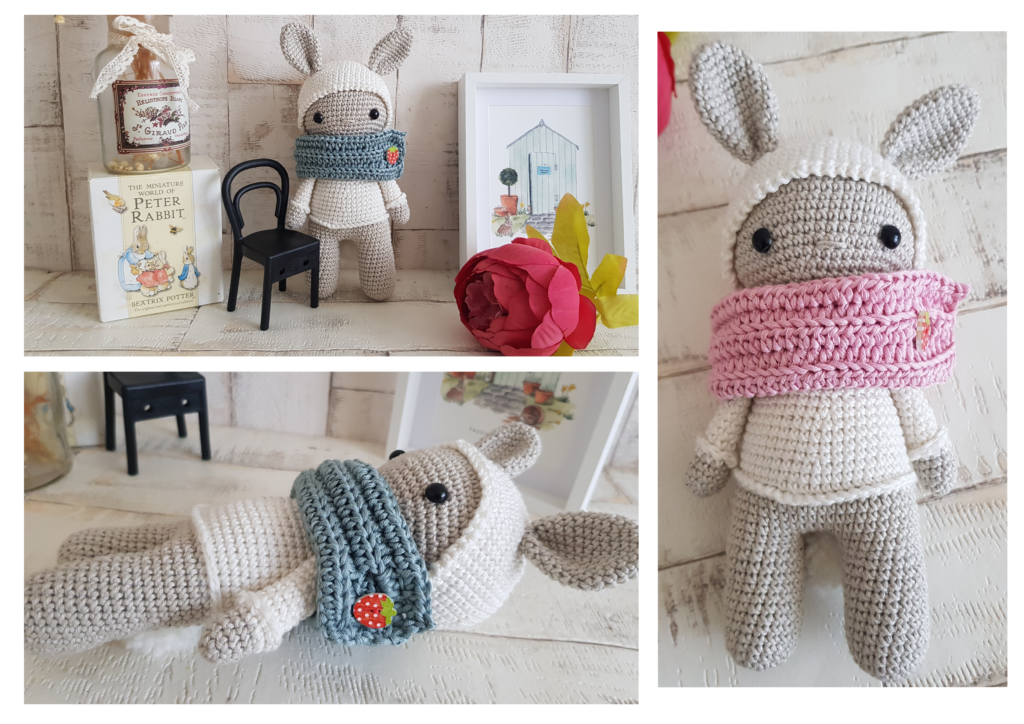
Learn how to crochet this little bunny baby in this simple amigurumi tutorial. You can make this bunny for any child, just change the colour of the scarf to your preferences.
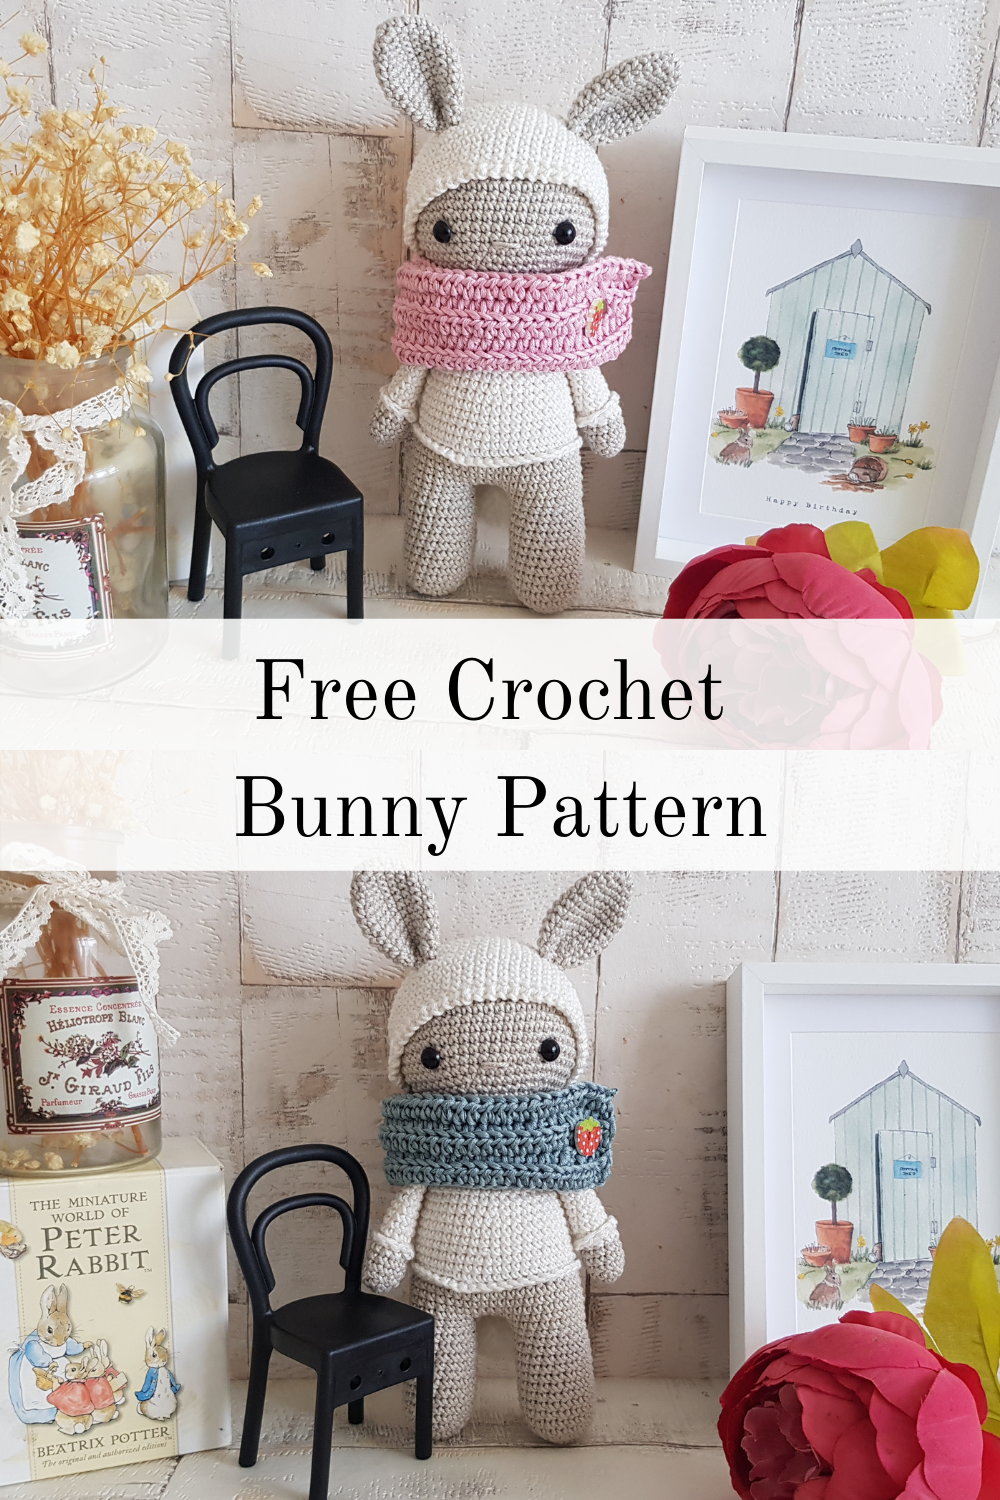
Pin it now, make it later!
Me and my crochet bunnies might seem a bit too much, but I can’t help it. The reason I started to crochet was a super cute bunny I saw and I got obsessive with it. Since then I tred to make as many as possible in every form. Small bunny, big bunny, girl bunny, boy bunny, bunny in a hat, bunny in a dress, bunny for babies, I even draw bunnies in my free time and ideas in my head just don’t stop.
The idea of this bunny was in my mind for quit a while and I am really happy that finally I managed to put it on paper.
The story of Barry or Berry :
The news of the arrival of the new baby bunny spread in the forest very quickly. All the neighbours payed a quick visit to the bunny family and took some gifts such as a hat and a scarf. The best gift of all was a day tour in the forest and the meadow led by Tommy the fox and Milo the mouse. They visited as many friends, as possible until little Barry got so tired that he fell asleep and the friends carried him back to his mummy.
Caution!
Please be very cautious when you make toys for babies or children under the age of 3. If you sew parts on it, make sure they are secure and safe.
I recommend, to embroider the eyes, as the plastic safety eyes can be dangerous. My tutorial for embroidery eyes can be found here
|
All Zita and Bunny designs are original. Sales of the finished items are encouraged, but please give credit to the designer. Copyright © 2021 by Zita Renata Elek (Zita and Bunny).All rights reserved. This pattern is for personal use only. No part of it may be reproduced, resold, translated, published, altered, shared or posted in any way. |
**This blog contains affiliate links for products I use, believe in, or recommend. This means I will earn a small commission if you make a purchase from one of their links, and of course it is at no extra cost for you. It helps me to keep Zita and Bunny going and to keep publishing free patterns for you. You can check my full disclosure here. **
Abbreviations:
sc – single crochet
inc – increase
dec – decrease
hdc – half double crochet
BLO – Use the back loops only
FLO – Use the front loops only
ch – chain
st – stitch
sl st – slip stitch
MR – magic ring
(…) – Repeat instructions for the amount of times given
Materials you need for this crochet koala:
Affiliate links for the US:
1. Cotton yarn,
I used:
A – Scheepjes Catona, – 248 Champagne
B- Scheepjes Catona – 105 Bridal White
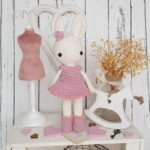
C – Drops Muskat – 20 Light Mint – for Barry
– Drops Muskat – 06 Light Pink – for Berry
2. crochet hook, 3mm and 3.5mm
3. Safety eyes, 9mm
5. Scissors
7. Pins
8. Stuffing
9. button – I used a 12x15mm one
10. needle to sew
11. Thread to sew the button on
Affiliate links for the UK:
1. CottonYarn:
A – Scheepjes Catona – 248 Champagne
B- Scheepjes Catona – 105 Bridal White
C – Drops Muskat – 20 Light Mint – for Barry
– Drops Muskat – 06 Light Pink – for Berry
2. crochet hook, 3mm and 3.5mm
5. Scissors
7. Pins
8. Stuffing
9. Button – I used a 12x15mm one
10. needle to sew
11. Thread to sew the button on

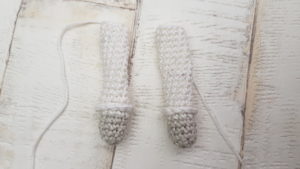
Arms: (make 2)
Start with colour A and 3mm hook
1: 5sc in a MR [5]
2: (inc) x5 [10]
3 – 5: sc in every st around, in last stitch change to colour B [10]
Stuff the arms up to this point, do not stuff the rest
6: sc in every st around [10]
7: using BLO sc in every st around [10]
8-21: sc in every st around [10]
Fasten off yarn, leave a long tail to sew.
Edge of shirt:
Holding the arms upside down, connect colour B in the first FLO made in row 7, sc in every st around, sl st to 1st st. Fasten off yarn, weave in the ends.
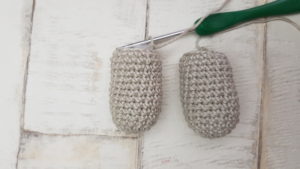
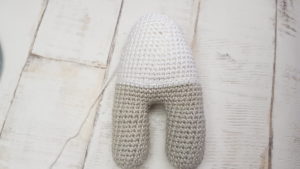
Legs: (make 2)
Use colour A and 3mm hook
1. 6 sc in a MR [6]
2. (inc) x6 [12]
3. (sc, inc) x6 [18]
4-15. sc in every st around [18]
Stuff the legs, and on the 1st one fasten off yarn.
On the 2nd leg, do not fasten off yarn, keep crocheting, we will connect the legs and continue on the body
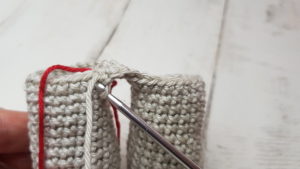
Body:
Continue with colour A and 3mm hook
1. ch4, sc in the first stitch on first leg, sc in next 17 sts on leg, working on ch4, sc in all ch spaces, on second leg, sc in every 18 st, sc in the next 4 sts in unused loops on the other side of ch4. [44]
2-5. sc in every st around, in the last stitch change to colour B [44]
6. sc in every st around [44]
7. Using BLO sc in every st around [44]
8-9. sc in every st around [44]
10. (9sc, dec) x4 [40]
11-13. sc in every st around [40]
Start stuffing the body
14. (8sc, dec) x4 [36]
15-16. sc in every st around [36]
17. (7sc, dec) x4 [32]
18-19. sc in every st around [32]
20. (6sc, dec) x4 [28]
21. (5sc,dec) x4 [24]
22. (4sc, dec) x4 [20]
23. sc in every st around [20]
Fasten off yarn, leaving a long tail to sew.
Edge of Shirt:
With the legs facing up, connect colour B in the last FLO made in row 7. ch1, sc in same stitch. sc in next 43 stitches. sl st to first sc.
Fasten off yarn, weave in the end.
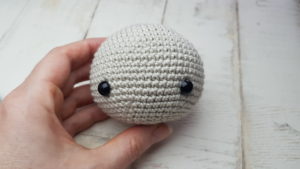
Head:
Use colour A and 3mm hook
1. 6sc in a MR [6]
2. (inc) x6 [12]
3. (sc, inc) x6 [18]
4. (2sc, inc) x6 [24]
5. (3sc, inc) x6 [30]
6. (4sc, inc) x6 [36]
7. (5sc, inc) x6 [42]
8. (6sc, inc) x6 [48]
9. (7sc, inc) x6 [54]
10-19. sc in every st around [54]
20. (7sc, dec) x6 [48]
21. (6sc, dec) x6 [42]
22. (5sc, dec) x6 [36]
23. (4sc, dec) x6 [30]
Insert safety eyes between rows 16-17 leaving 12 stitches between them
24. (3sc, dec) x6 [24]
25. (2sc, dec) x6 [18]
Stuff the head firm
26. (sc, dec) x6 [12]
27. (dec)x6 [6]
Close the hole, fasten off yarn.
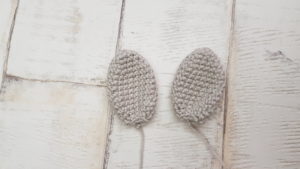
Ears: (make 2)
Use colour A and a 3mm hook
1: 6sc in a MR [6]
2: (sc, inc) x3 [9]
3: (2sc, inc) x3 [12]
4: (3sc, inc) x3 [15]
5: (4sc, inc) x3 [18]
6-11: sc in every st around [18]
12: (4sc, dec) x3 [15]
13: (3sc, dec) x3 [12]
14: (2sc, dec) x3 [9]
Fasten off yarn, leaving a long tail to sew.
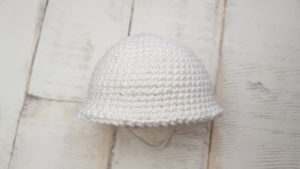
Hat:
Use colour B and 3mm hook
1. 6sc in a MR [6]
2. (inc) x6 [12]
3. (sc, inc) x6 [18]
4. (2sc, inc) x6 [24]
5. (3sc, inc) x6 [30]
6. (4sc, inc) x6 [36]
7. (5sc, inc) x6 [42]
8. (6sc, inc) x6 [48]
9. (7sc, inc) x6 [54]
10-20. sc in every st around [54]
21. sl st to 1st st, ch1, sc in same stitch, (ch1, sc) x53, ch1, sl st to 1st sc [54]
Fasten off yarn, leave a long tail to sew.
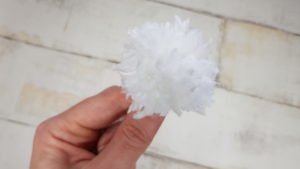
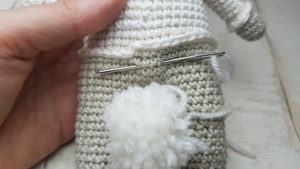
Tail: (Pom Pom)
You can use a ready made pom pom or make one with a pom pom maker if you have one. If not,
you can follow these simple steps to create one.
1. Cut a long string and place it on the table.
2. Wrap the yarn around 3 of your fingers 50 times. (if you use a different yarn, you might need to
do it more or less)
3. Remove the yarn from your fingers carefully and tight it securely with the string in the middle.
4. Cut the loops and trim the pom pom.
5. Leave a long tail as we will use it to secure the pom pom to the body.
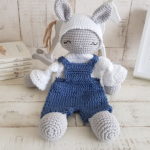
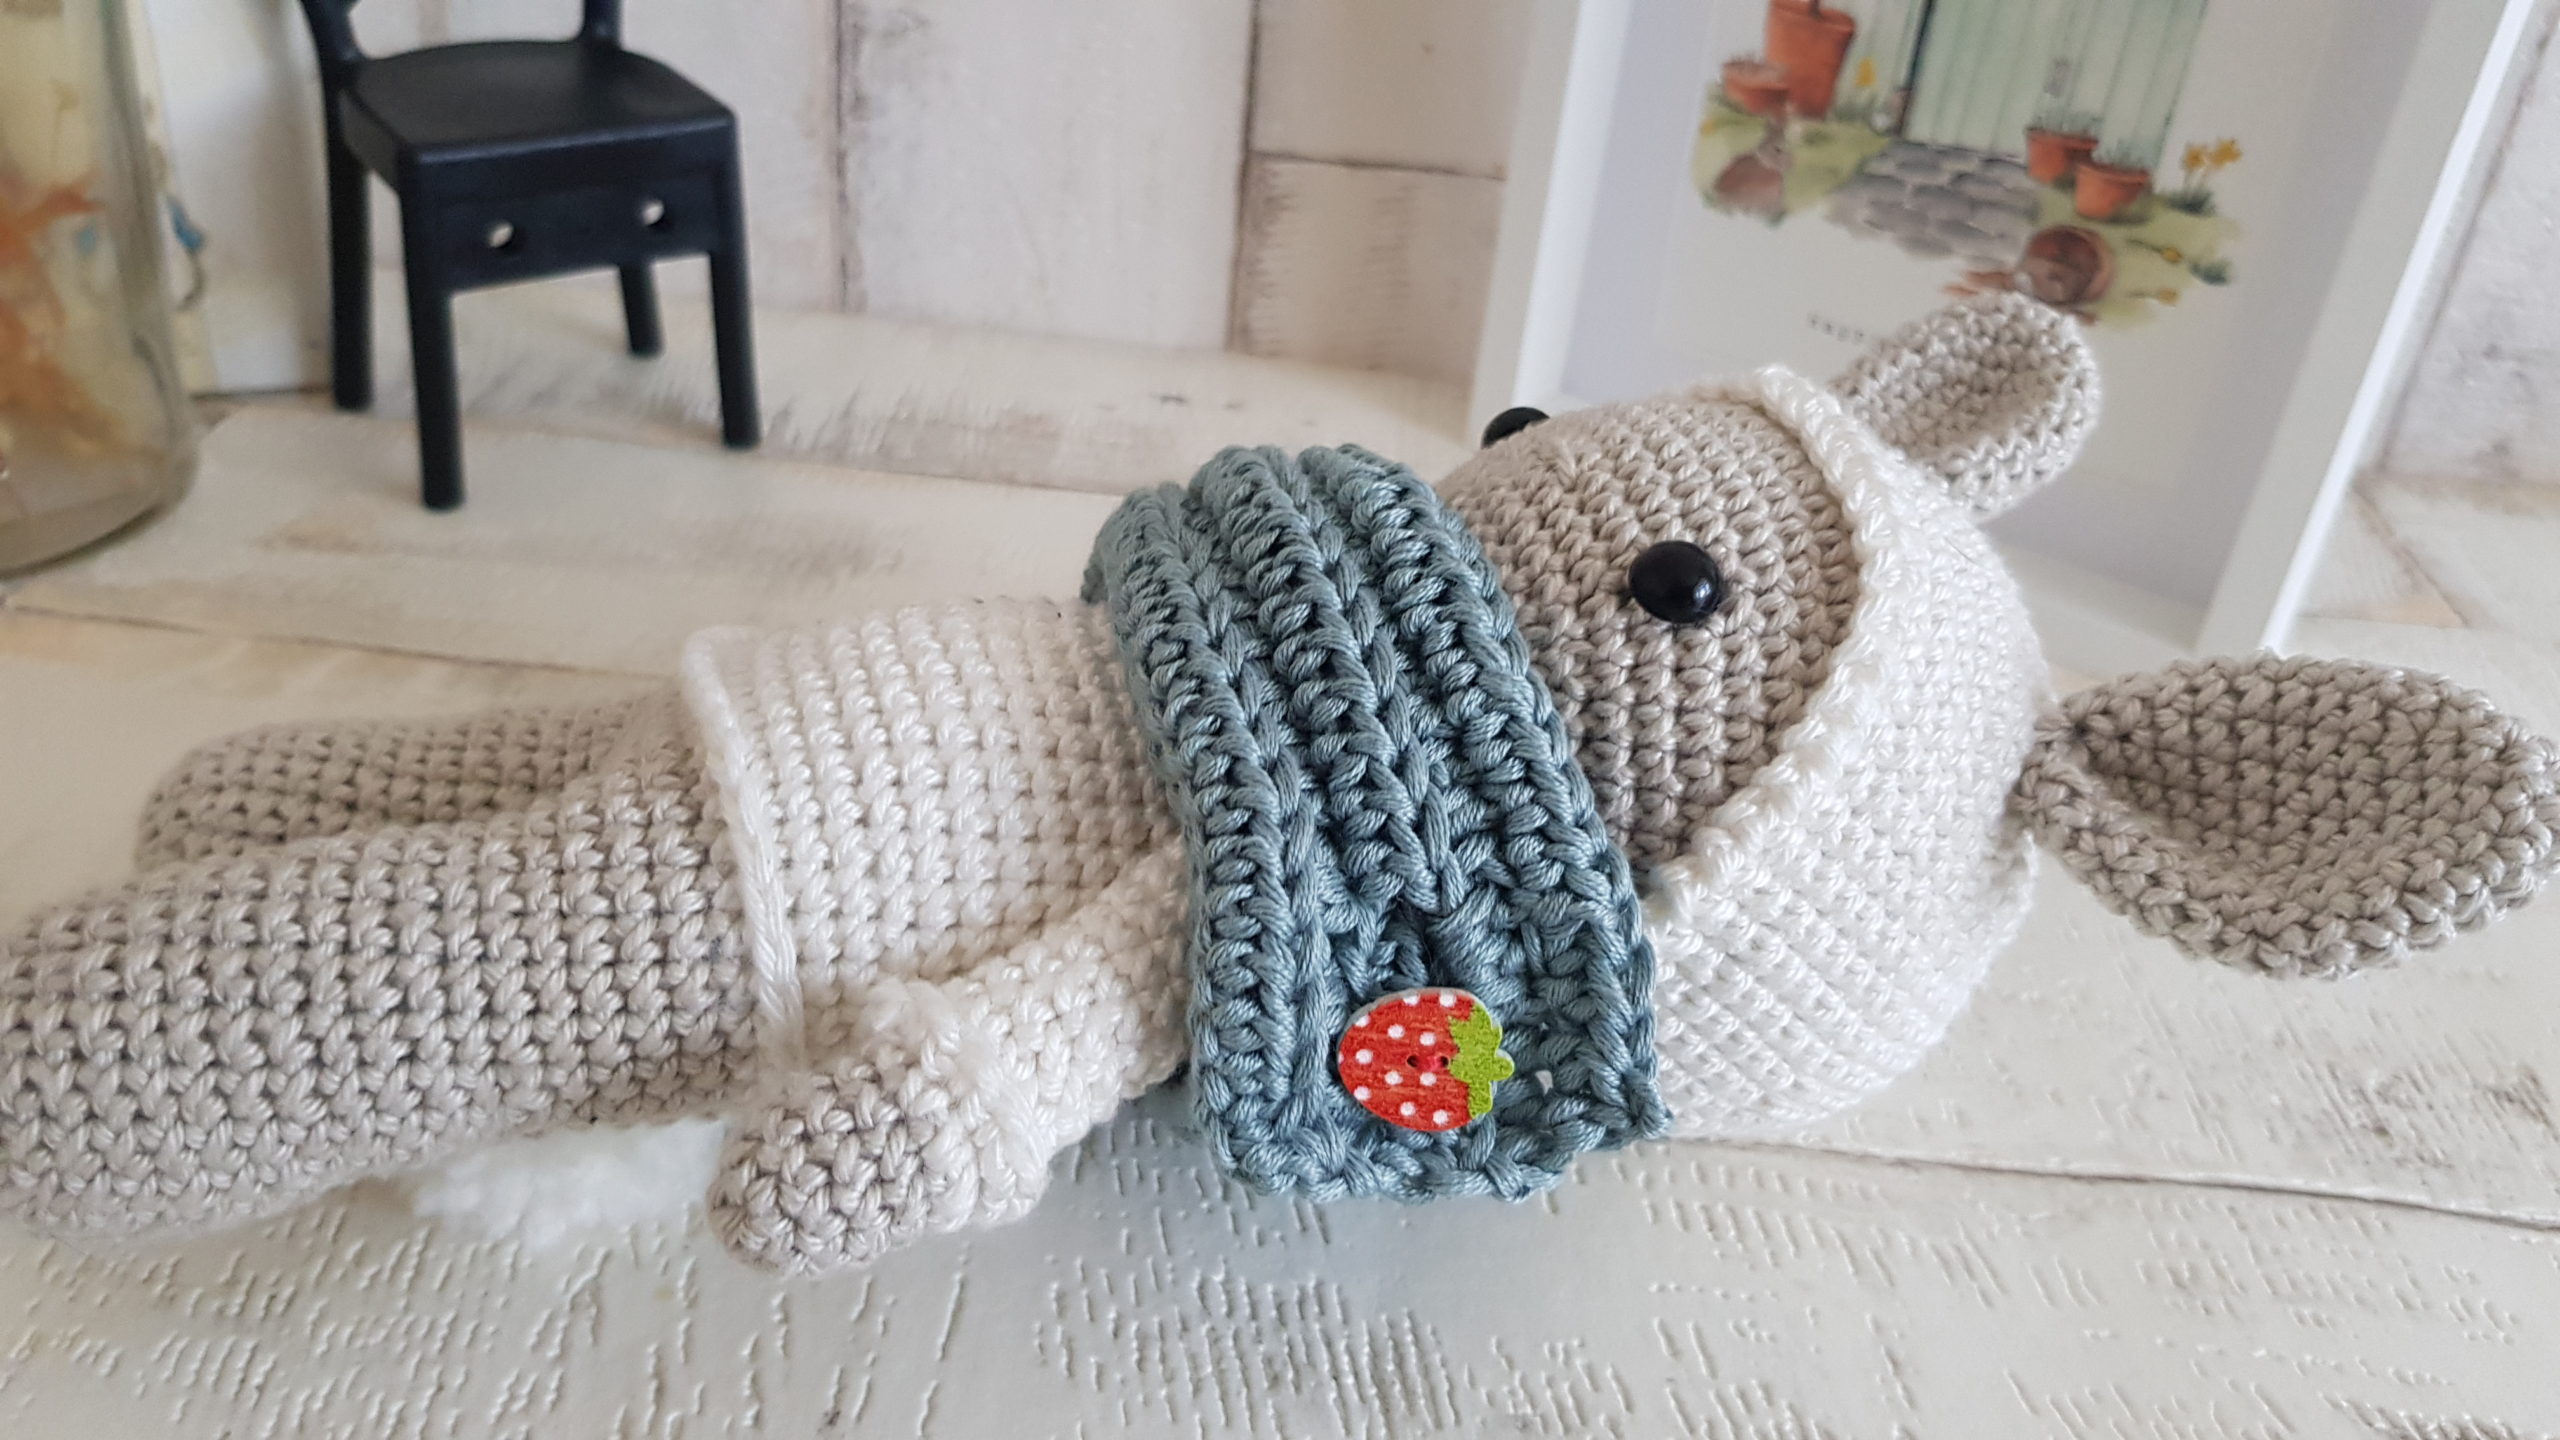
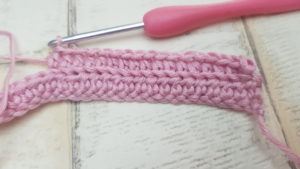
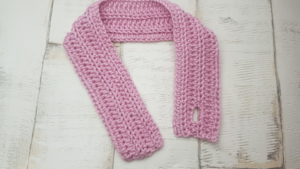
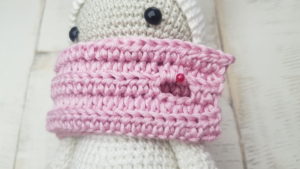
Scarf:
Use colour C and a 3.5mm hook
Tip: ch1 at the beginning of the row does not count as a stitch
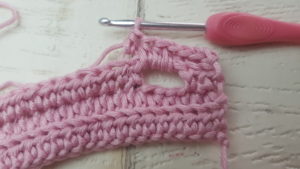
1: ch81, starting from 2nd chain from hook, hdc x80
2: ch1, turn, using BLO hdc x80
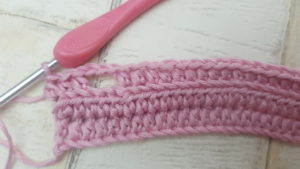
3: ch1, turn, using BLO hdc x74, ch3, skip next 3 stitches, hdc in last 3 stitches
4: ch1 turn, using BLO hdc in next 3 sts, put 3 hdc in chain 3 space, hdc x74
5: ch1 turn, using BLO hdc x80
Fasten off yarn, weave in the ends.
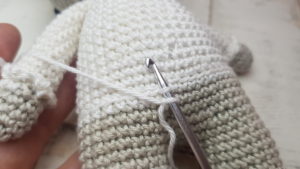
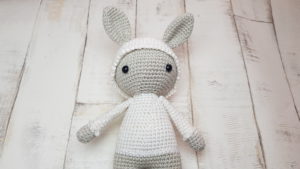
Assembling Barry, the Bunny:
1. Sew the head to the body
2. Sew the arms to the body to row 21
3: sew the hat on the head
4: sew the ears on the hat
5: embroider the nose: place 2 pins 1 row below the 2 eyes, leaving 3 stitches between them. Embroider the nose twice horizontally
6: Twist the scarf around the neck of the bunny. Sew the button on where the buttonhole is
7: Sew the tail at the back of the bunny

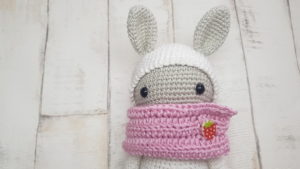
Congratulation, you finished Barry, the Bunny!
![]()
I would love to see your finished crochet bunny, Barry. Please share it with me on Instagram. You can find me as @zitaandbunny or click on this icon. ![]()