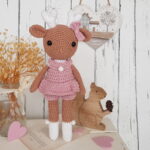
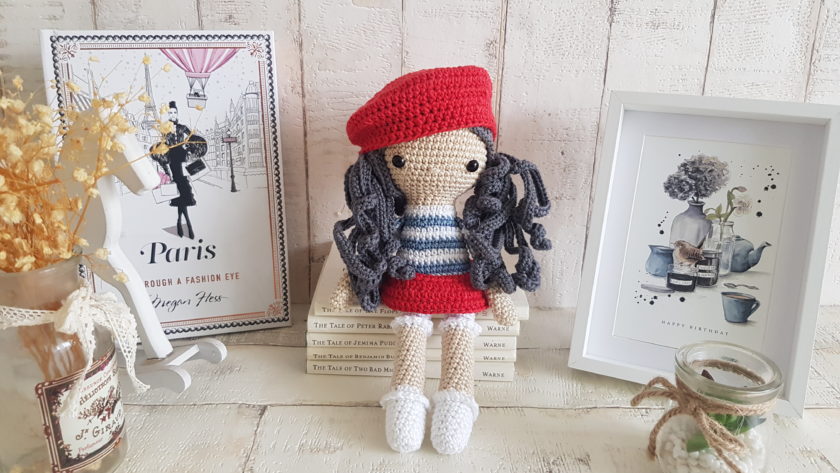
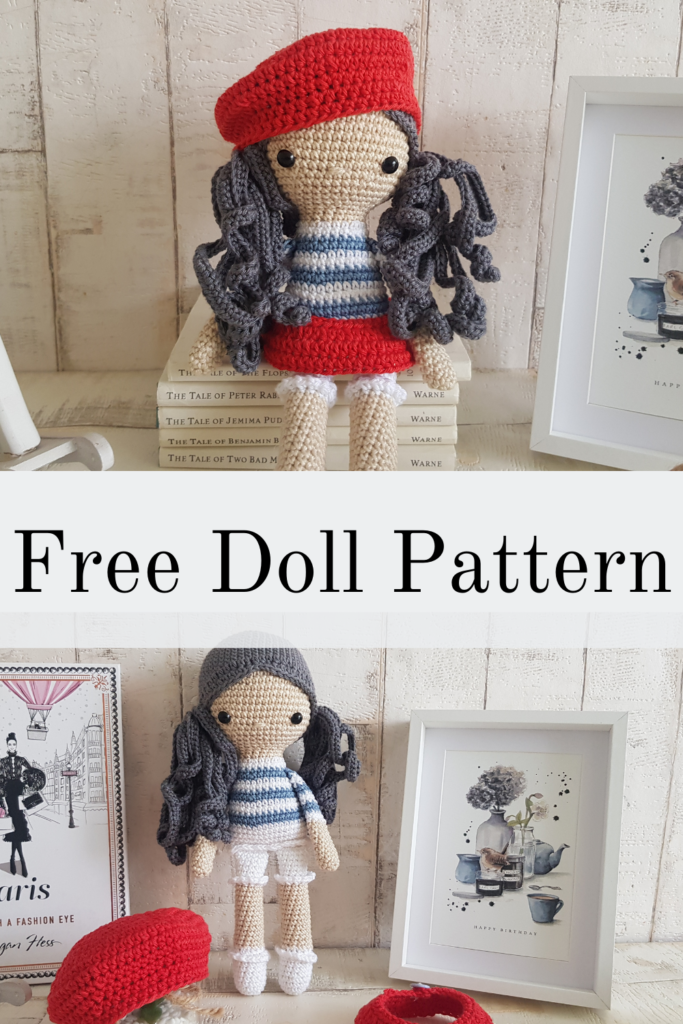
Learn how to crochet Madeline, this sweet pretty little doll.
Pin it now, make it later!
I always wanted to crochet a doll, or preferably many dolls, but I was never confident enough in myself. Making them different hairstyles and outfits felt like I needed to be a little designer.
I love France. First time I visited, I was 13 years old and that was a pretty big thing for a Hungarian. I was in a choir and we had a competition, so it was like a school trip. It was great. We were living with randomly selected families, which sounds very suspicious now, but in the middle of the 90s it was absolutely normal. So I love everything about France. The food, the style of the people, the restaurants, the drinks, the shops, the houses, the language, the pastries, the cakes, snails, and the smell of France. I will never forget how I stored the smell of France in my head when I first arrived there. Interestingly I have been there many, many times since then, as my cousin married there, but I still can smell that special smell every time I arrive.
When I was thinking about what type of doll to make, I didn’t think twice. It just had to be a doll with French style outfit and name her after the best ever French cake, madeleines.
The story of Madeline:
Madeline is a very stylish chick little girl from Paris. She loves to go for shopping trips and eat cakes in little cafes. She has many friends from all over the world and they visit each other a lot.

Caution!
Please be very cautious when you make toys for babies or children under the age of 3. If you sew parts on it, make sure they are secure and safe.
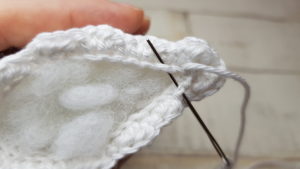
I recommend, to embroider the eyes, as the plastic safety eyes can be dangerous. My tutorial for embroidery eyes can be found here
|
All Zita and Bunny designs are original. Sales of the finished items are encouraged, but please give credit to the designer. Copyright © 2021 by Zita Renata Elek (Zita and Bunny).All rights reserved. This pattern is for personal use only. No part of it may be reproduced, resold, translated, published, altered, shared or posted in any way. |
**This blog contains affiliate links for products I use, believe in, or recommend. This means I will earn a small commission if you make a purchase from one of their links, and of course it is at no extra cost for you. It helps me to keep Zita and Bunny going and to keep publishing free patterns for you. You can check my full disclosure here. **
Abbreviations:
sc – single crochet
inc – increase
dec – decrease
hdc – half double crochet
FLO – use the front loops only
BLO – use the back loops only
ch – chain
st – stitch
sts – stitches
sl st – slip stitch
MR – magic ring
(…) – repeat instruction for the amount of times given
Materials you need for this crochet doll:
Affiliate links for the US:
1. Cotton yarn,
I used:
A: Scheepjes Catona – 404 English Tea
B: Scheepjes Catona – 106 White
C: Schachenmayr Catania – 421 Denim
D: Scheepjes Catona – 393 Charcoal
E: Scheepjes Catona – 115 Hot Red
3. Safety eyes, 9mm
5. Scissors
7. Pins
8. Stuffing
9. Button – 12mm
Affiliate links for the UK:
1. CottonYarn:
A: Scheepjes Catona – 404 English Tea
B: Scheepjes Catona – 106 White
C: Schachenmayr Catania – 421 Denim
D: Scheepjes Catona – 393 Charcoal
E: Scheepjes Catona – 115 Hot Red
5. Scissors
7. Pins
8. Stuffing
9. Button – 12mm

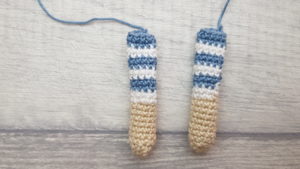
Arms: (make 2)
start with colour A
1: 5sc in a MR [5]
2: (inc) x5 [10]
3-10: sc in every st around, in the last stitch change to colour B [10]
11-12: sc in every st around, in last st change to colour C [10]
13-14: sc in every st around, in the last st change to colour B [10]
15-16: sc in every st around, in the last st change to colour C [10]
17-18: sc in every st around, in the last st change to colour B [10]
19-20: sc in every st around, in the last st change to colour C [10]
21: sc in every st around
Press both layers of arms together so that they lay flat on top of each other, aligning the stitches side by side. sc together the opposite stitches. I put 4sc.
fasten off yarn, leaving a long tail to sew.
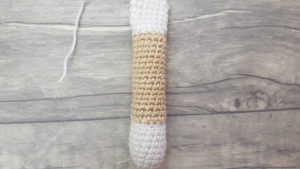
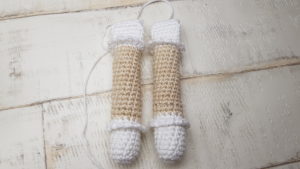
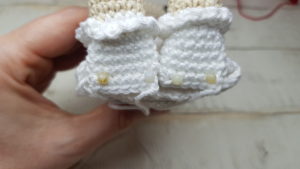
Legs: ( make 2)
start with colour B
1: 7sc in a MR [7]
2: (inc) x7 [14]
3-9: sc in every st around [14]
10: using BLO sc in every st around, in the last st change to colour A [14]
11: (5sc, dec) x2 [12]
Start stuffing the legs
12-23: sc in every st around, in the last st change to colour B [12]
24: sc in every st around [12]
25: using BLO sc in every st around [12]
26-30: sc in every st around [12]
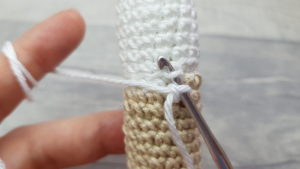
Stuff the legs up to row 28, press both layers of legs together so that they lay flat on top of each other, aligning the stitches side by side. sc together the opposite stitches. I put 5sc.
31: holding the legs upside down, connect colour B to the 1st FLO made in row 10, (sc, ch1) x 14. Fasten off yarn, weave in the ends.
32: holding the legs upside down, connect colour B to the 1st FLO made in row 25, (sc, ch1) x 14. Fasten off yarn, weave in the ends.
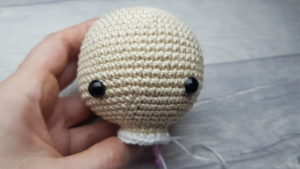
Head and Body:
start with colour A
1: 6sc in a MR [6]
2: (inc) x6 [12]
3: (sc, inc) x6 [18]
4: (2sc, inc) x6 [24]
5: (3sc, inc) x6 [30]
6: (4sc, inc) x6 [36]
7: (5sc, inc) x6 [42]
8: (6sc, inc) x6 [48]
9: (7sc, inc) x6 [54]
10 – 19: sc in every st around [54]
20: (7sc, dec) x6 [48]
21: (6sc, dec) x6 [42]
22: (5sc, dec) x6 [36]
23: (4sc, dec) x6 [30]
24: (3sc, dec) x6 [24]
Insert safety eyes between rows 18-19, leaving 12 sts between them, and stuff the head firm.
25: (2sc, dec) x6 [18]
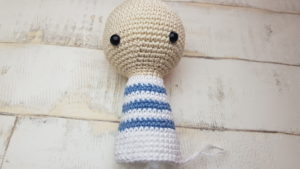
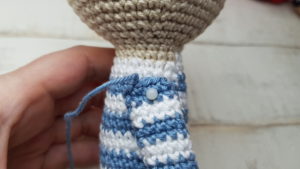
26-27: sc in every st around, in the last st change to colour B [18]
28: (2sc, inc) x6 [24]
Stuff the head
29: sc in every st around, in the last st change to colour C [24]
30: sc in every st around [24]
31: (5sc, inc) x4, in the last st change to colour B [28]
32-33: sc in every st around, ib the last st change to colour C [28]
34: sc in every st around [28]
35: (6sc, inc) x4, in the last st change to colour B [32]
36-37: sc in every st around, in the last st change to colour C [32]
38: sc in every st around [32]
39: (7sc, inc) x4, in the last st change to colour B [36]
40-41: sc in every st around [36]
42: (17sc, inc) x2 [38]
43-44: sc in every st around
45: using BLO (sl st, hdc in next 2sts) x7, sl st to next 2sts, sl st to 1st st, fasten off yarn.
Stuff the body the firm.
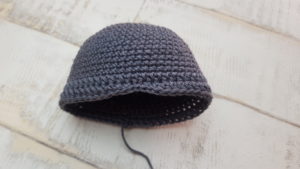
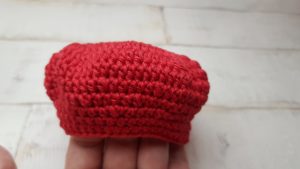
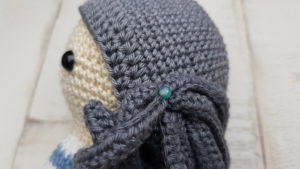
Hair Cap:
start with colour D
1: 6sc in a MR [6]
2: (inc) x6 [12]
3: (sc, inc) x6 [18]
4: (2sc, inc) x6 [24]
5: (3sc, inc) x6 [30]
6: (4sc, inc) x6 [36]
7: (5sc, inc) x6 [42]
8: (6sc, inc) x6 [48]
9: (7sc, inc) x6 [54]
10 – 19: sc in every st around, sl st to 1st st [54]
11: ch2 (count as a hdc) hdc in next 53sts, sl st to 1st st [54]
12: ch2, hdc in next 25sts, sl st in next 2 sts, hdc in next 26sts, sl st to 1st stitch
fasten off yarn, leaving a long tail to sew
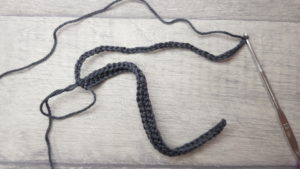
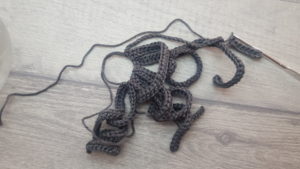
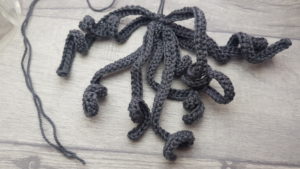
Pony Tail (make 2):
Use colour D
start with a MR, ch41, starting from 2nd chain from hook, hdc in all 40sts, sc into MR. Repeat it 10 times. Only close your MR after the last sc made into the ring. Fasten off yarn, leave a long tail to sew.

Hat:
Use colour E
Tip: ch2 at the beginning of the round always count as a stitch
1: start with a MR ch2, 9hdc, close the ring, sl st to 1st hdc [10]
2: ch2, hdc in same st, (2hdc) x9, sl st to 1st st [20]
3: ch2, (2hdc, hdc) x9 2hdc in last st, sl st to 1st st [30]
4: ch2,hdc in next st, 2hdc in next (hdc in next 2 sts, 2hdc in next) x9 [40]
5: ch2,hdc in next 2st, 2hdc in next (hdc in next 3 sts, 2hdc in next) x9 [50]
6: ch2,hdc in next 3st, 2hdc in next (hdc in next 4 sts, 2hdc in next) x9 [60]
7: ch2,hdc in next 4st, 2hdc in next (hdc in next 5 sts, 2hdc in next) x9 [70]
8-9: hdc in every st around [70]
10: (8hdc, dec) x7 [63]
11: (7hdc, dec) x7 [56]
12: (6hdc, dec) x7 [49]
12-13: hdc in every st around [49]
Fasten off yarn, weave in the ends.
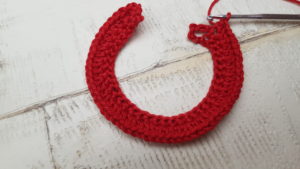
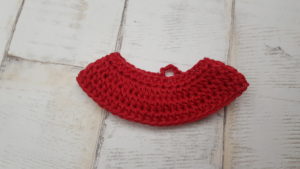
Skirt:
Use colour E
1: Ch 37, starting from 8th chain from hook, hdc in all 30sts [30]
The loop, which we created with the ch7, will be the buttonhole.
2: Ch1, (does not count as a stitch), turn, (hdc, 2hdc) x15, sl st to the 1st st made in this row [45]
3-6: ch1, (does not count as st) hdc in every st, sl st to 1st st [45]
Fasten off yarn, weave in the end, sew the button on.
Assembling Medeleine:
1: Get a long yarn and close the hole at the bottom of the body by using the BLO.
2: sew the arms to the body to row 29
3: sew the legs to he body by position the legs to the body like the doll was sitting down.(see photo)
4: sew the hair cap to the head
5: sew the ponytails on the hair 1-2 rows higher than the eyes
6: embroider the nose: place 2 pins 1 row below the 2 eyes, leaving 2 stitches between them. Embroider the nose twice horizontally
Congratulation you finished Madeline!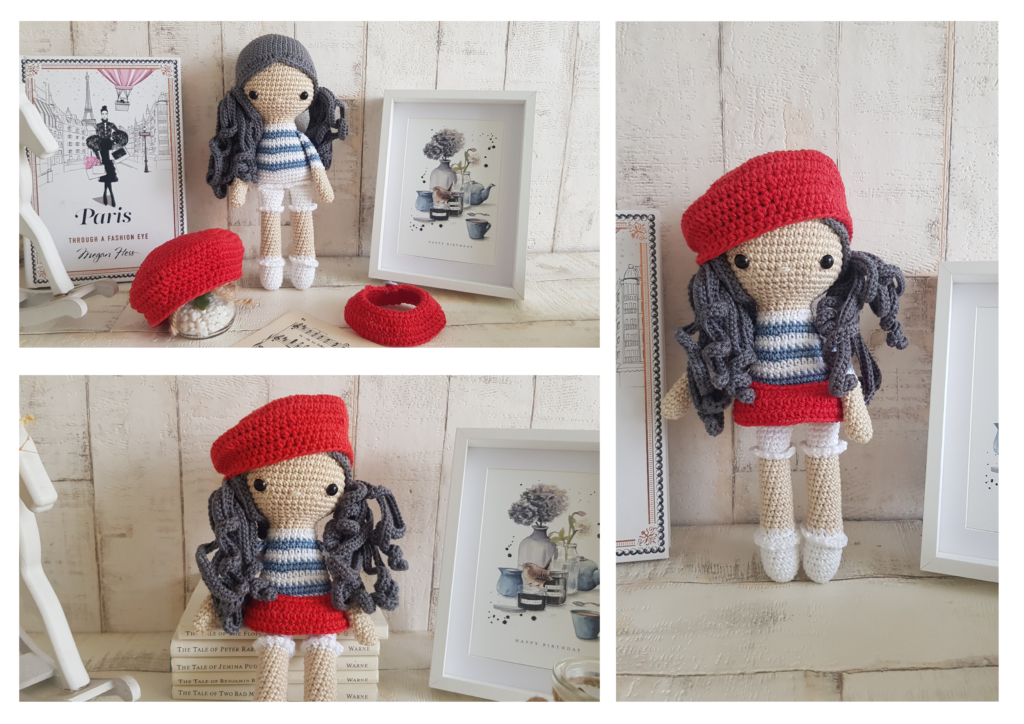
I would love to see your finished crochet doll, Madeline. Please share it with me on Instagram. You can find me as @zitaandbunny or click on this icon. ![]()